Tote HaD
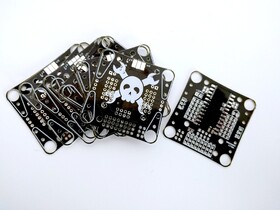
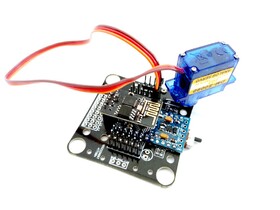
Special edition of Tote for the Belgrade workshop.
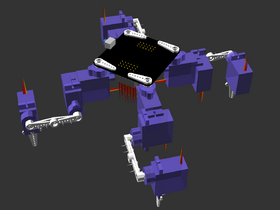
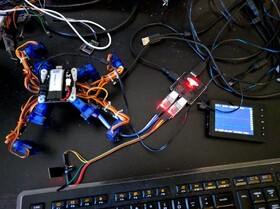
Tote is a spider-like quadruped robot. While its small size and plastic parts make it look like a toy, it was in fact designed as a platform for experimenting with walking robots. Unlike many toys that have their gaits hard-wired, Tote has individual control over each of its legs, with three degrees of freedom, using inverse kinematics calculations. This gives it great flexibility, and makes it possible to implement gaits that let it walk on uneven terrain, and even climb obstacles! Of course it can also dance.
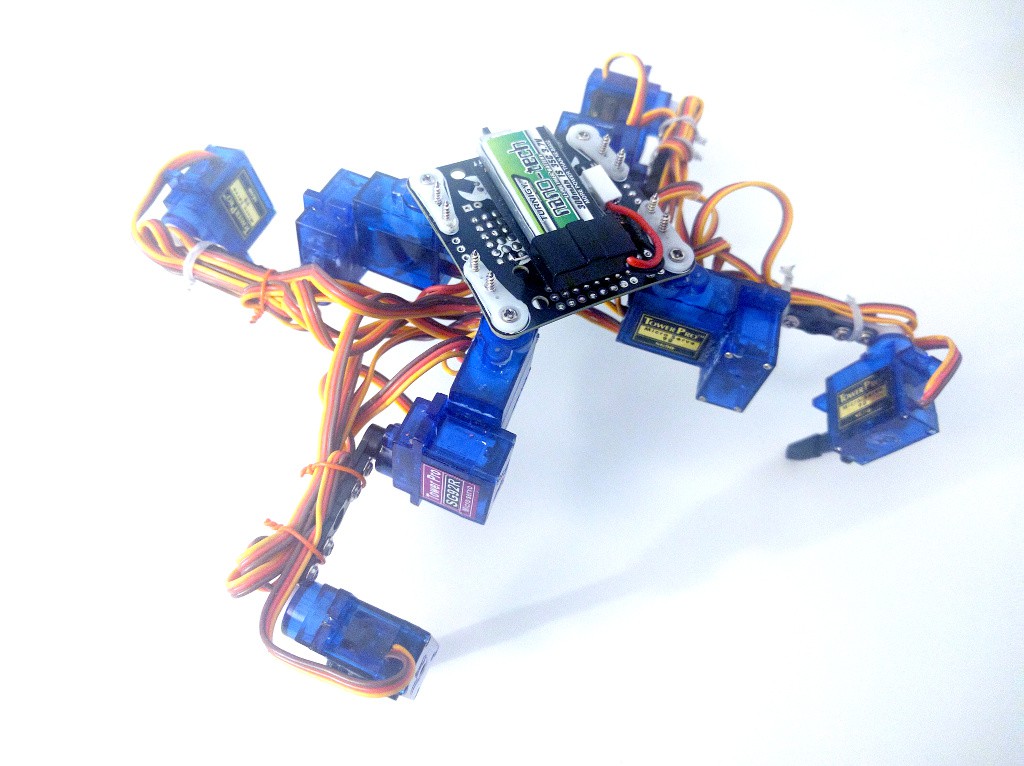
There are also a lot of options for extending it. While initially Tote doesn’t have any sensors, it’s possible to give it touch, sight, force sensing, hearing and sense of balance, by simply adding appropriate sensors, connecting them to the free pins, and – of course – programming new behaviors based on their reports.
Even without the extra sensors, Tote can be quite useful. It’s small and portable, so it can be conveniently transported. It’s sturdy, flexible and relatively weak – which makes it quite safe to handle. And it’s complex enough to explore the problems of robot walking and test new algorithms.
Logs
2023-03-16 - This is not the robot you are looking for
2016-04-16 - 3D printed body
2016-04-14 - Compiling Your Own Firmware
2016-04-11 - Fixed Firmware
2016-04-10 - Command Line
2016-04-09 - Quick Notes
2016-04-07 - Software
2016-04-04 - First Steps
2016-04-02 - Mass Production
2016-04-01 - 1 Done, 24 More To Go
2016-03-30 - Clock Stretching Woes
2016-03-27 - Walking with Python
2016-03-26 - LiPo Chargers
2016-03-19 - Parts Trickling In
2016-03-11 - Updated PCB
2016-03-11 - First Prototype
2016-03-10 - PCBs Arrived
2016-03-10 - Mistakes and Workarounds
2016-03-06 - Prototyping and Controller Code
2016-03-02 - What’s on the PCB?
2016-02-29 - Workshop Preparations
2016-02-29 - Mechanical Improvements
Links
Components
Component |
Count |
Notes |
|---|---|---|
Custom PCB |
1 |
|
M1.5x3mm Screws (optional) |
8 |
|
M1x4mm Screws (optional) |
8 |
|
TP40561A Lipo Battery Charging Module (optional) |
1 |
|
1000µF Capacitor (optional) |
1 |
|
3.7V 500mAh LiPo Battery |
1 |
|
10kΩ 0805 SMD Resistor |
5 |
|
ESP-01 with 1 Mbyte / 8 Mbits flash |
1 |
|
Pro Mini 3.3V 8Mhz ATmega328p |
1 |
|
SG90 Microservo |
12 |
|
Rubber Tube (optional) |
1 |
|
Instant Glue |
1 |
Instructions
Connect the tibia to the femur and coxa. Be careful to not rotate the servos – if you do, switch the robot on for a moment so that they center again. Make sure the tibia is horizontal and the femur is vertical. Make sure to use the horn screws that came with the servos.
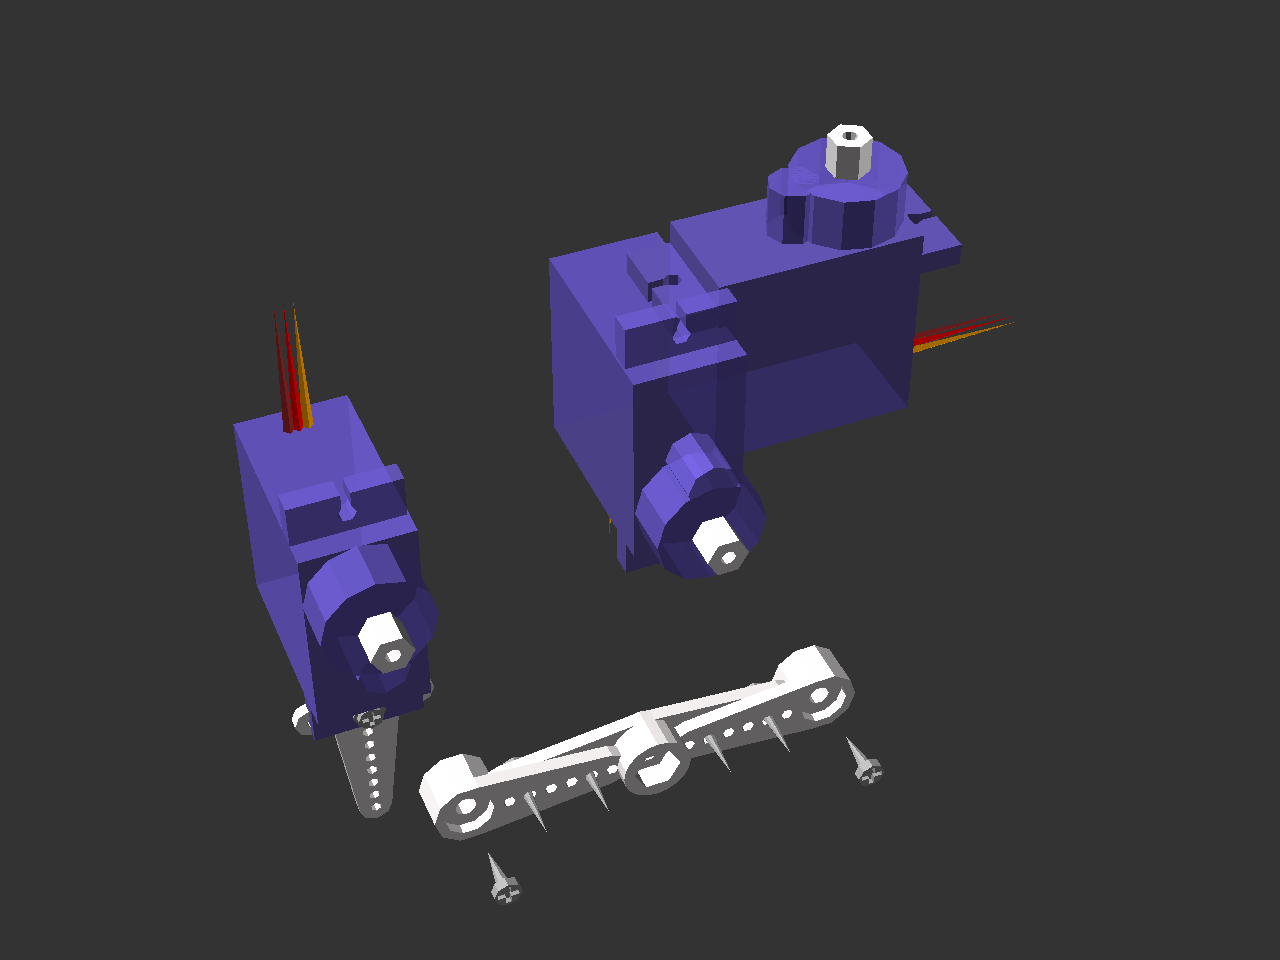
Screw a servo horn to the robot’s body. Since the size of the outside of the servo horn has large range, the holes in the board may be too small for it – if that’s the case, file the plastic horn to make it fit.
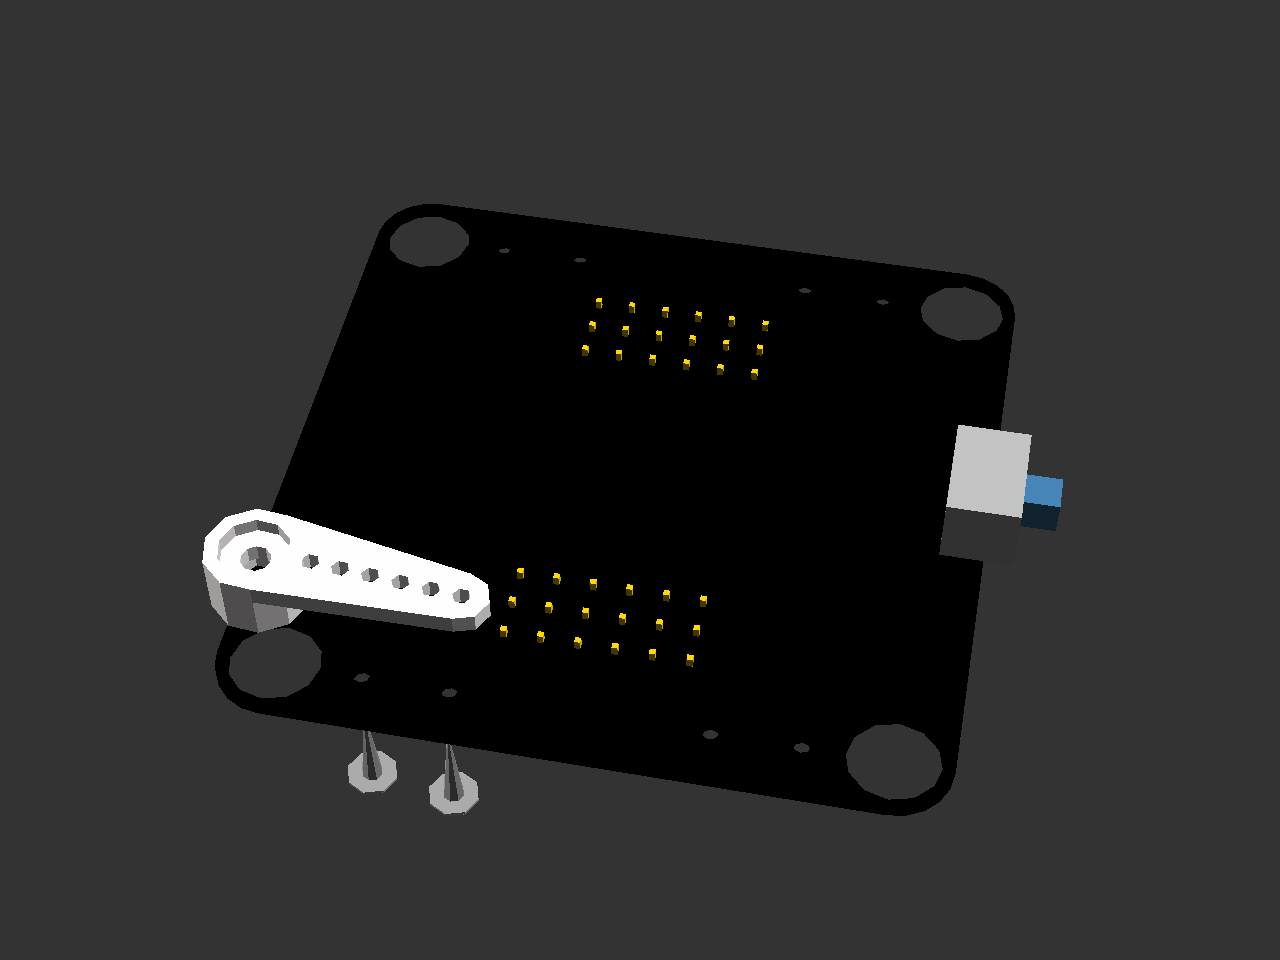
Attach the leg to the body. Again, make sure you don’t move the servo from its center position, and that the leg sticks out at 45° angle.
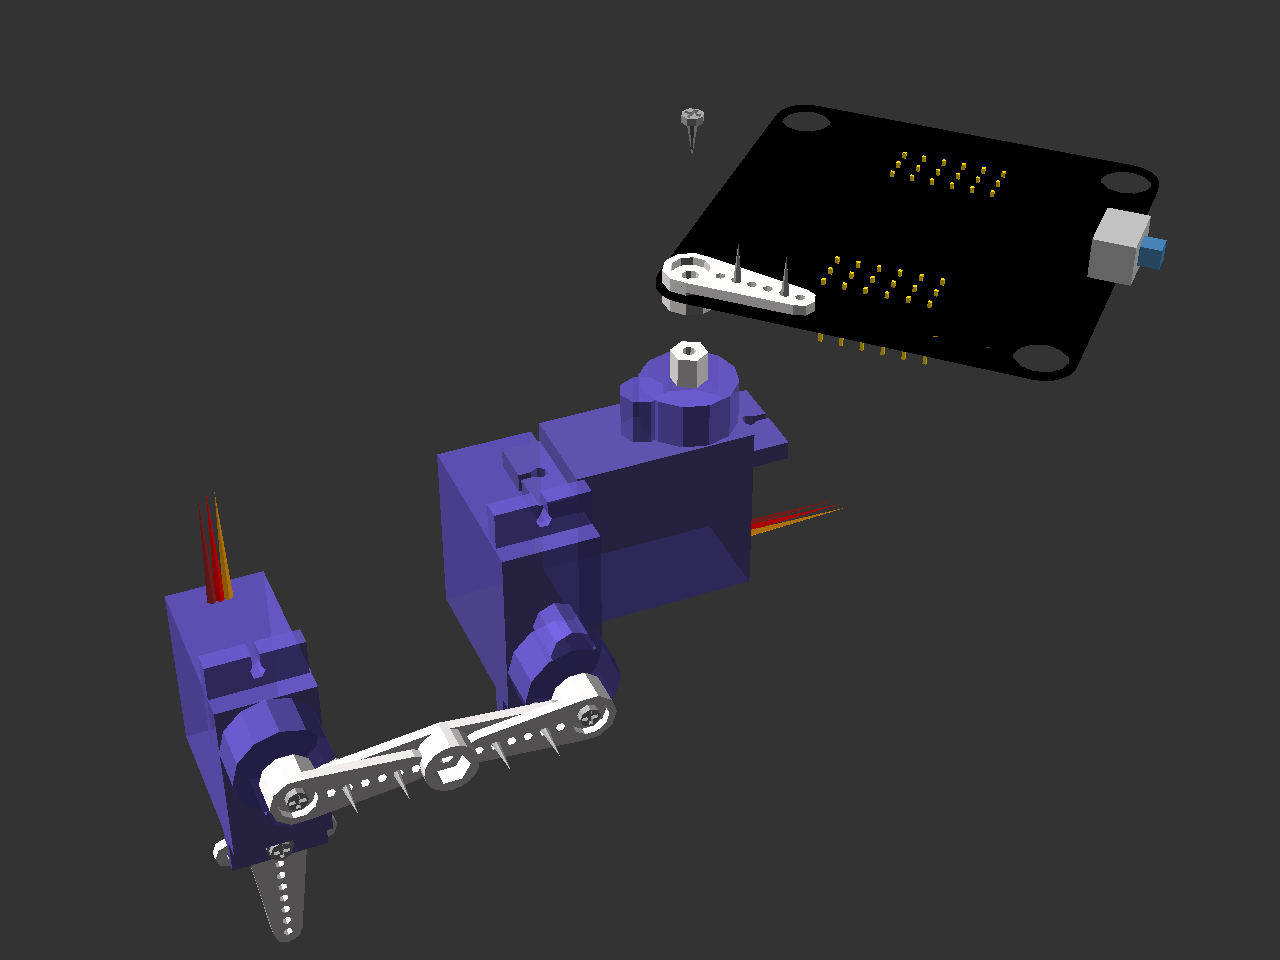
Make sure the femur is facing towards the side of the robot, not forward or backward.
Repeat for all the legs. Switch the robot on again and make sure all the legs are in their default positions, with femurs vertical, tibias horizontal, and coxas sticking out at 45°.
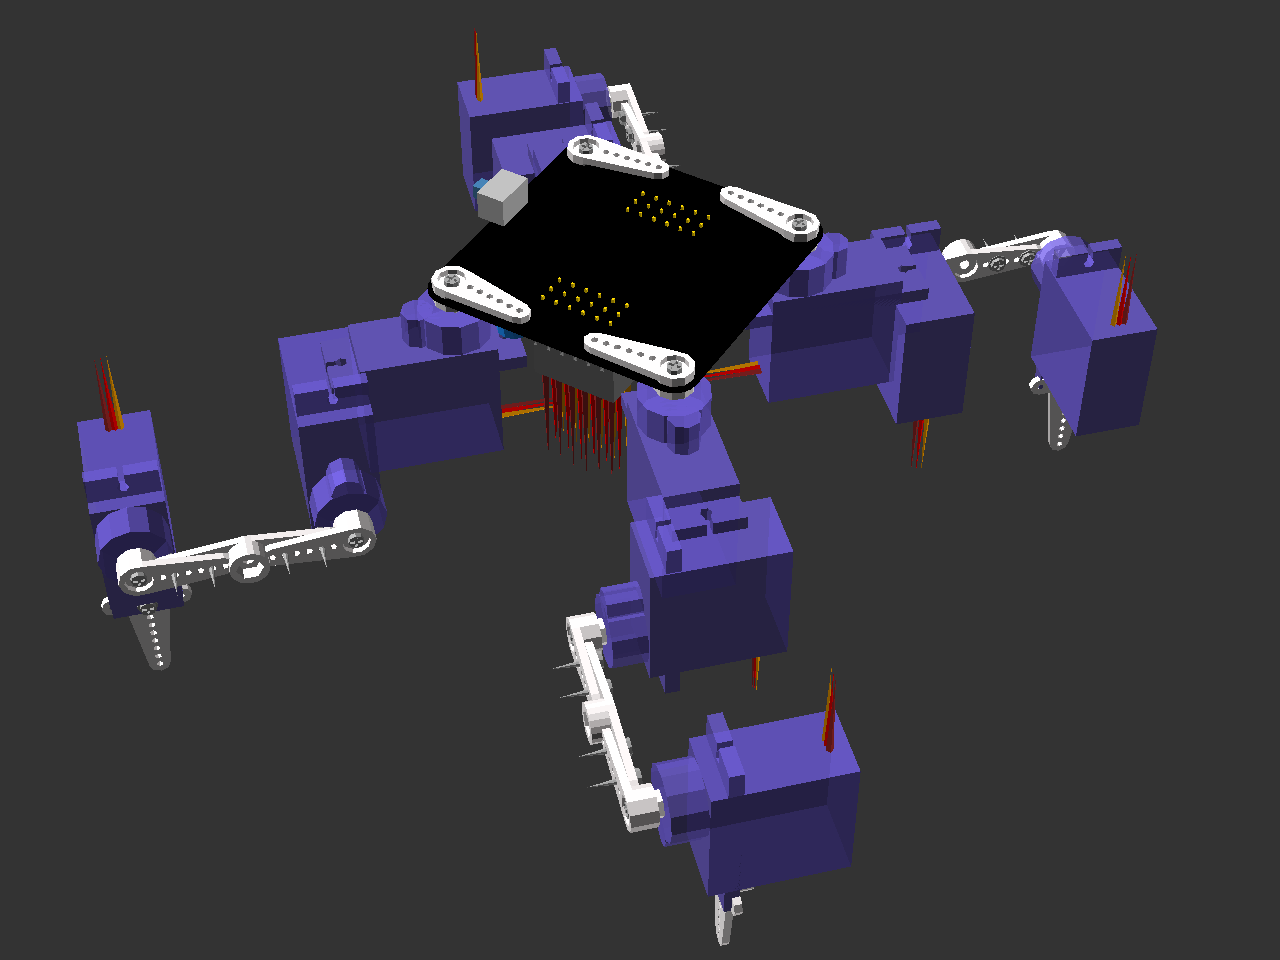
Start by assembling the legs. You will need two “left” legs, and two “right” ones, which are mirror images of the “left” legs. Instructions below are for just one “left” leg.
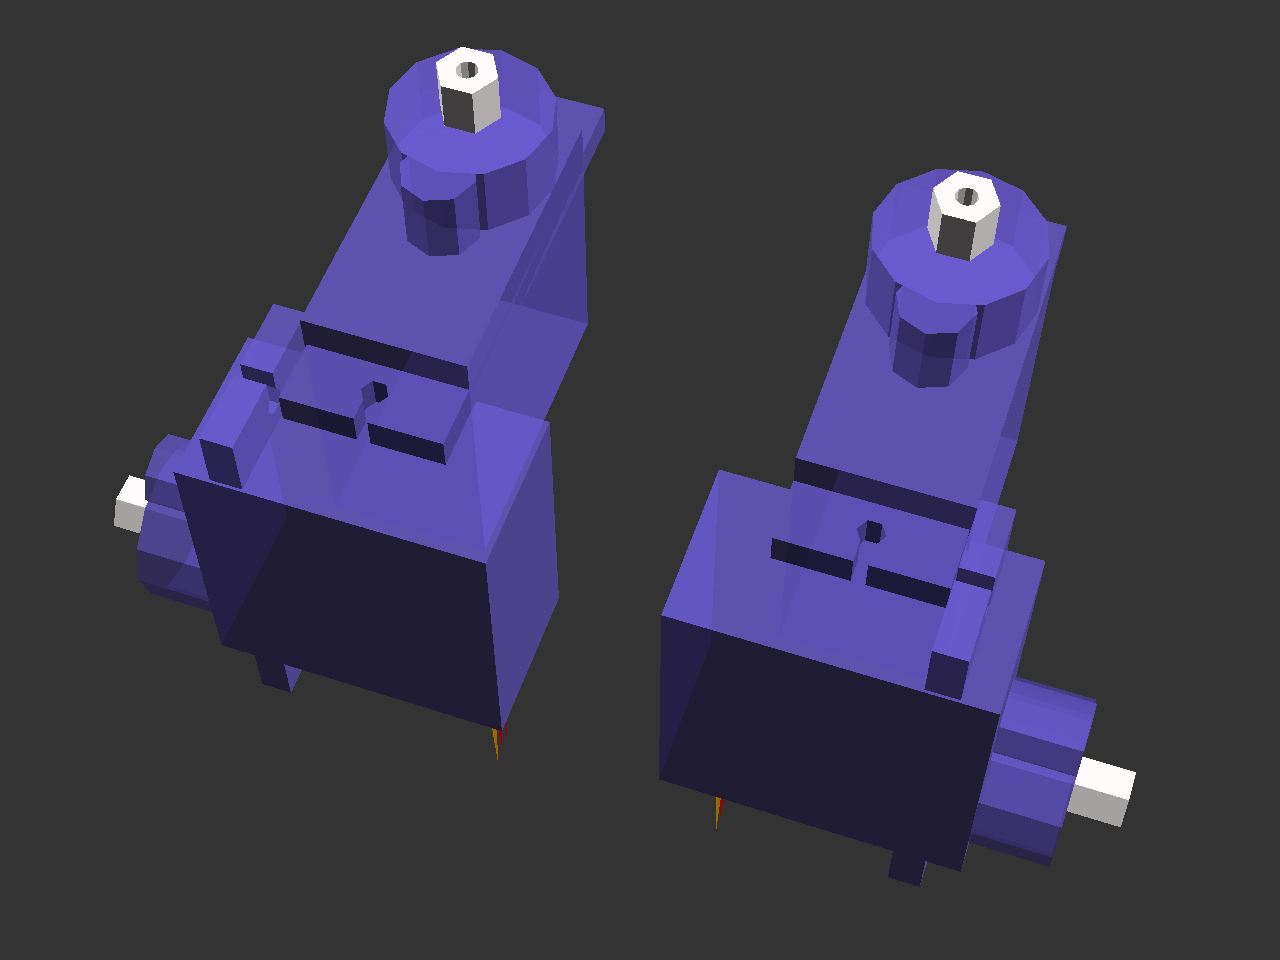
Glue together the two servos making up the coxa. Make sure to apply glue on all surfaces that touch, including the “ears”.
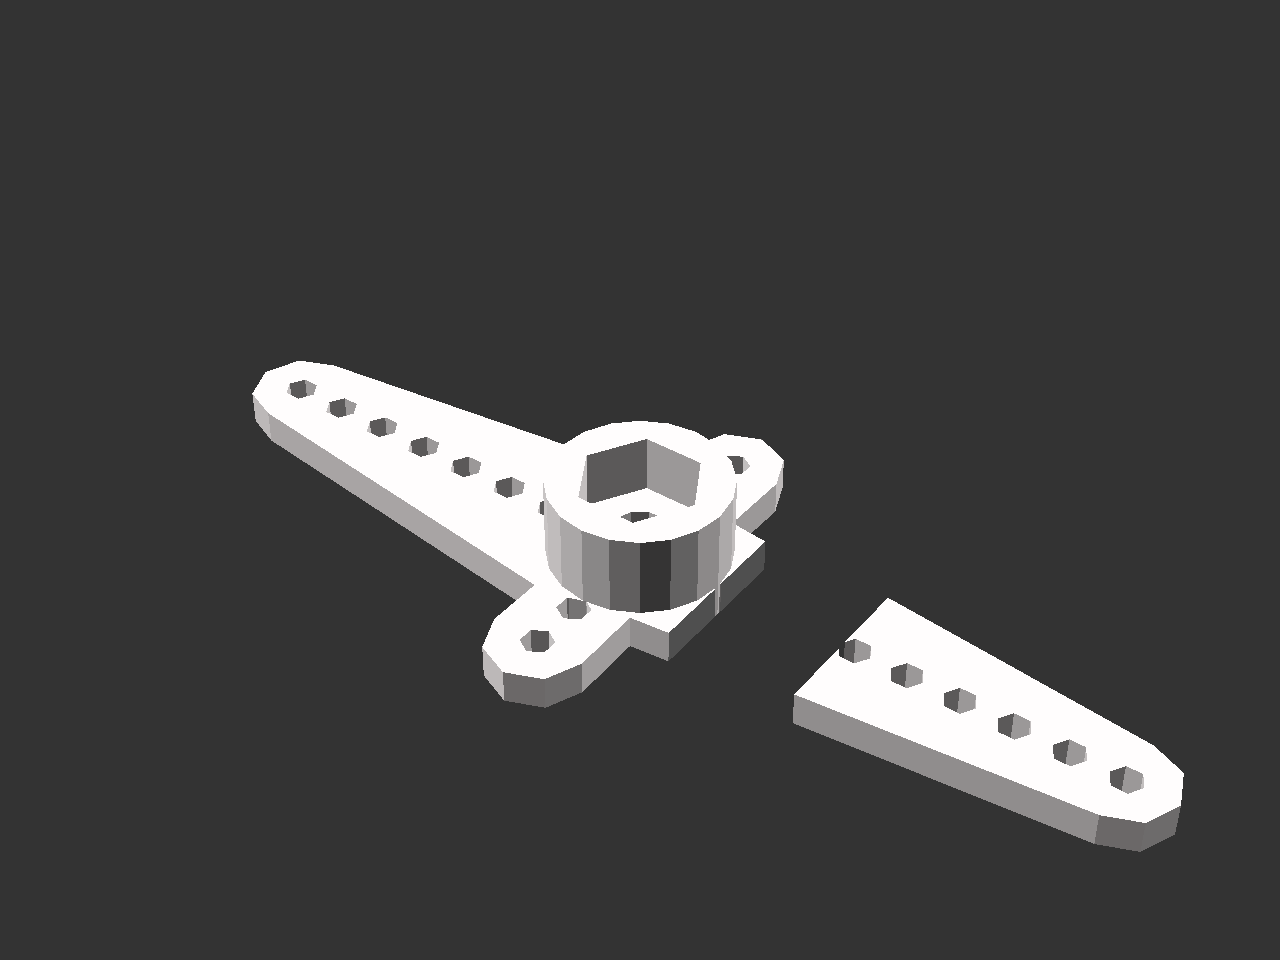
Cut off the shorter side of the “cross” horn, as shown below:
And then attach it with one of the servo mounting screws to the tibia servo:
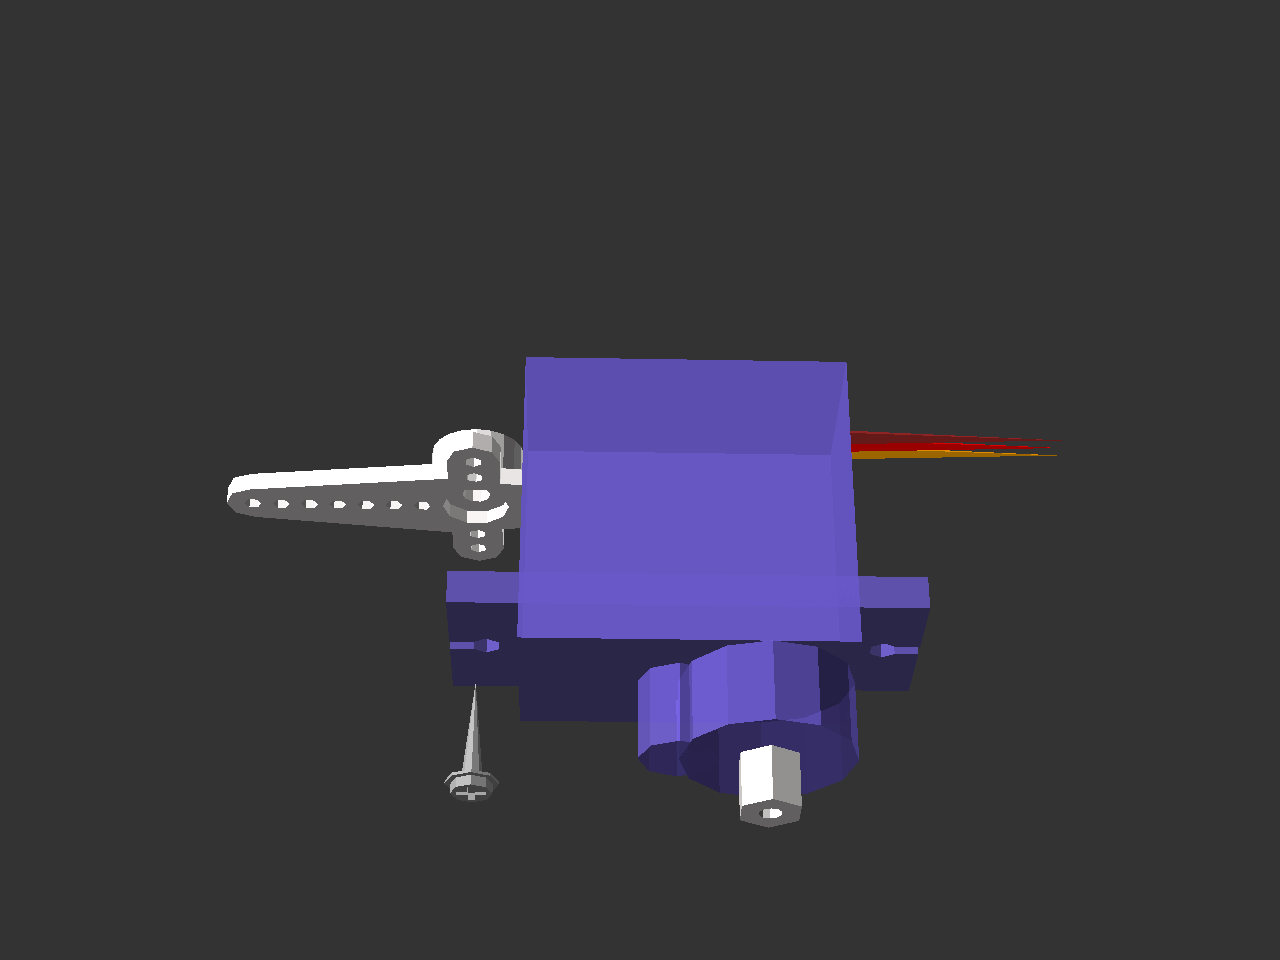
Screw together the horns that form the tibia. You may need to cut the tips of the horns, if they are too long.
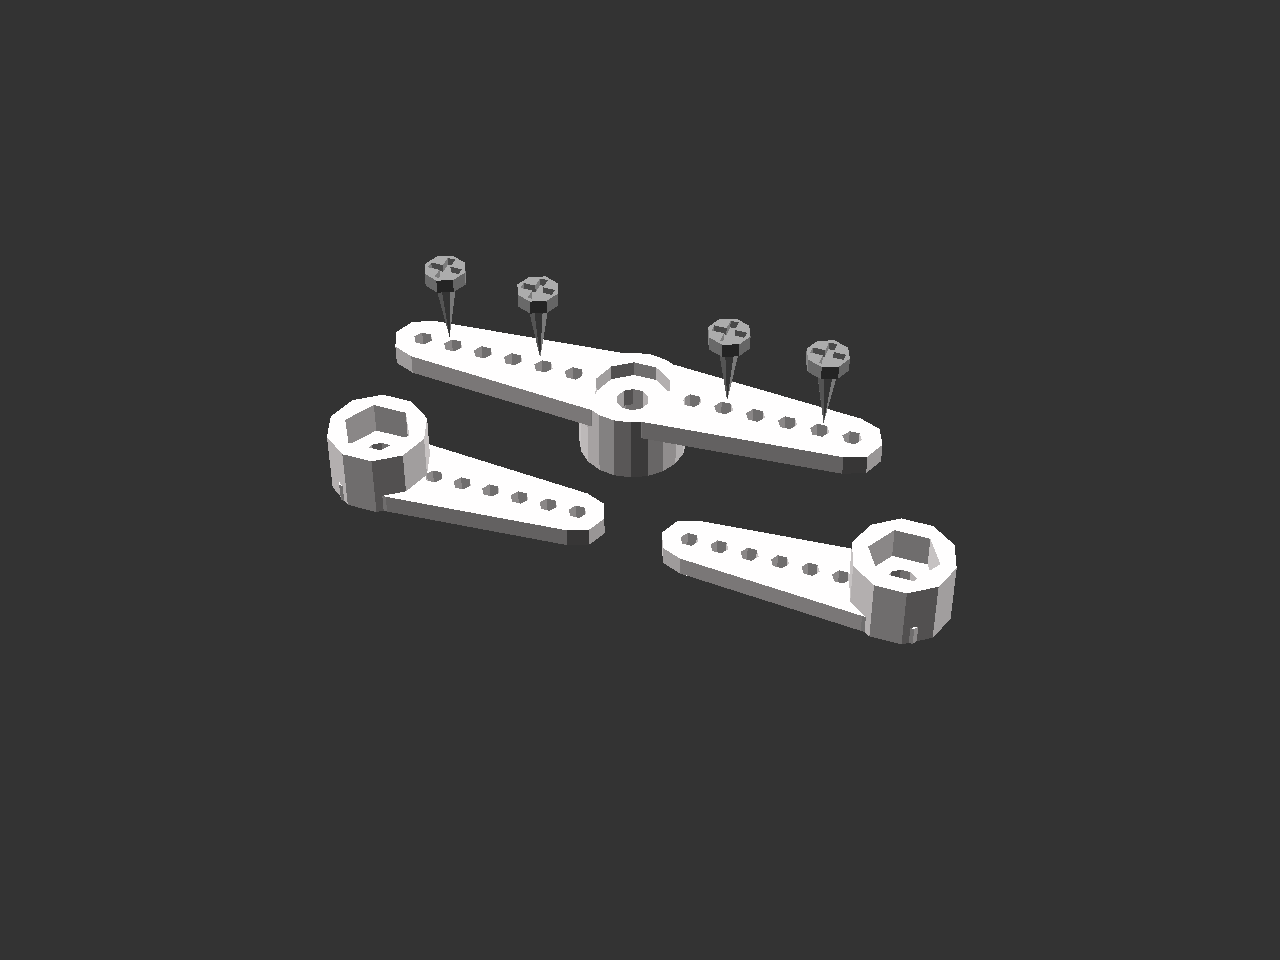
Alternatively, if you don’t have the right size of screws, you can glue the horns together, or use thin wire instead of screws.
Connect all the servo plugs to the body. Make sure that the yellow wire is towards the center of the board, and the brown wire towards the edge.
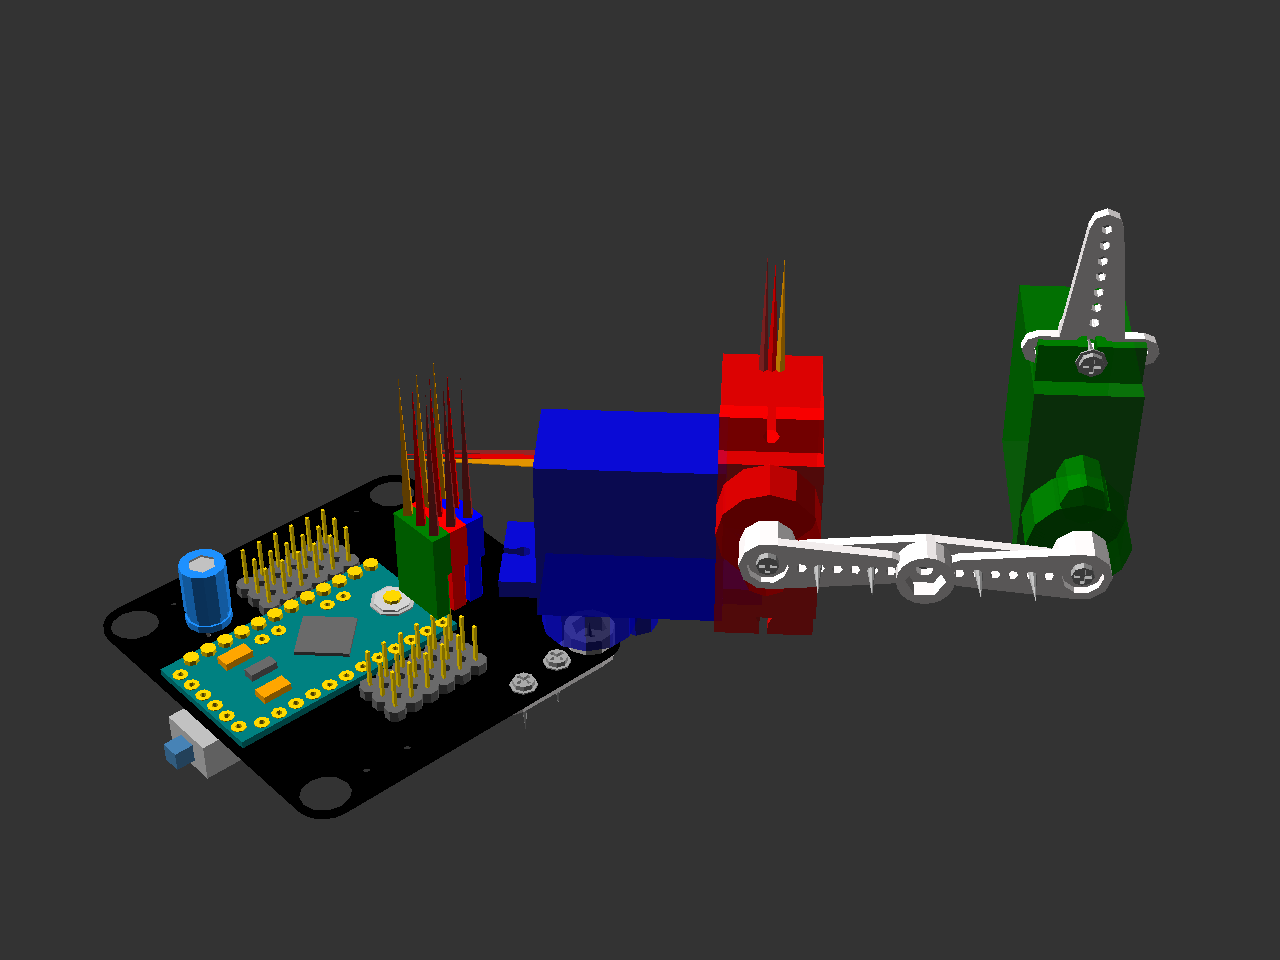
Connect the battery (pay attention to the + and -), and switch the robot on for a moment, so that all the servos go into their center positions. Switch it off.
 deshipu.art