Micro:Bob
A simple bipedal robot controlled by Micro:Bit
Logs
2016-07-25 - Improved Knees
2016-07-10 - Connections and Exploding
2016-06-25 - Stability Problems Resolved
2016-06-25 - Mk II Walking
2016-06-23 - Micro:Bob MK II
Links
Components
Component |
Count |
Notes |
|---|---|---|
SG90 Microservo |
4 |
|
1.2V NiMH Batteries and a Battery Holder |
3 |
|
M3 Bolts |
5 |
|
M3 Nuts |
10 |
|
5x5x5cm Plastic Box |
1 |
|
Instant Glue |
1 |
|
Jumper Wires |
1 |
|
LED |
2 |
Fiber Optics / Emitters |
200Ω Resistor |
2 |
|
Power Switch |
1 |
|
Decoration Wire |
1 |
|
Sheet of Foamed Plastic |
1 |
Instructions
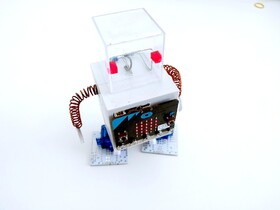
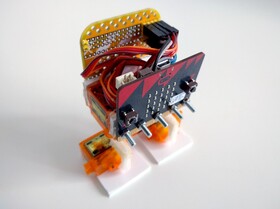
Assembled robot.
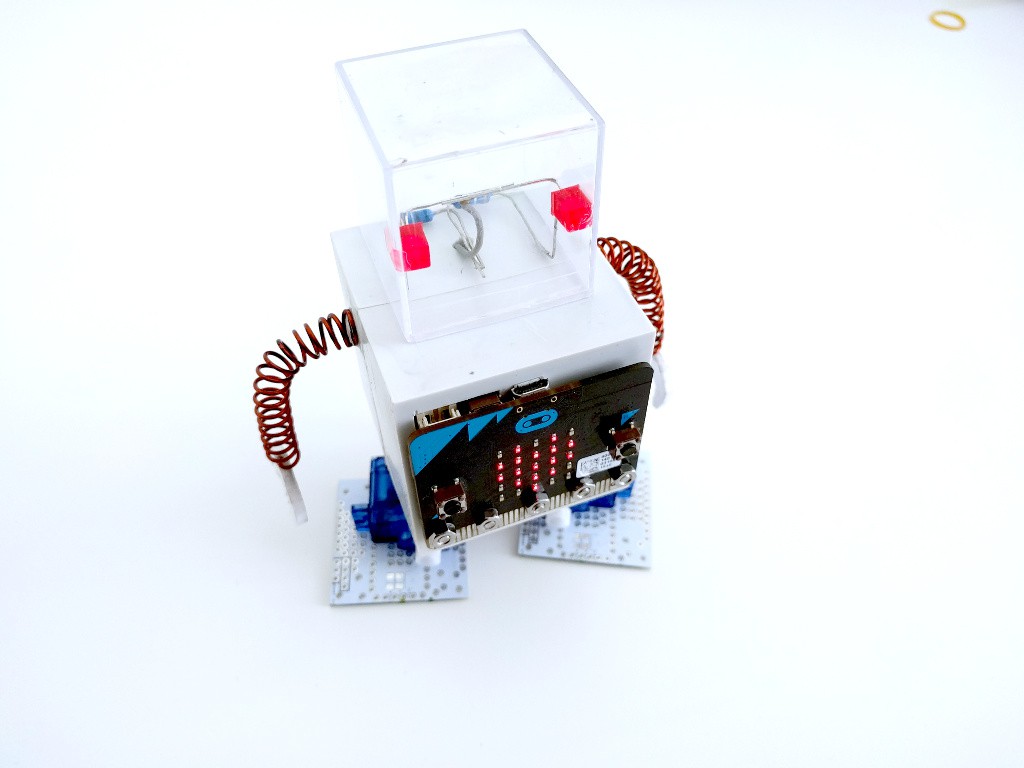
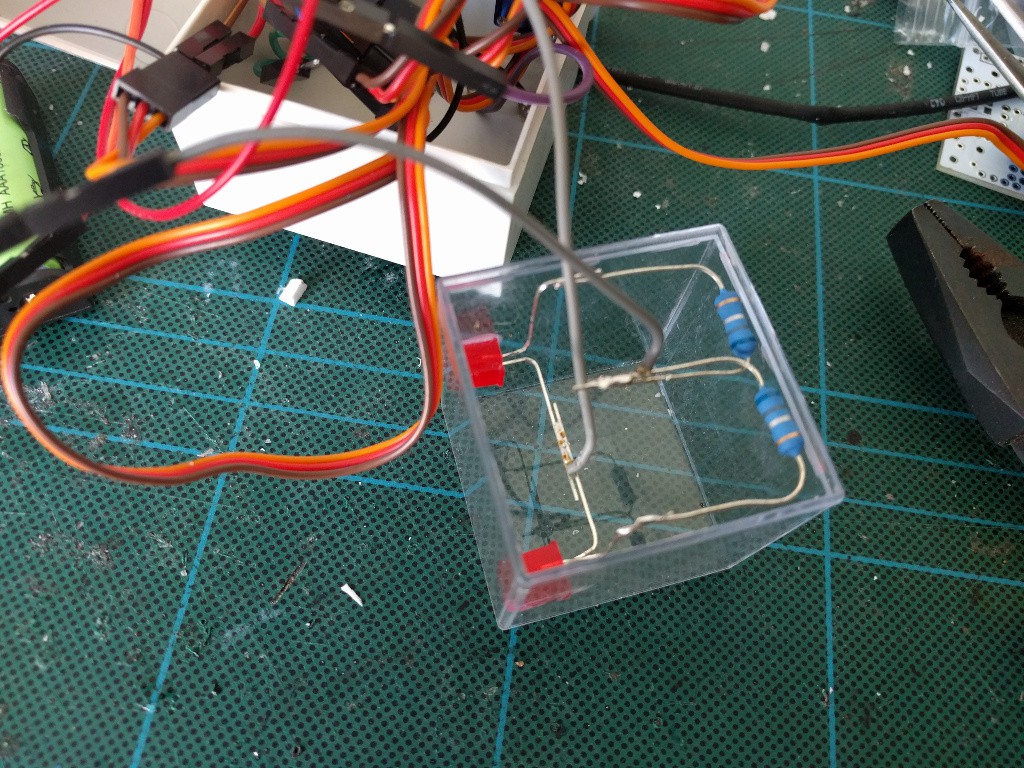
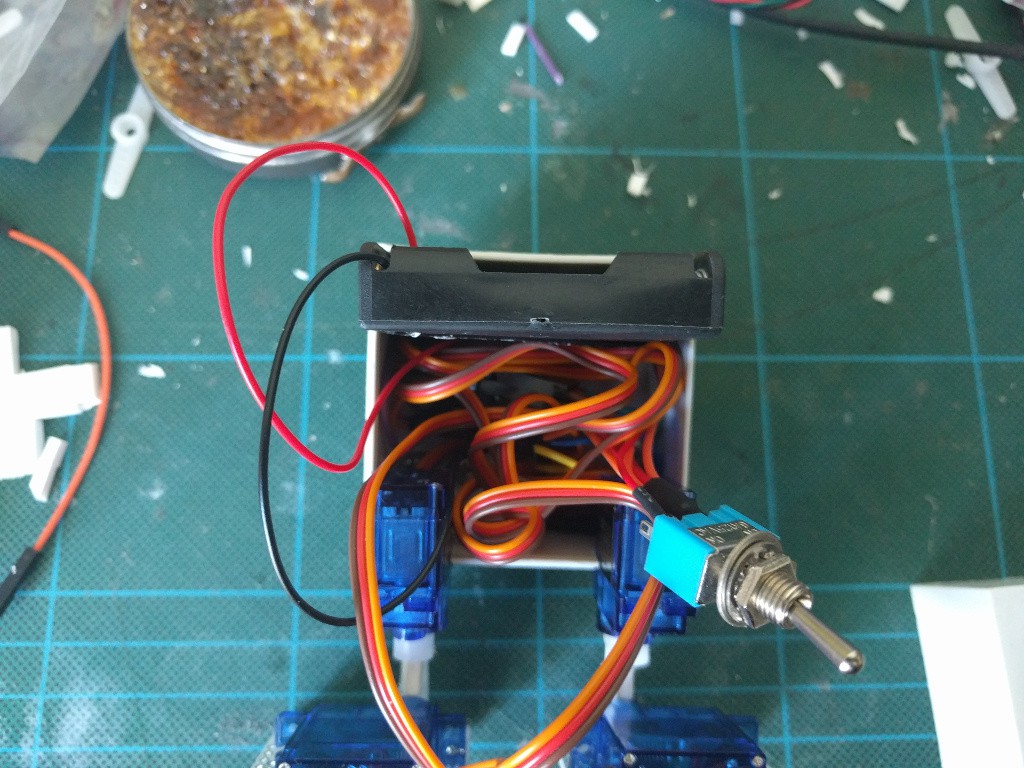
I found a smaller plastic box for the head. Glued some LEDs, added resistors and connected it all to the power switch.
For now the head is taped with scotch tape. The hands are made from coiled decoration wire, glued to the sides.
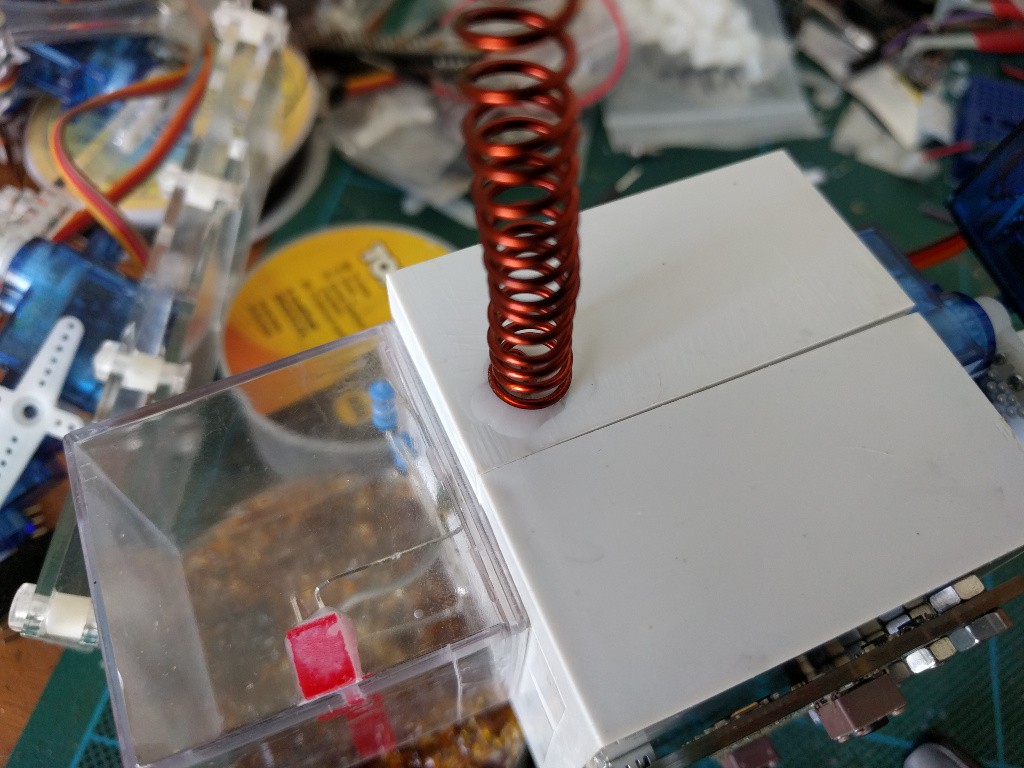
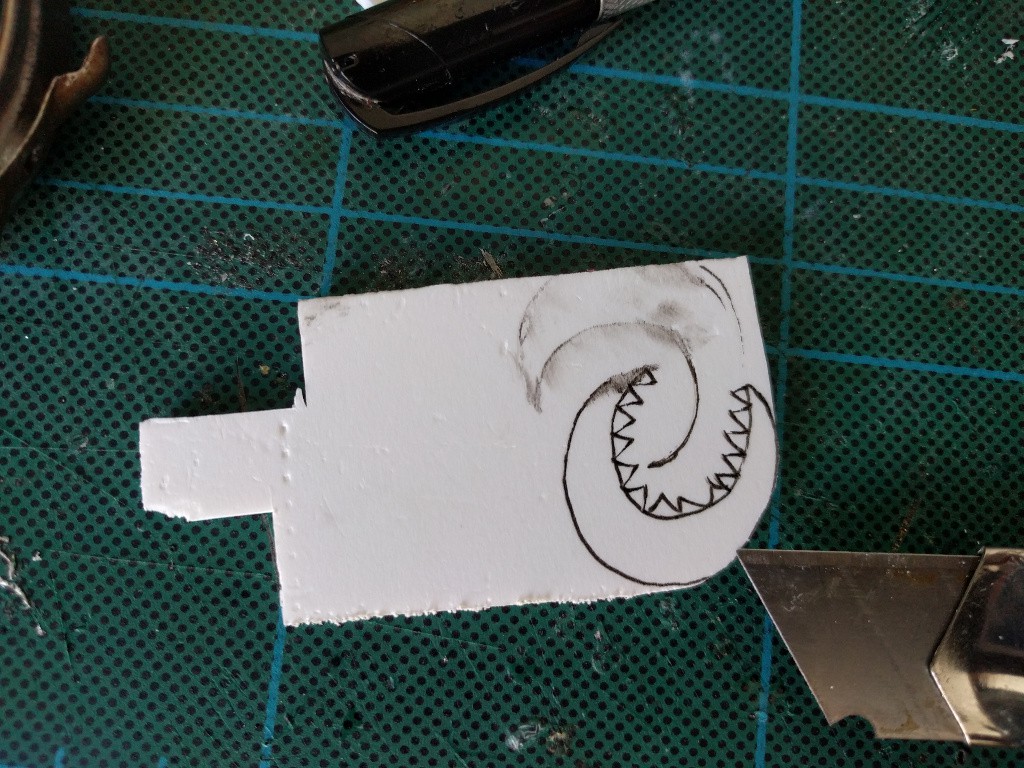
The hands are cut out of the foamed plastic and glued at the ends.
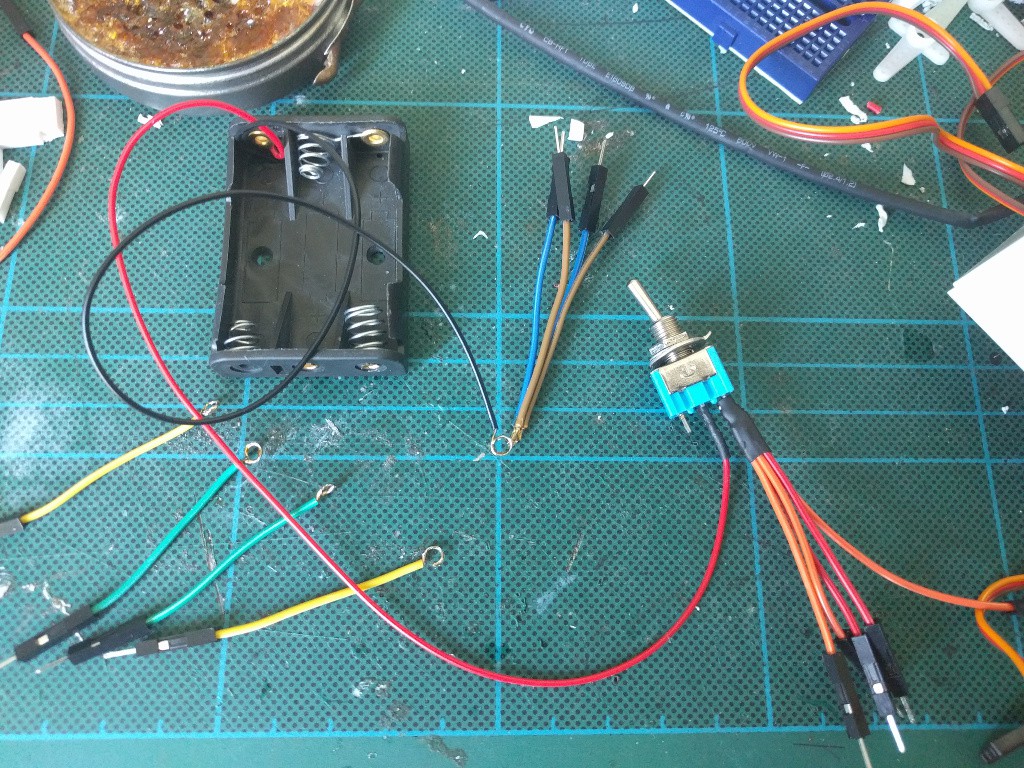
Prepare the wires.
Connect them to the bolts.
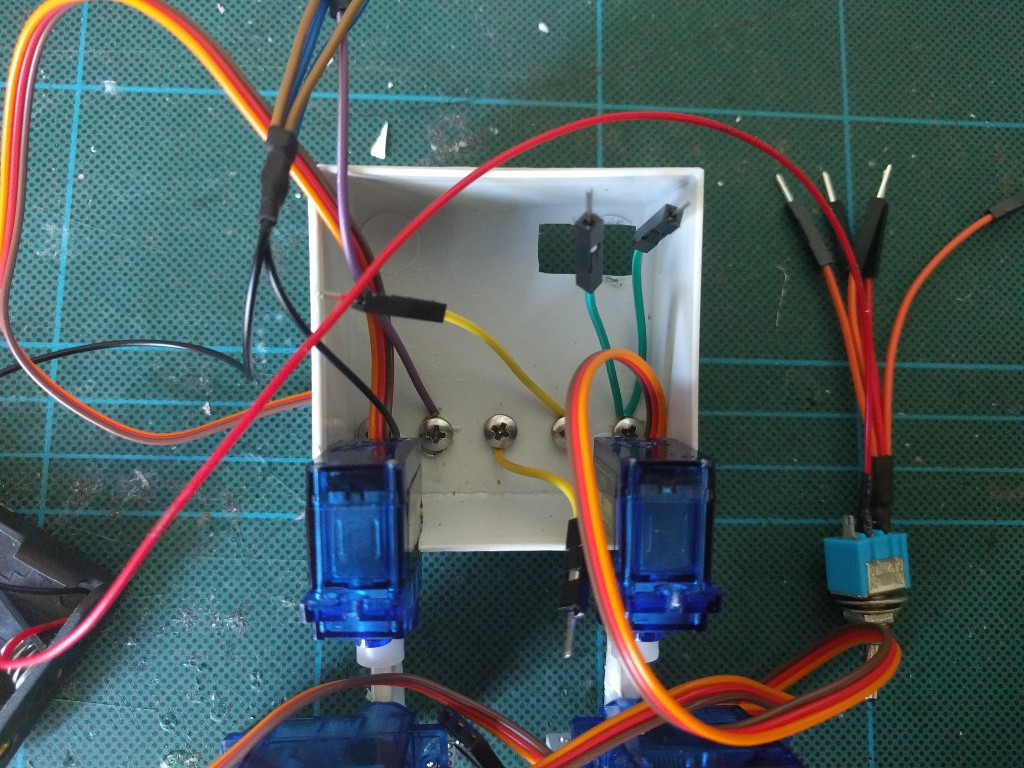
And then connect them to the servos. Power goes to the red/orange wires, ground to the black/brown/blue wires, signal to the white/yellow/green ones. The feet servos are connected together to the first bolt.
Find the center of the box for the switch and drill a hole.
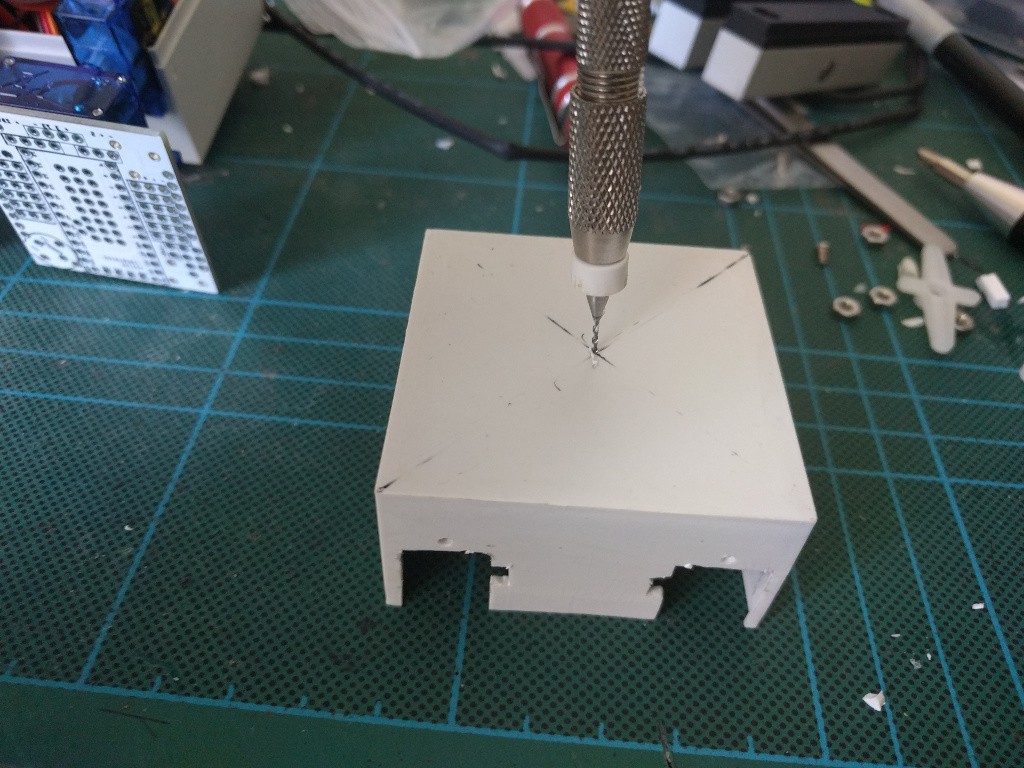
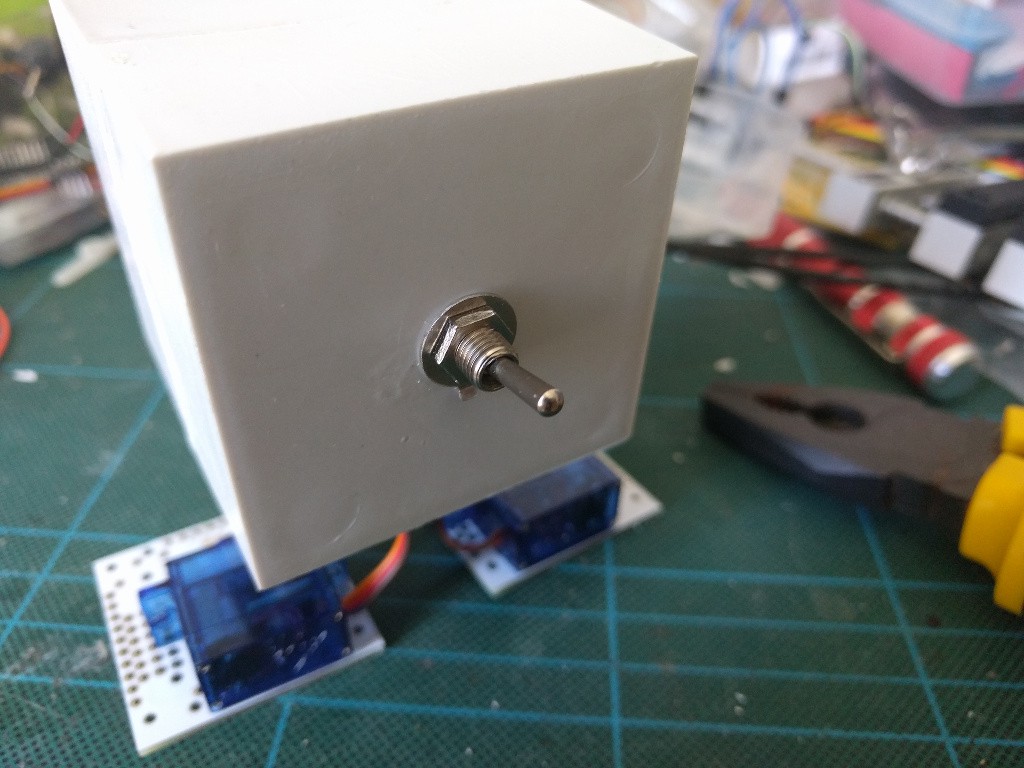
Enlarge the hole and mount the switch.
First you need to find a box for the body. Those plastic blocks with pictures for children are pretty good – they are 5x5x5cm, made out of pretty soft plastic which is easy to cut, and you can buy them in six- packs.
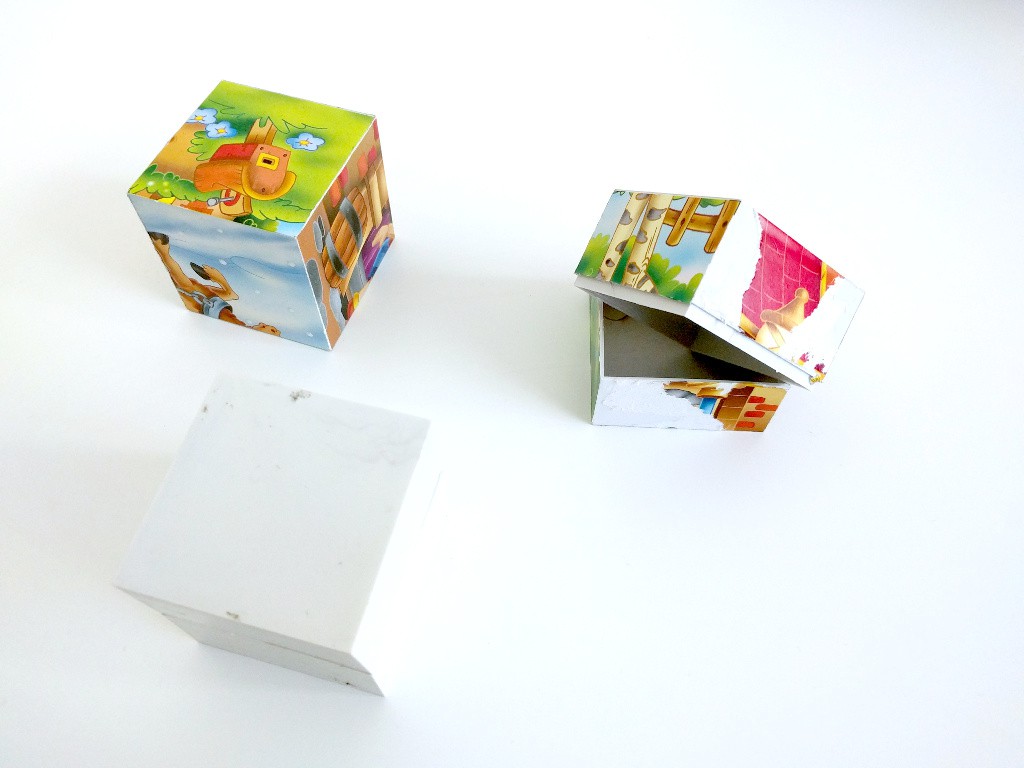
Of course you need to peel off and wash away the paper pictures from them (unless you don’t mind your robot having them).
We need to mark the holes for the servos. I align them so that the hub of the servo is on the center line.
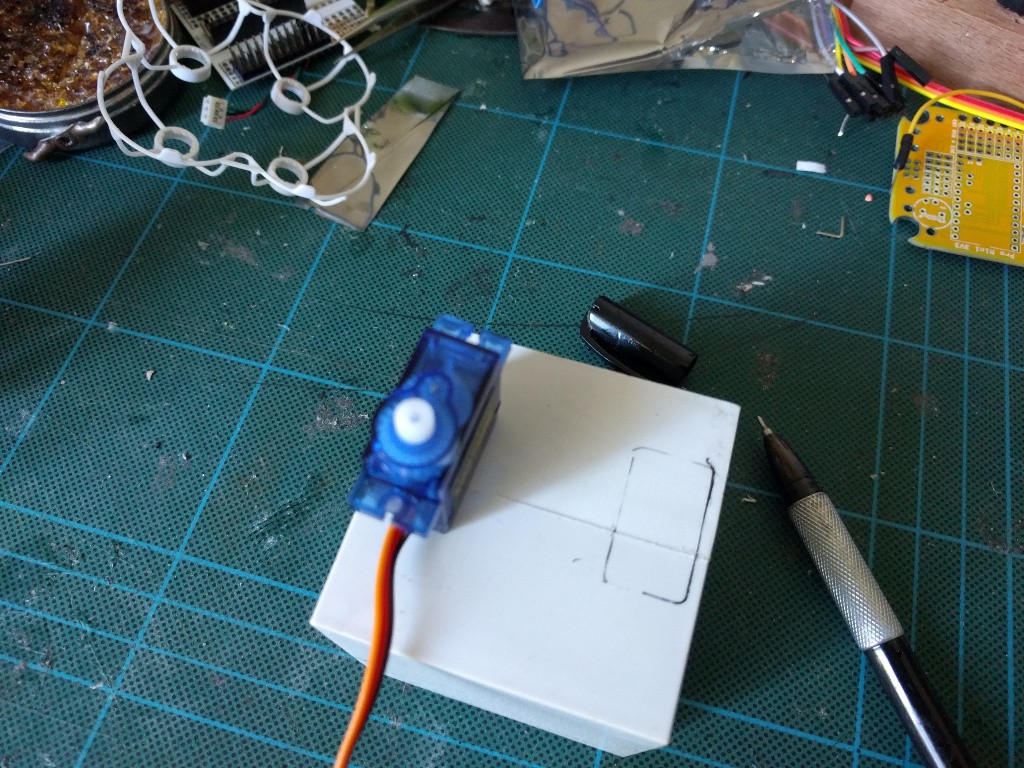
Then I cut it with a knife, a metal saw or a dremel tool.
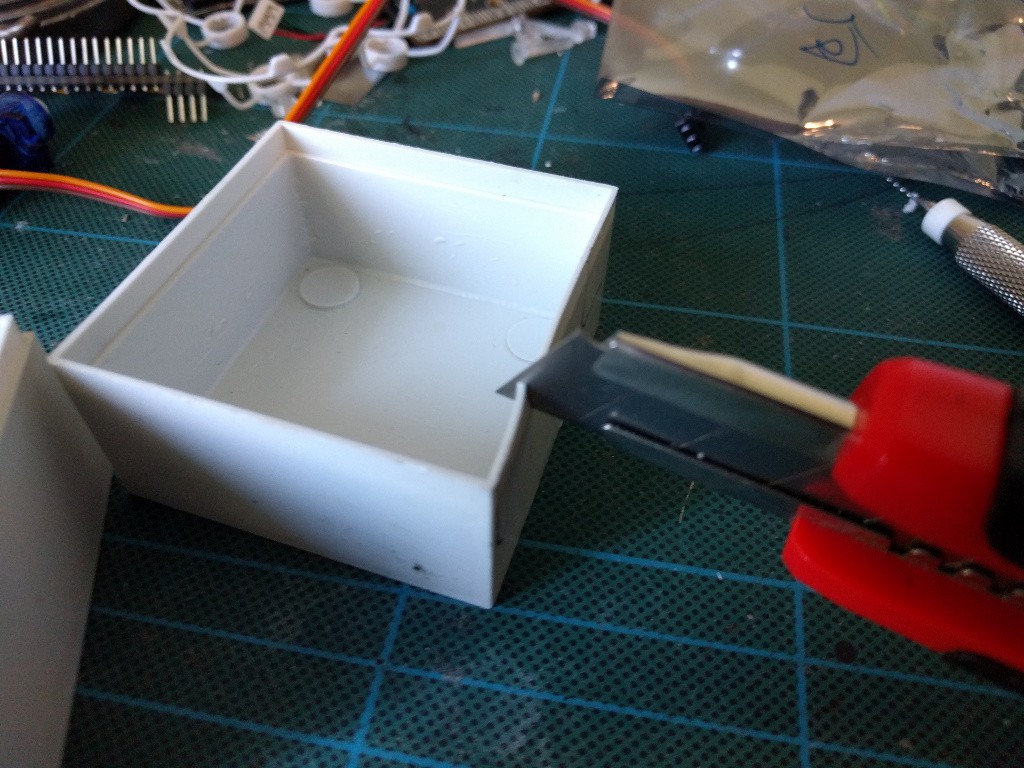
Then drill the holes for screws.
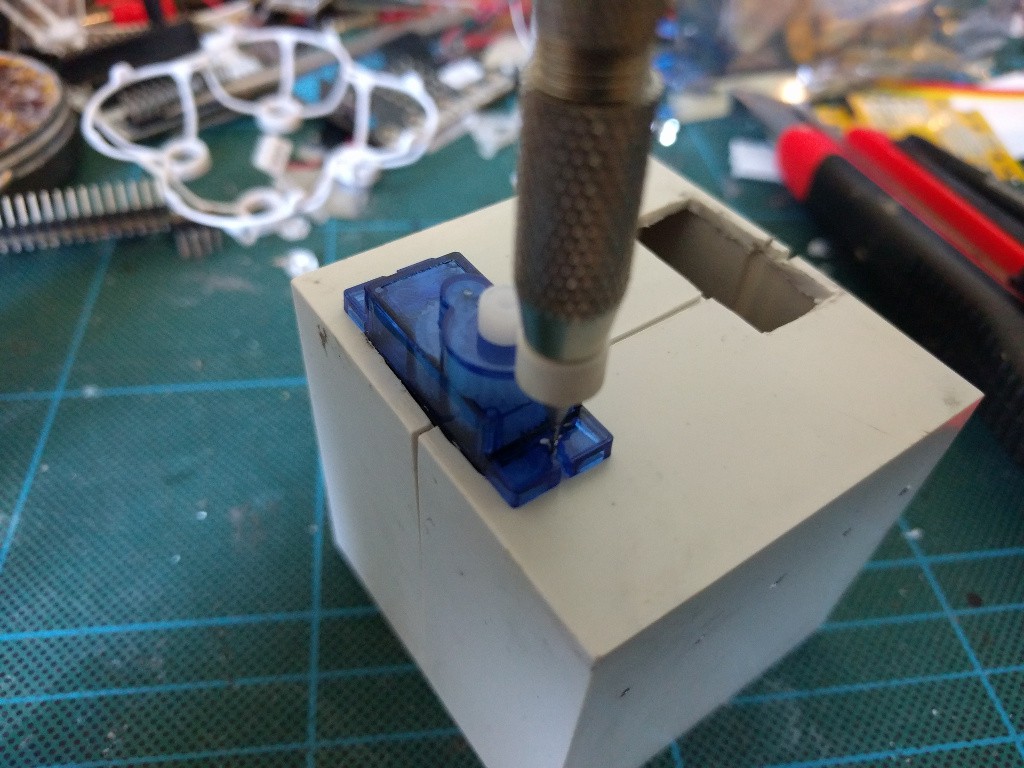
We also need the holes for bolting on the Micro:bit.\
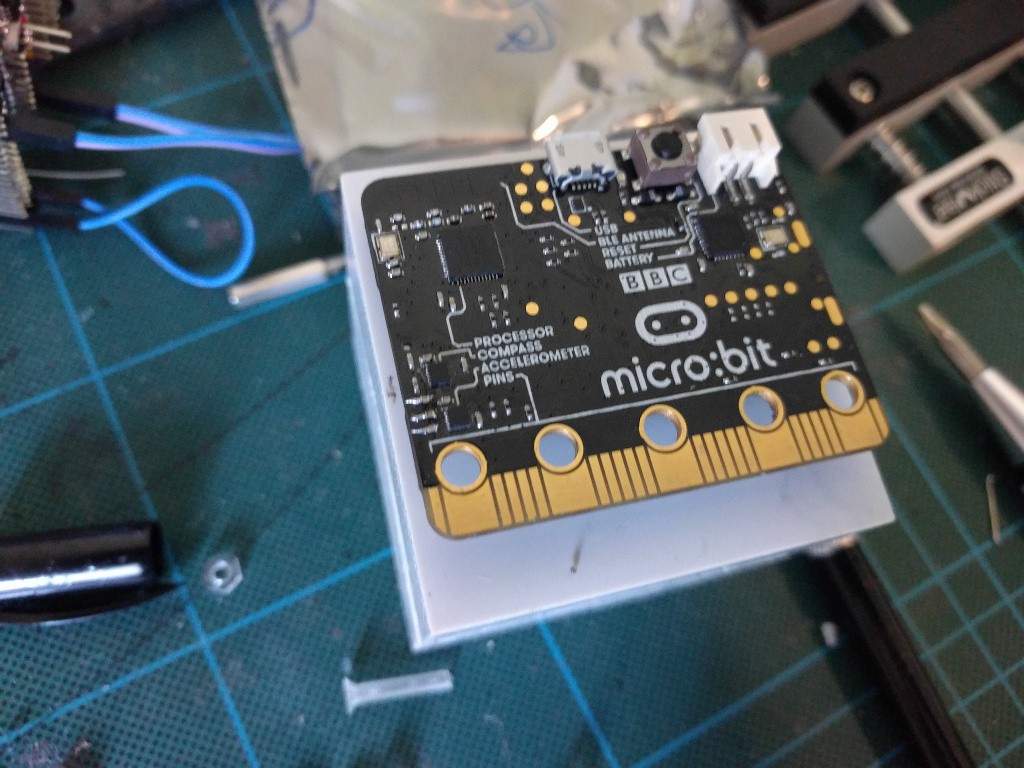
Once I mark the holes, I drill them with a small drill bit.
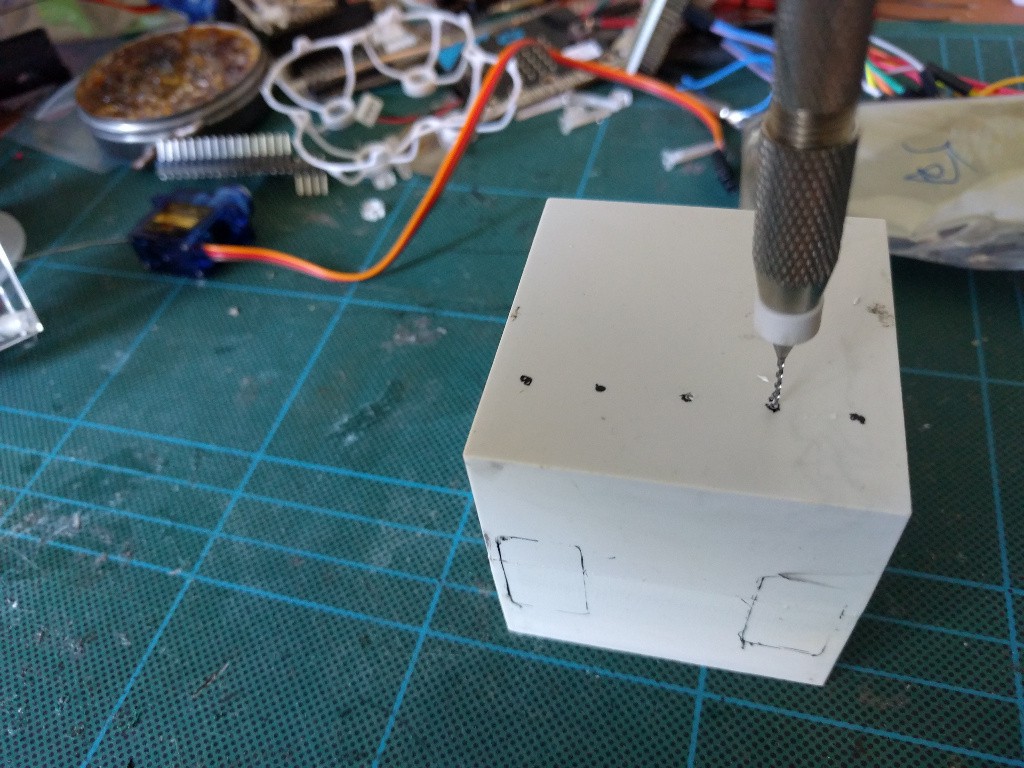
And then I enlarge the holes with a screw or a dremel tool.
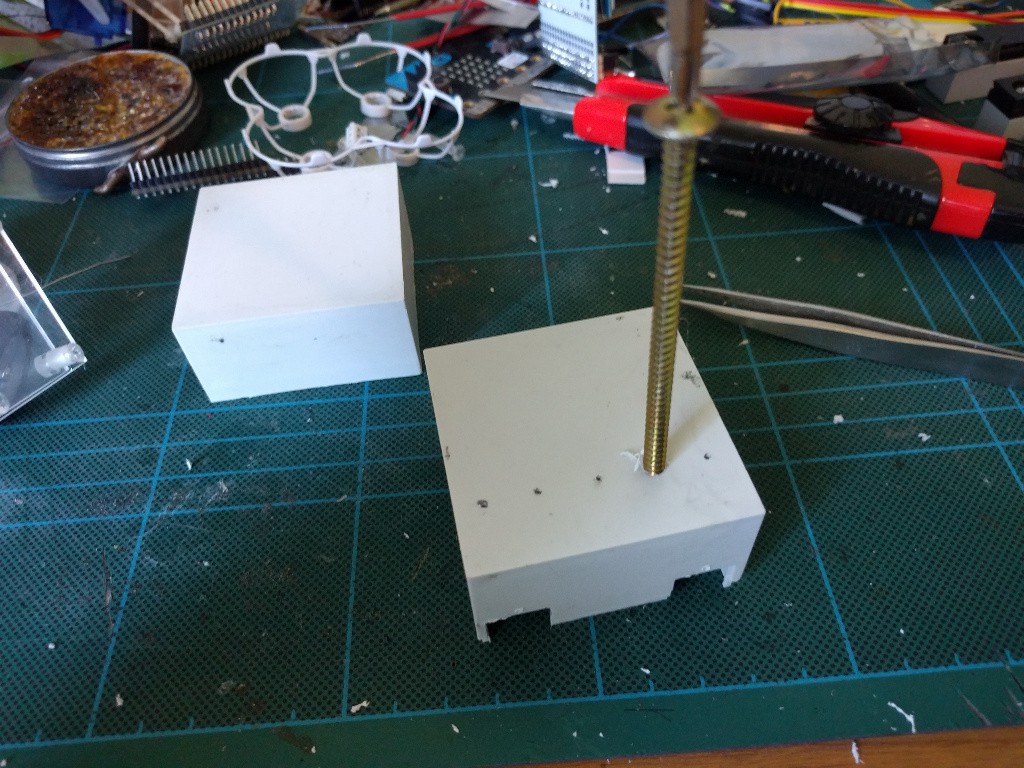
Finally I clean any irregularities.
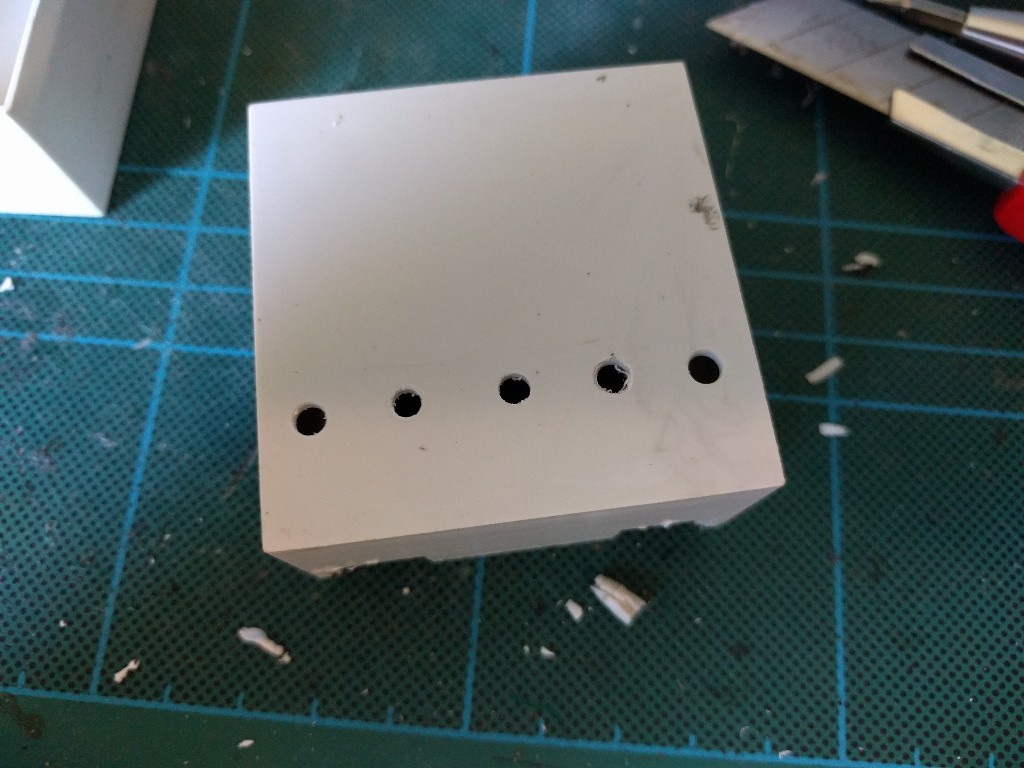
When I added the bolts and checked how the micro:bit fits, I discovered that the battery plug is too thick.
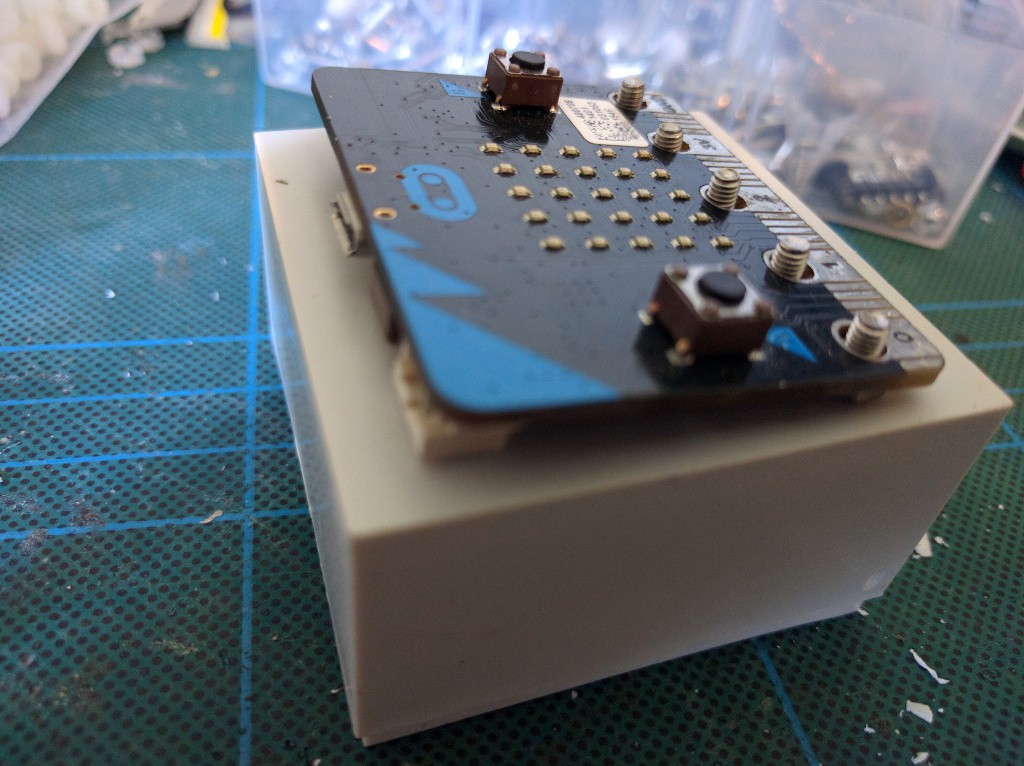
So I quickly made an additional hole in the box.
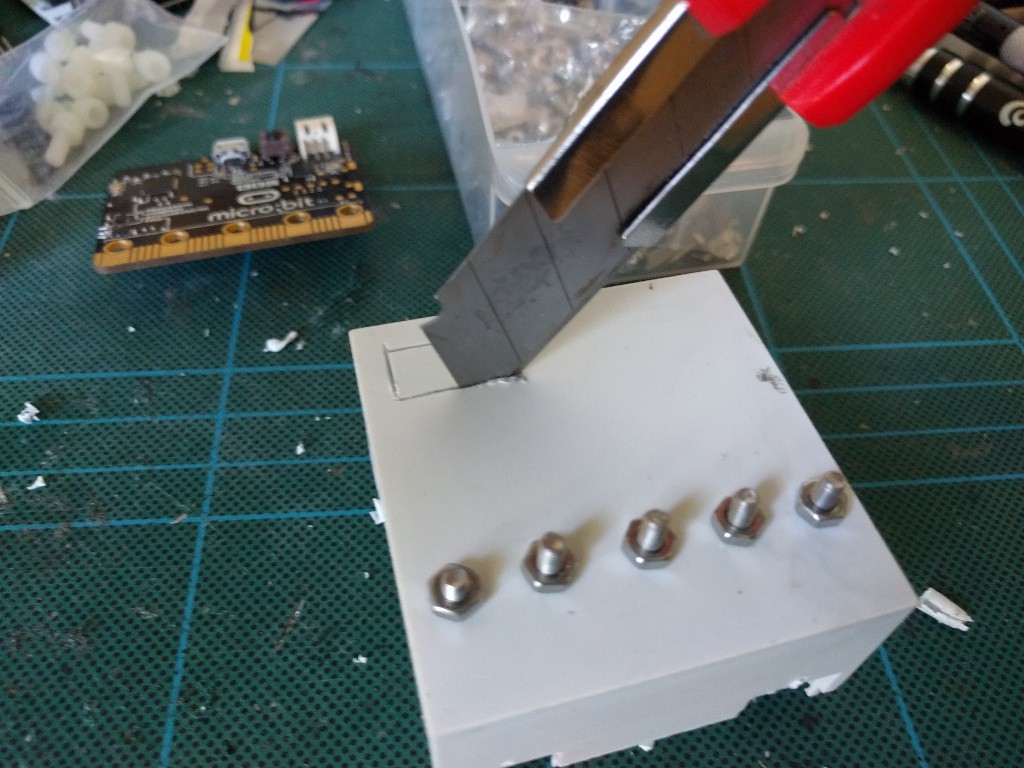
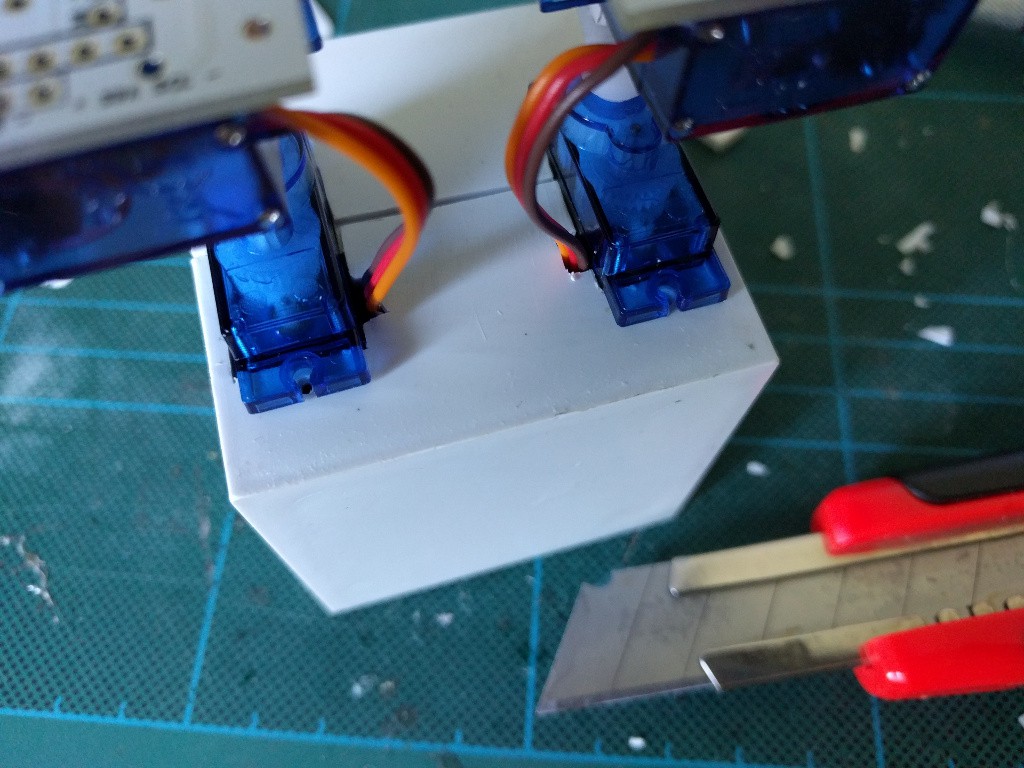
Now it fits perfectly, and also the servos can be attached.
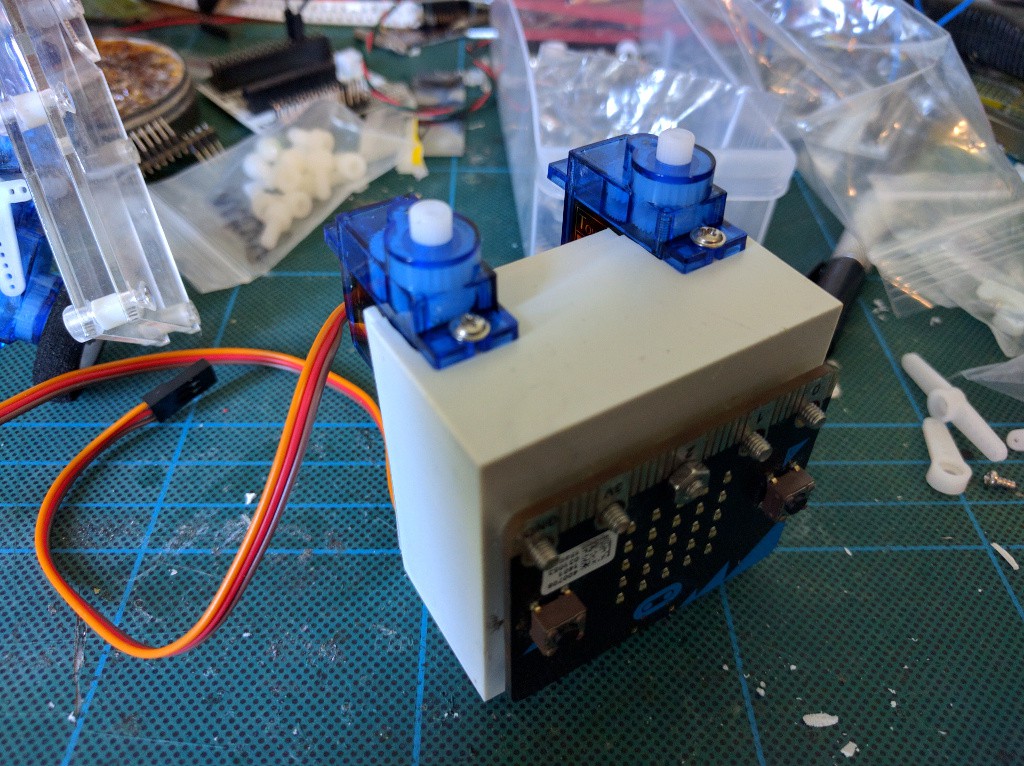
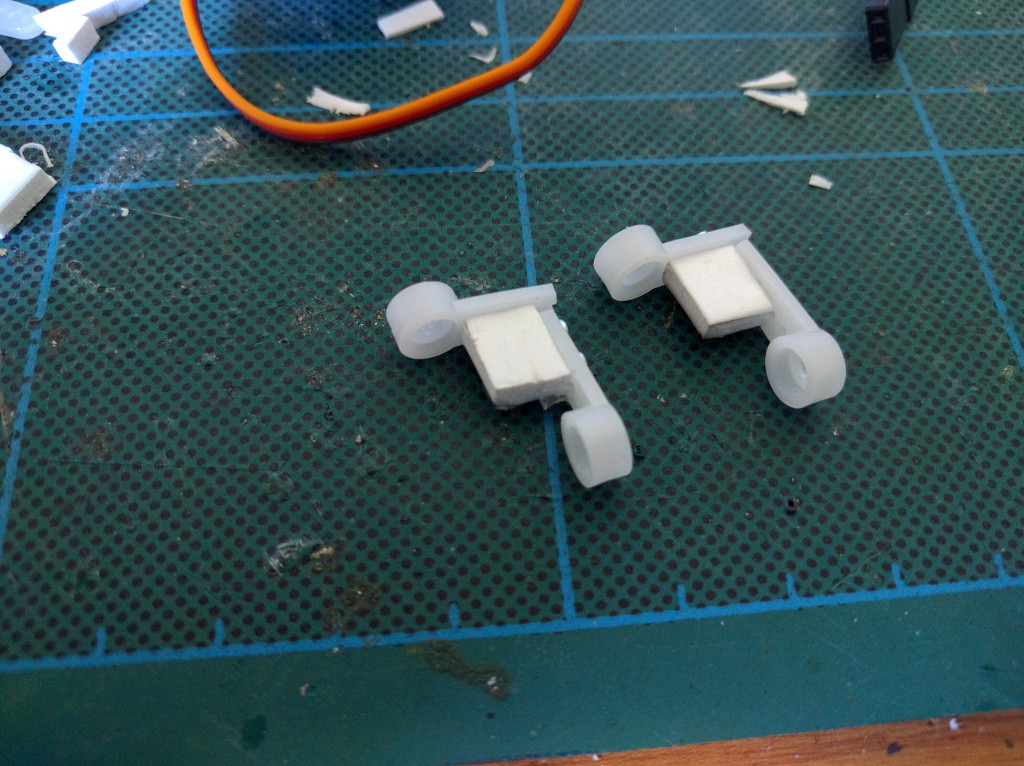
I used some tiny screws and small pieces of foamed plastic to make the knees out of the servo horns. Glue was applied liberally to make it rigid.
Some more glue to attach the feet. I used old PCBs from some project, but pieces of plastic or wood, or even old credit cards could be used.
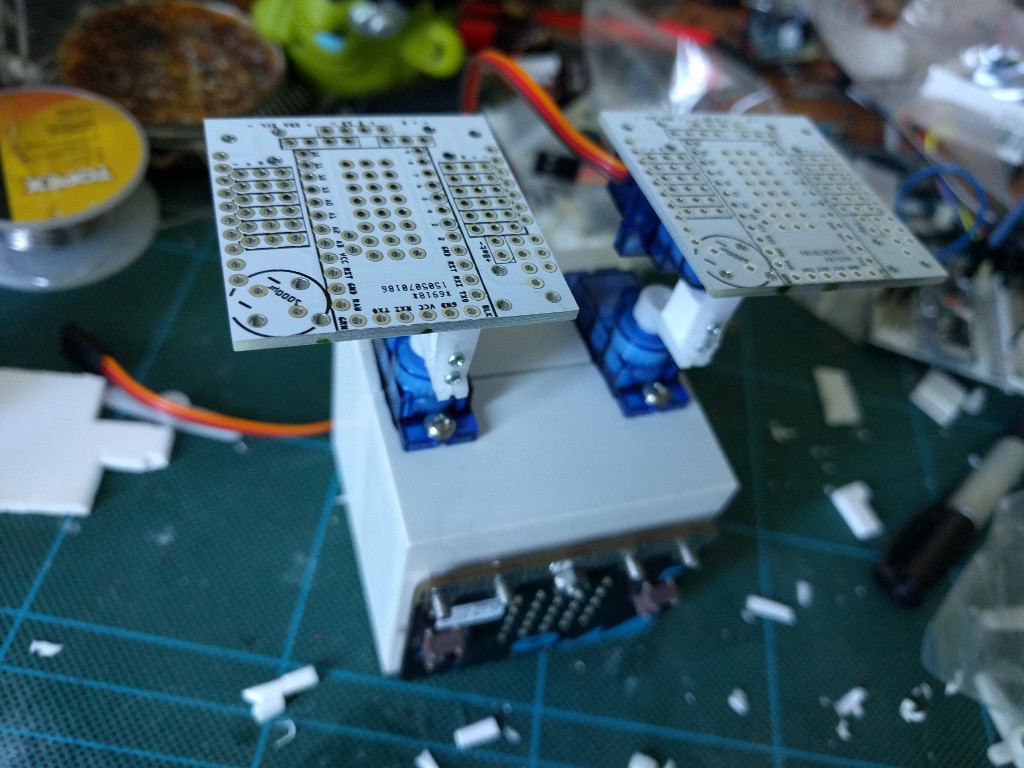
Finally, I cut some additional holes for the servo cables.
 deshipu.art