Butchering
Published on 2015-10-30 in Alpen Clack.
First I need to disassemble the whole keyboard, then I will pick the parts I want to keep and modify it, and then put it back together again. Sounds simple. Let’s start with the switches. They are actually just inserted in the holes in that metal plate, and then soldered to the printed circuit board on the other side.
I briefly considered reusing the printed circuit board too, but it’s a single-layer board with insanely complex paths, and I really don’t feel like reverse engineering this. I will just connect everything with wires instead.
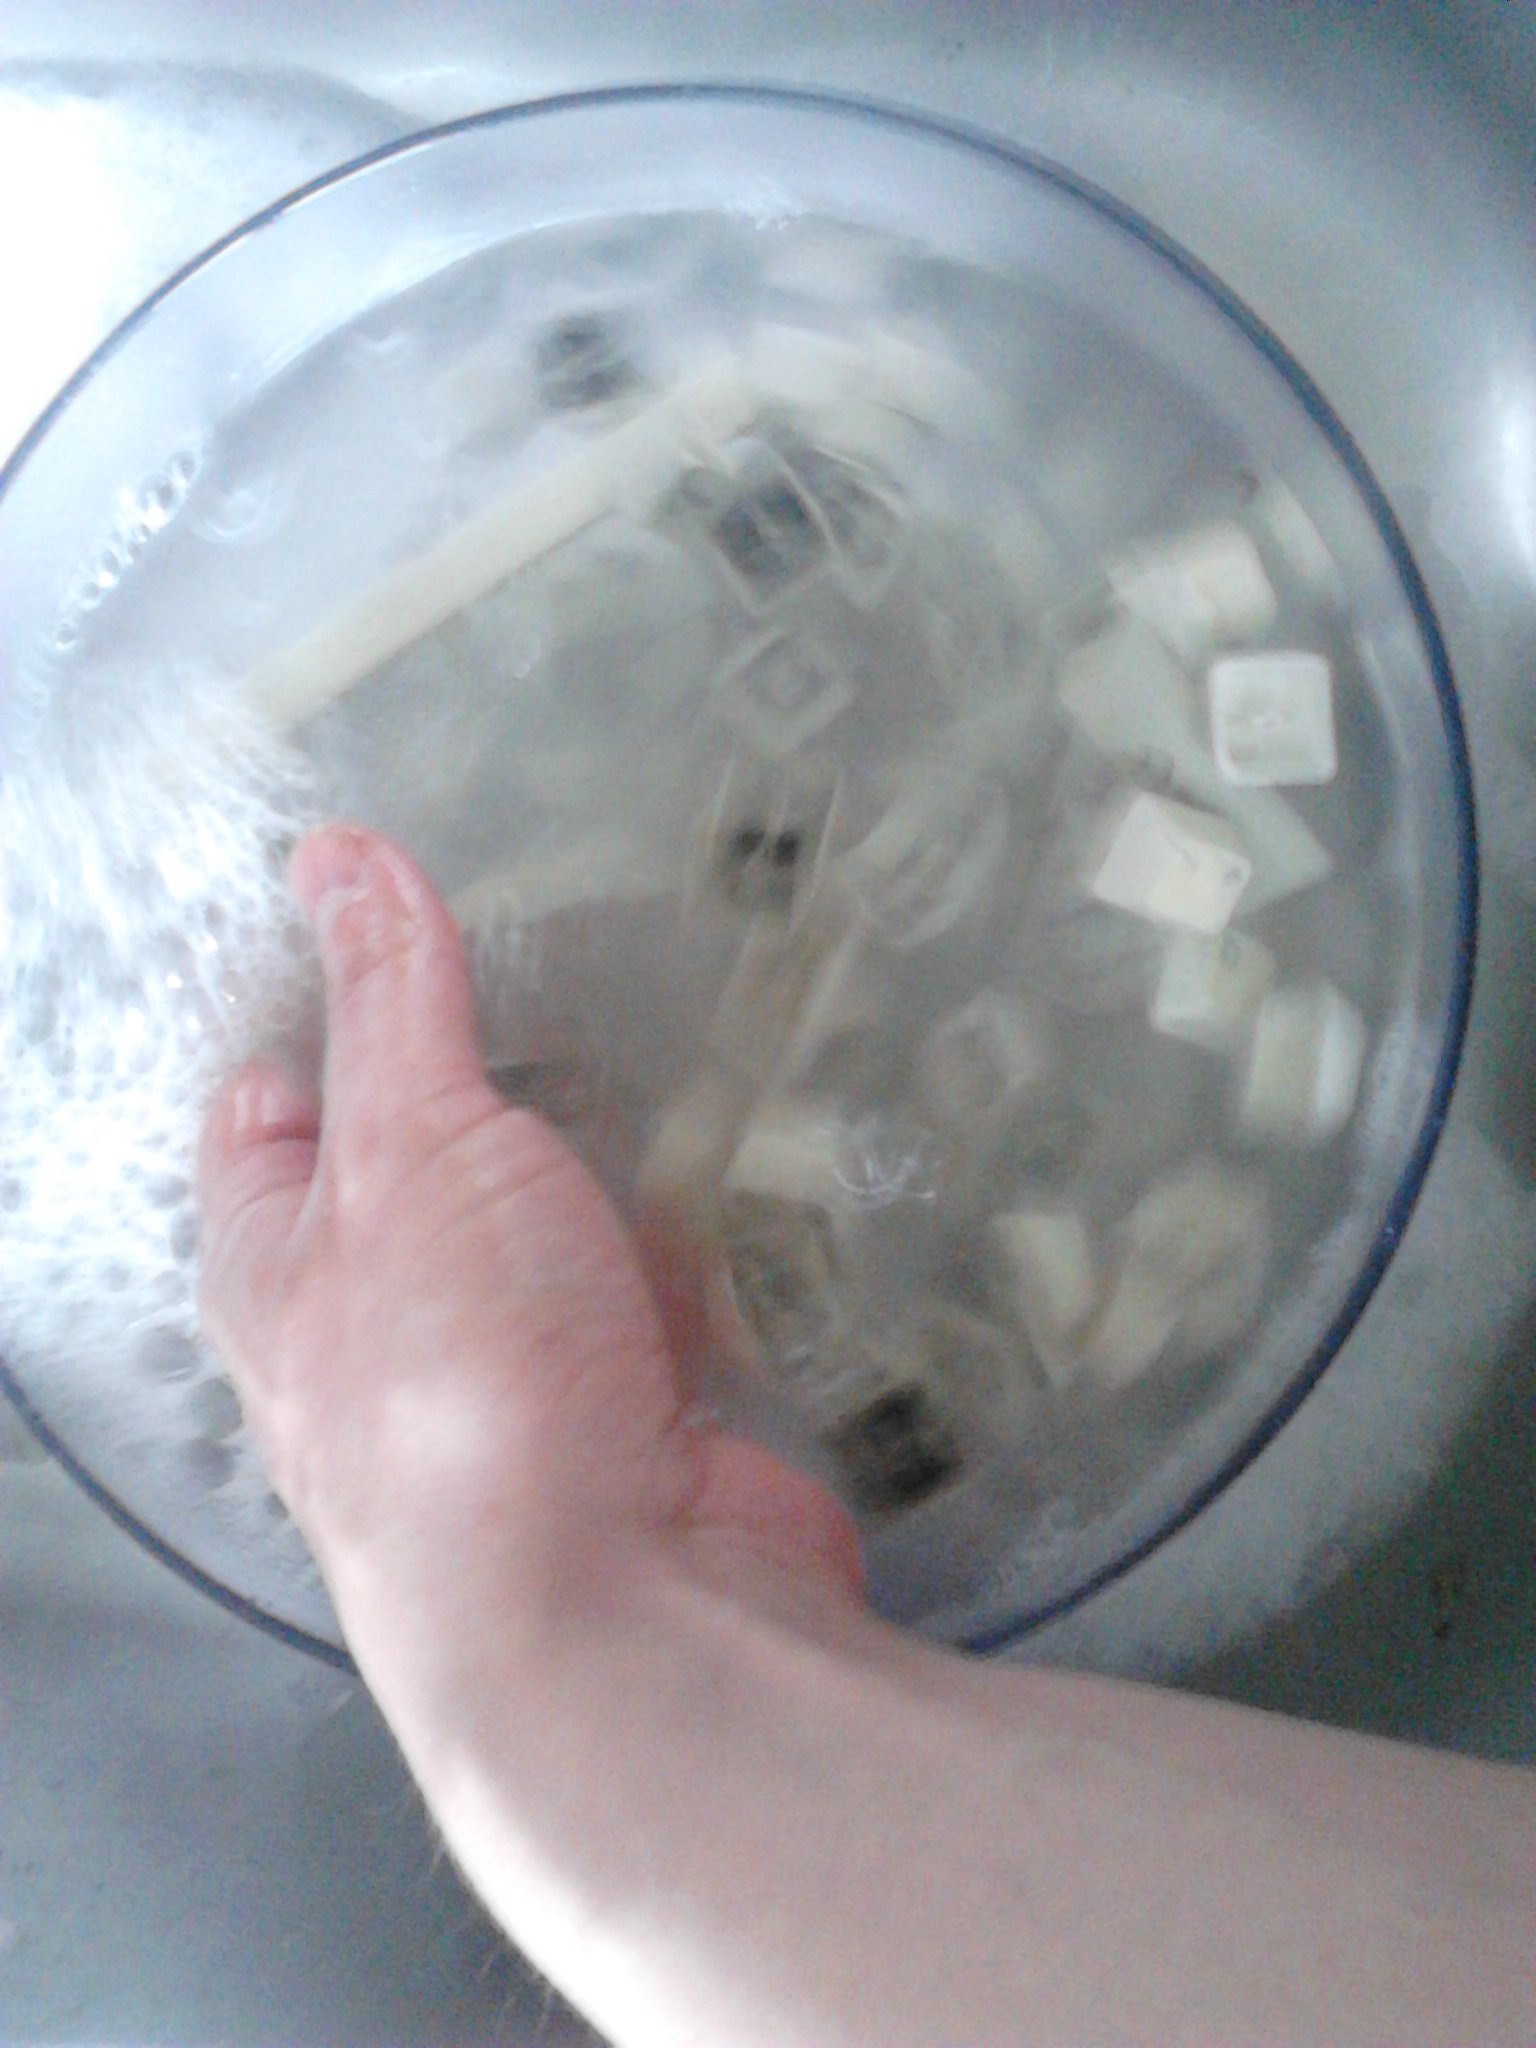
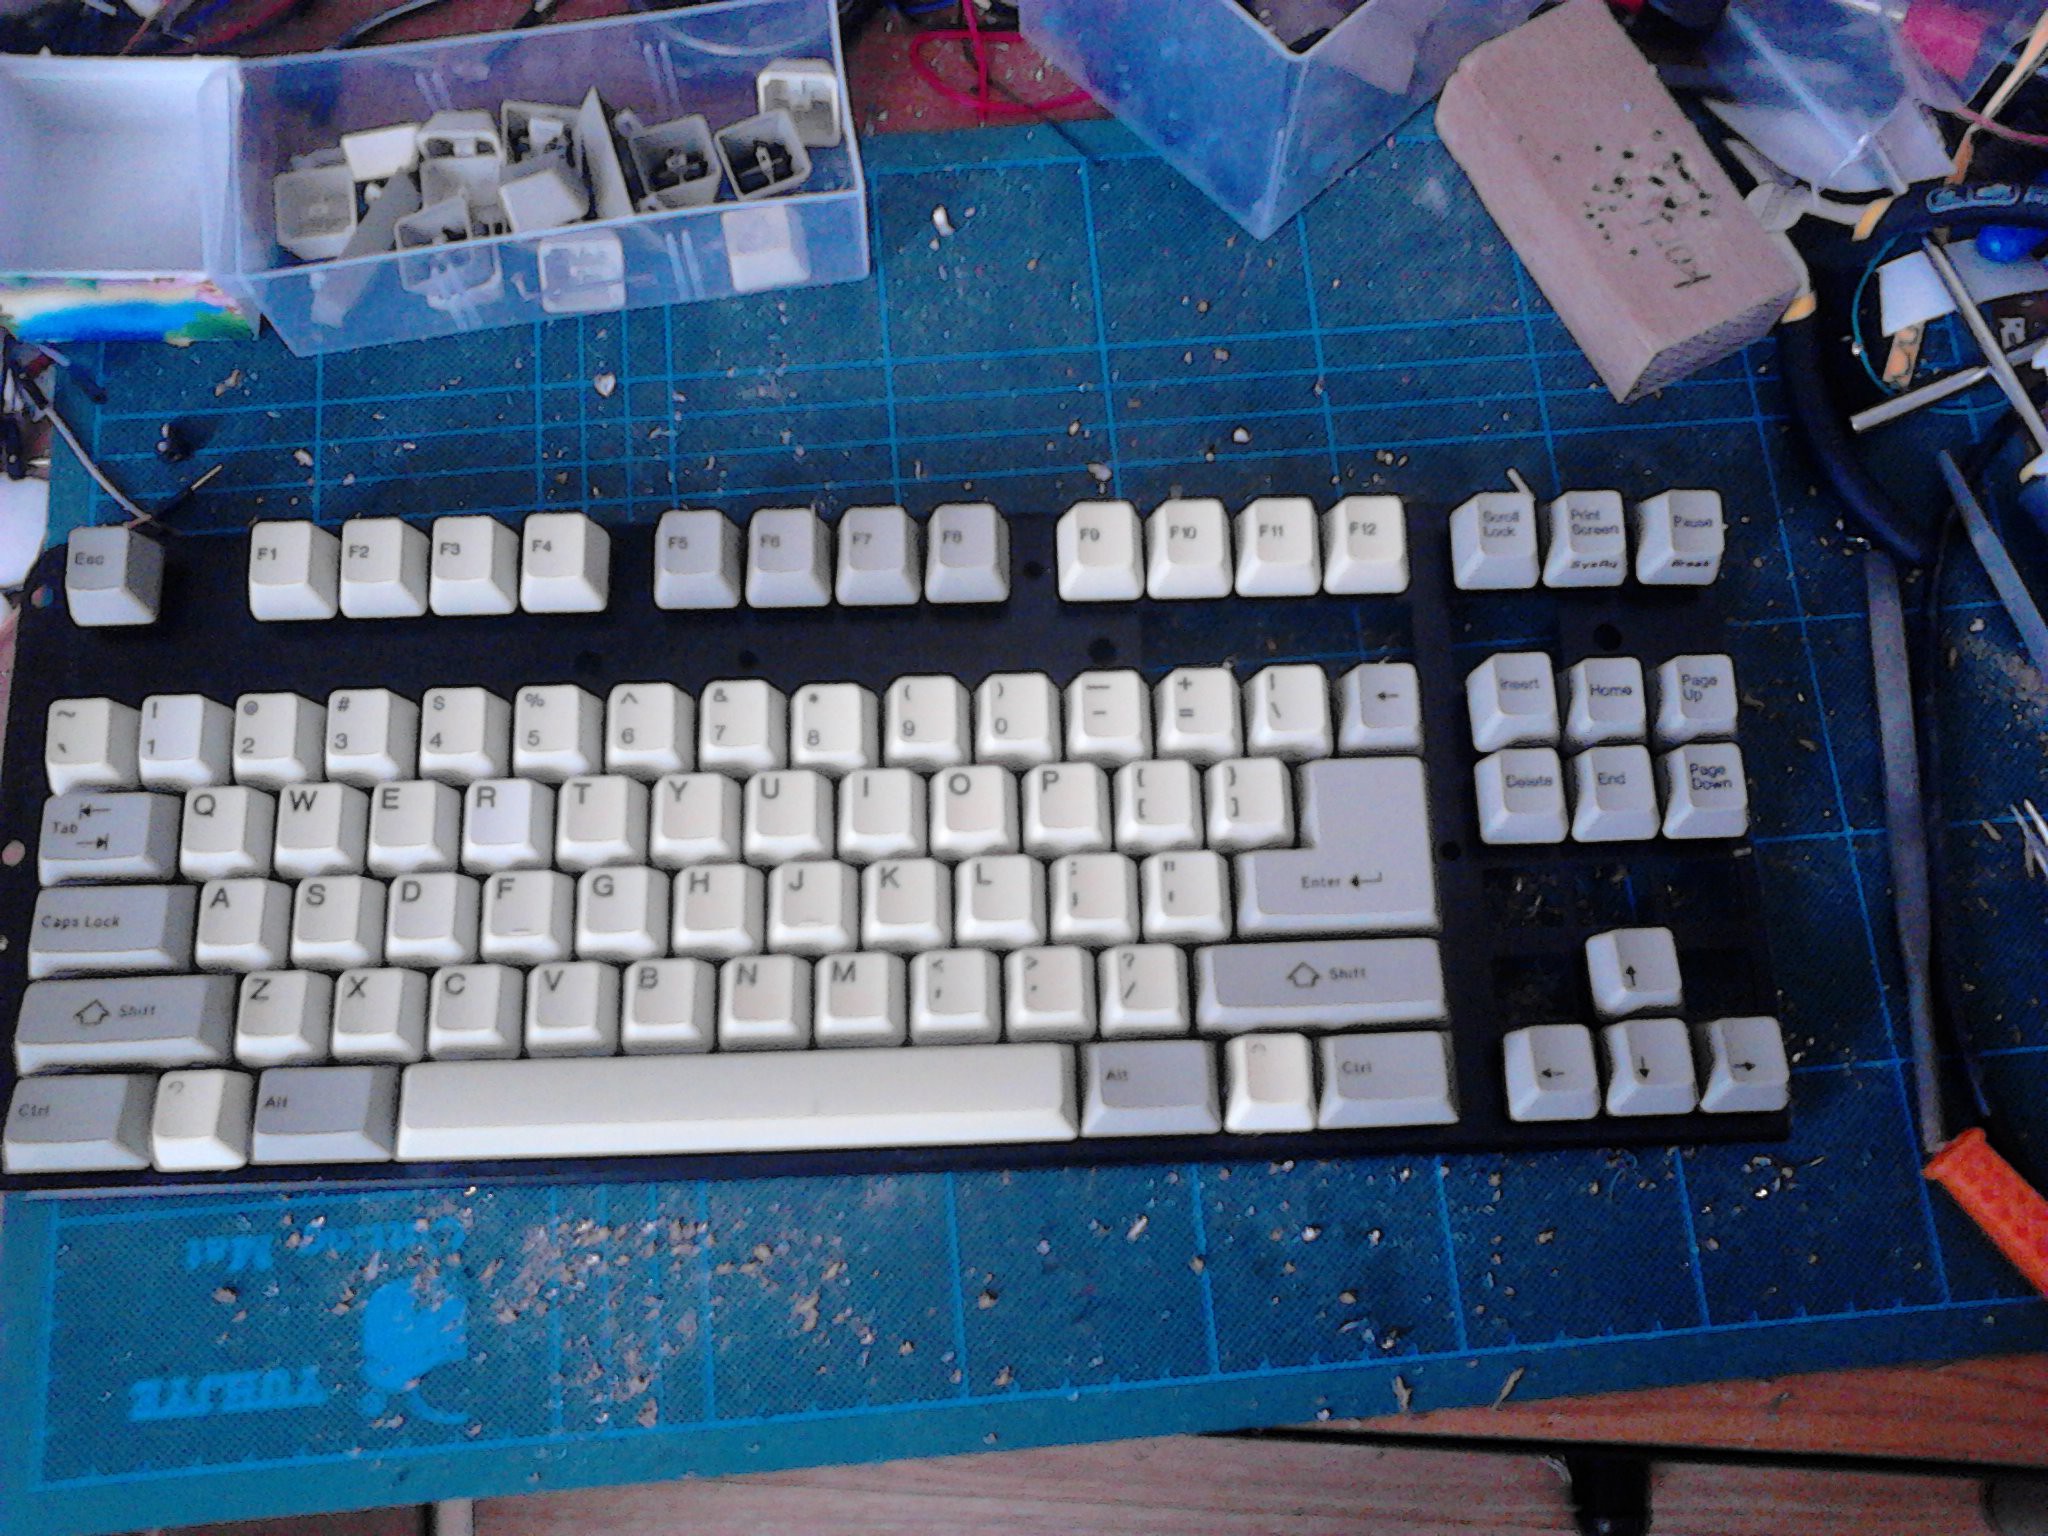
So, the keycaps are removed and washed:
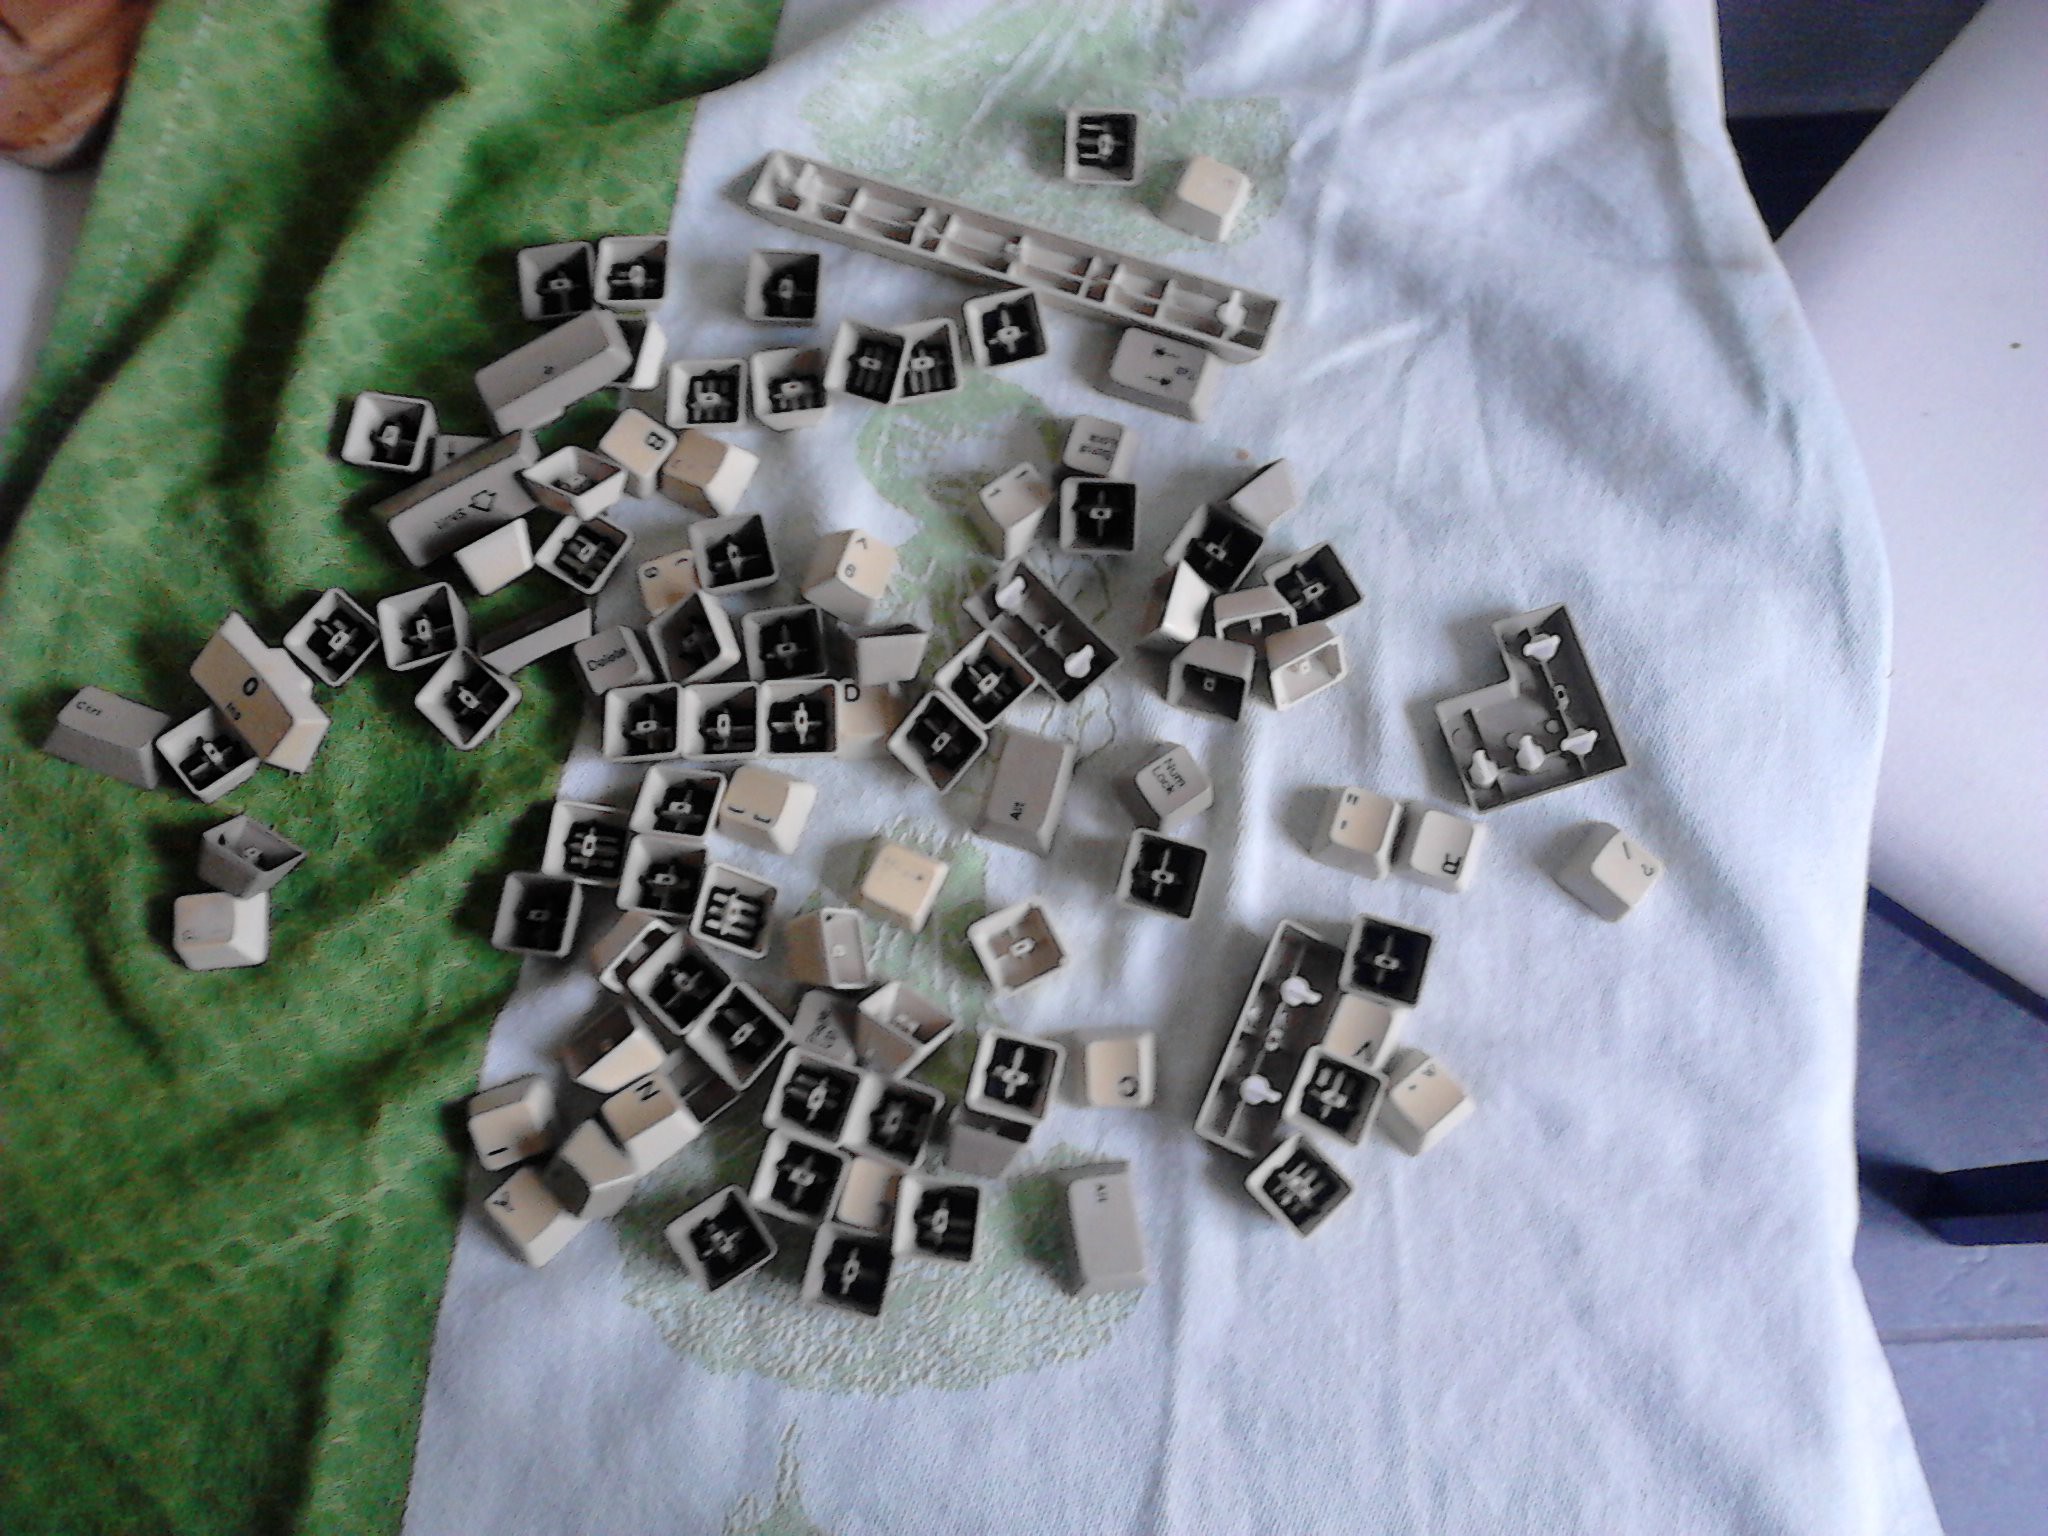
And then put out to dry:
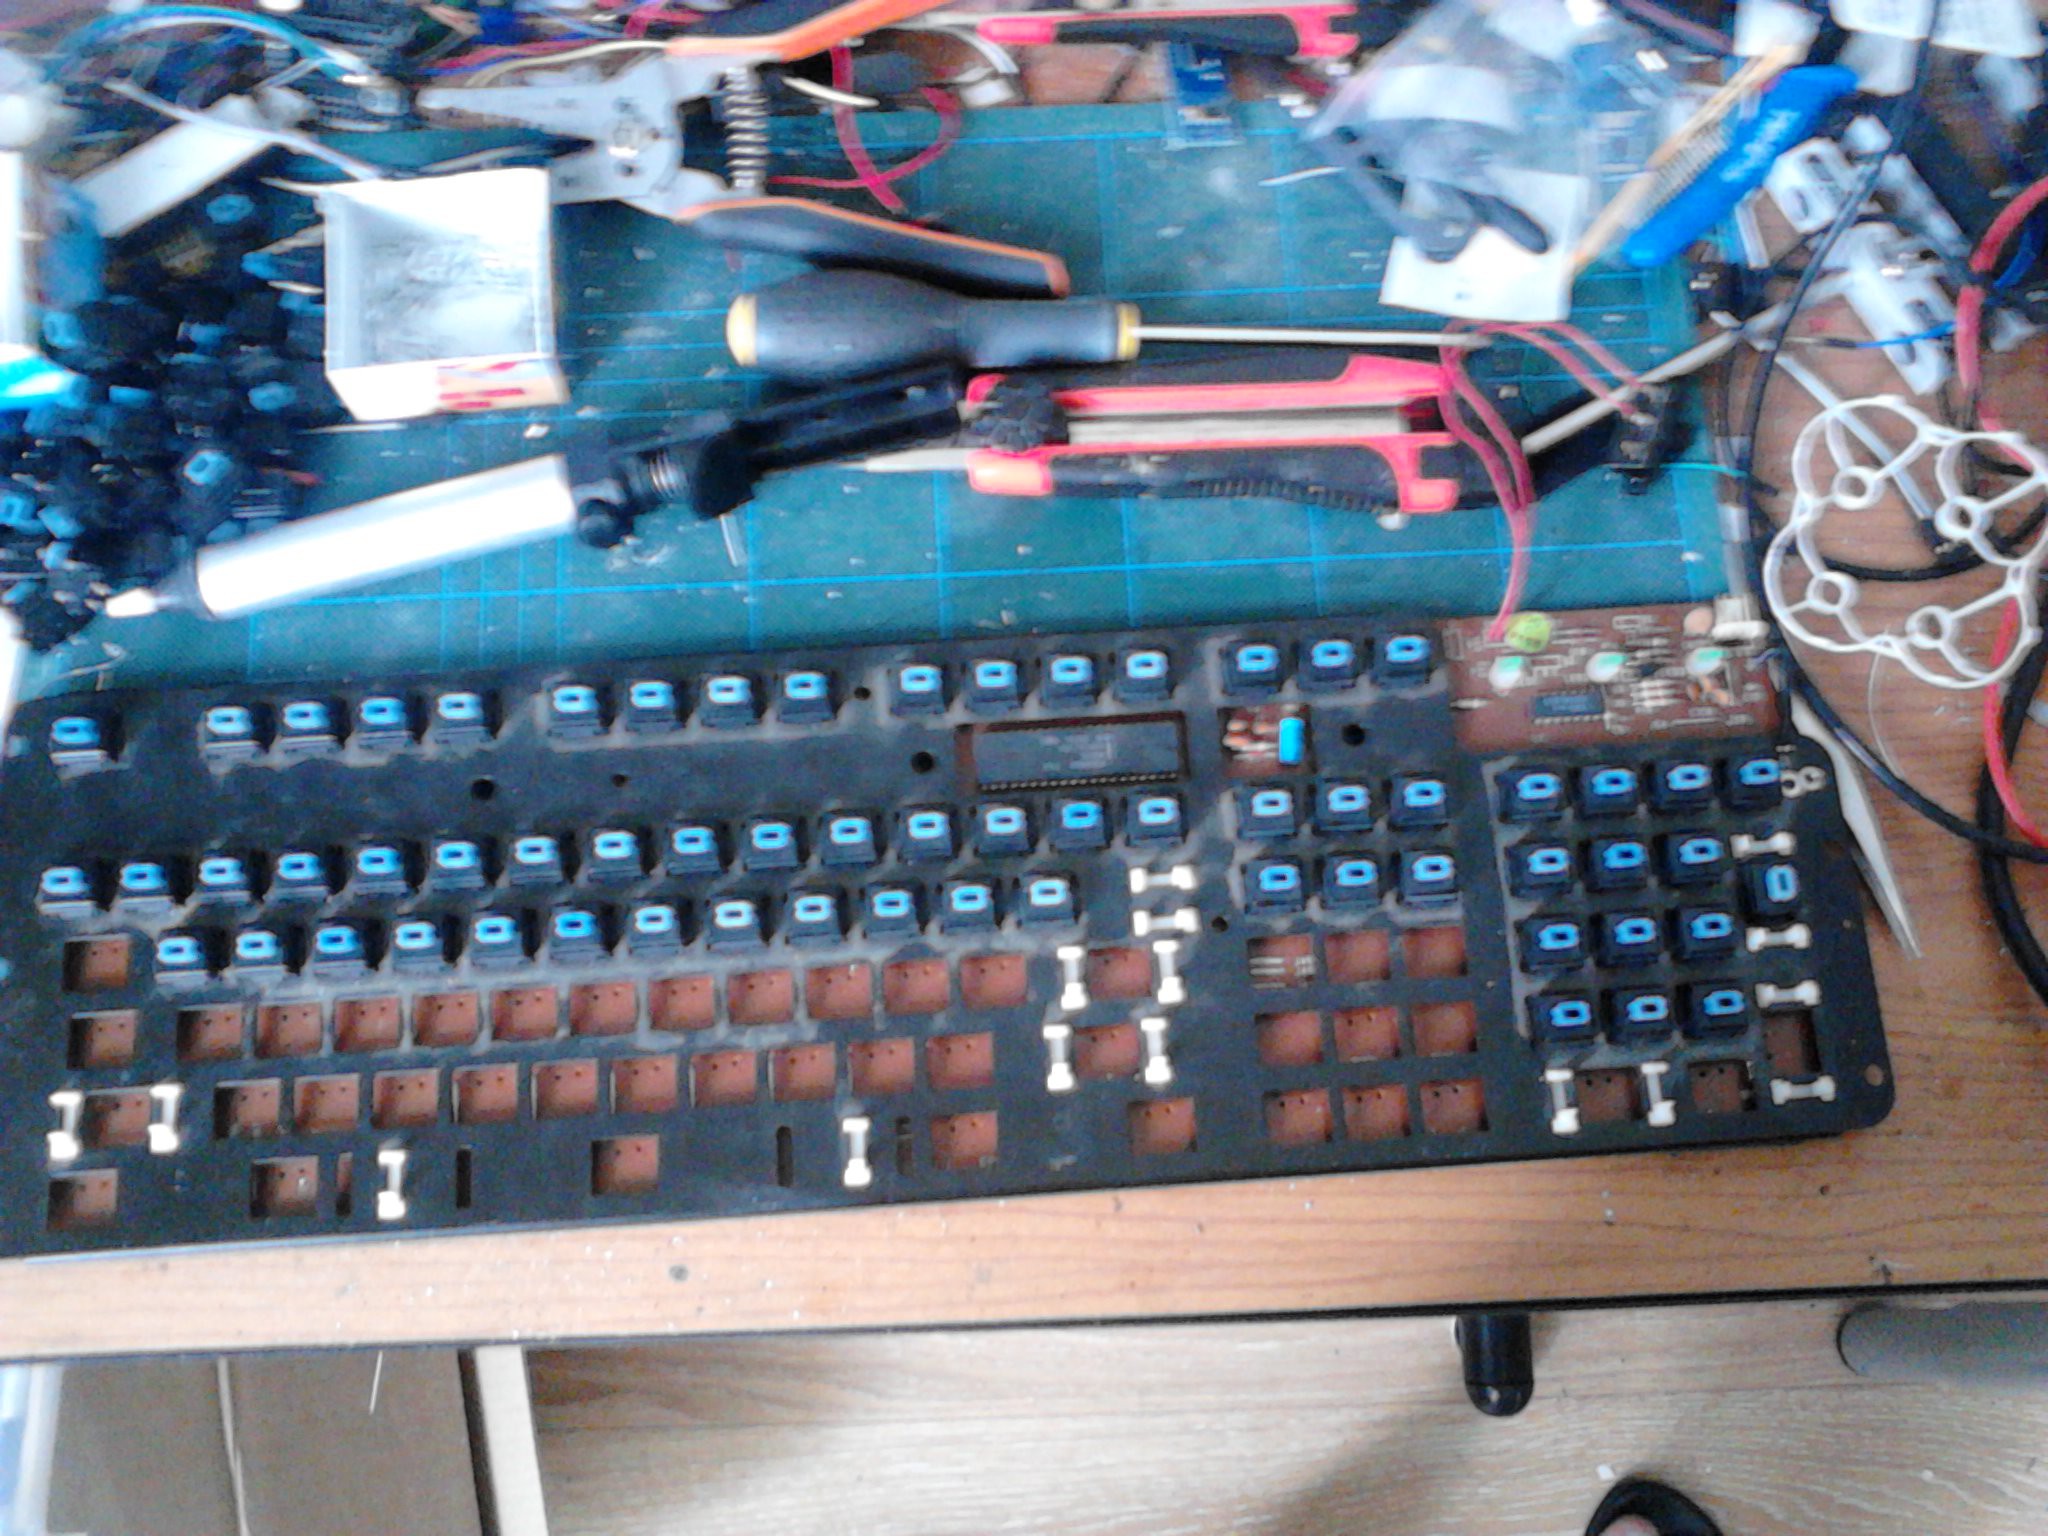
The switches need to be unsoldered and removed one by one:
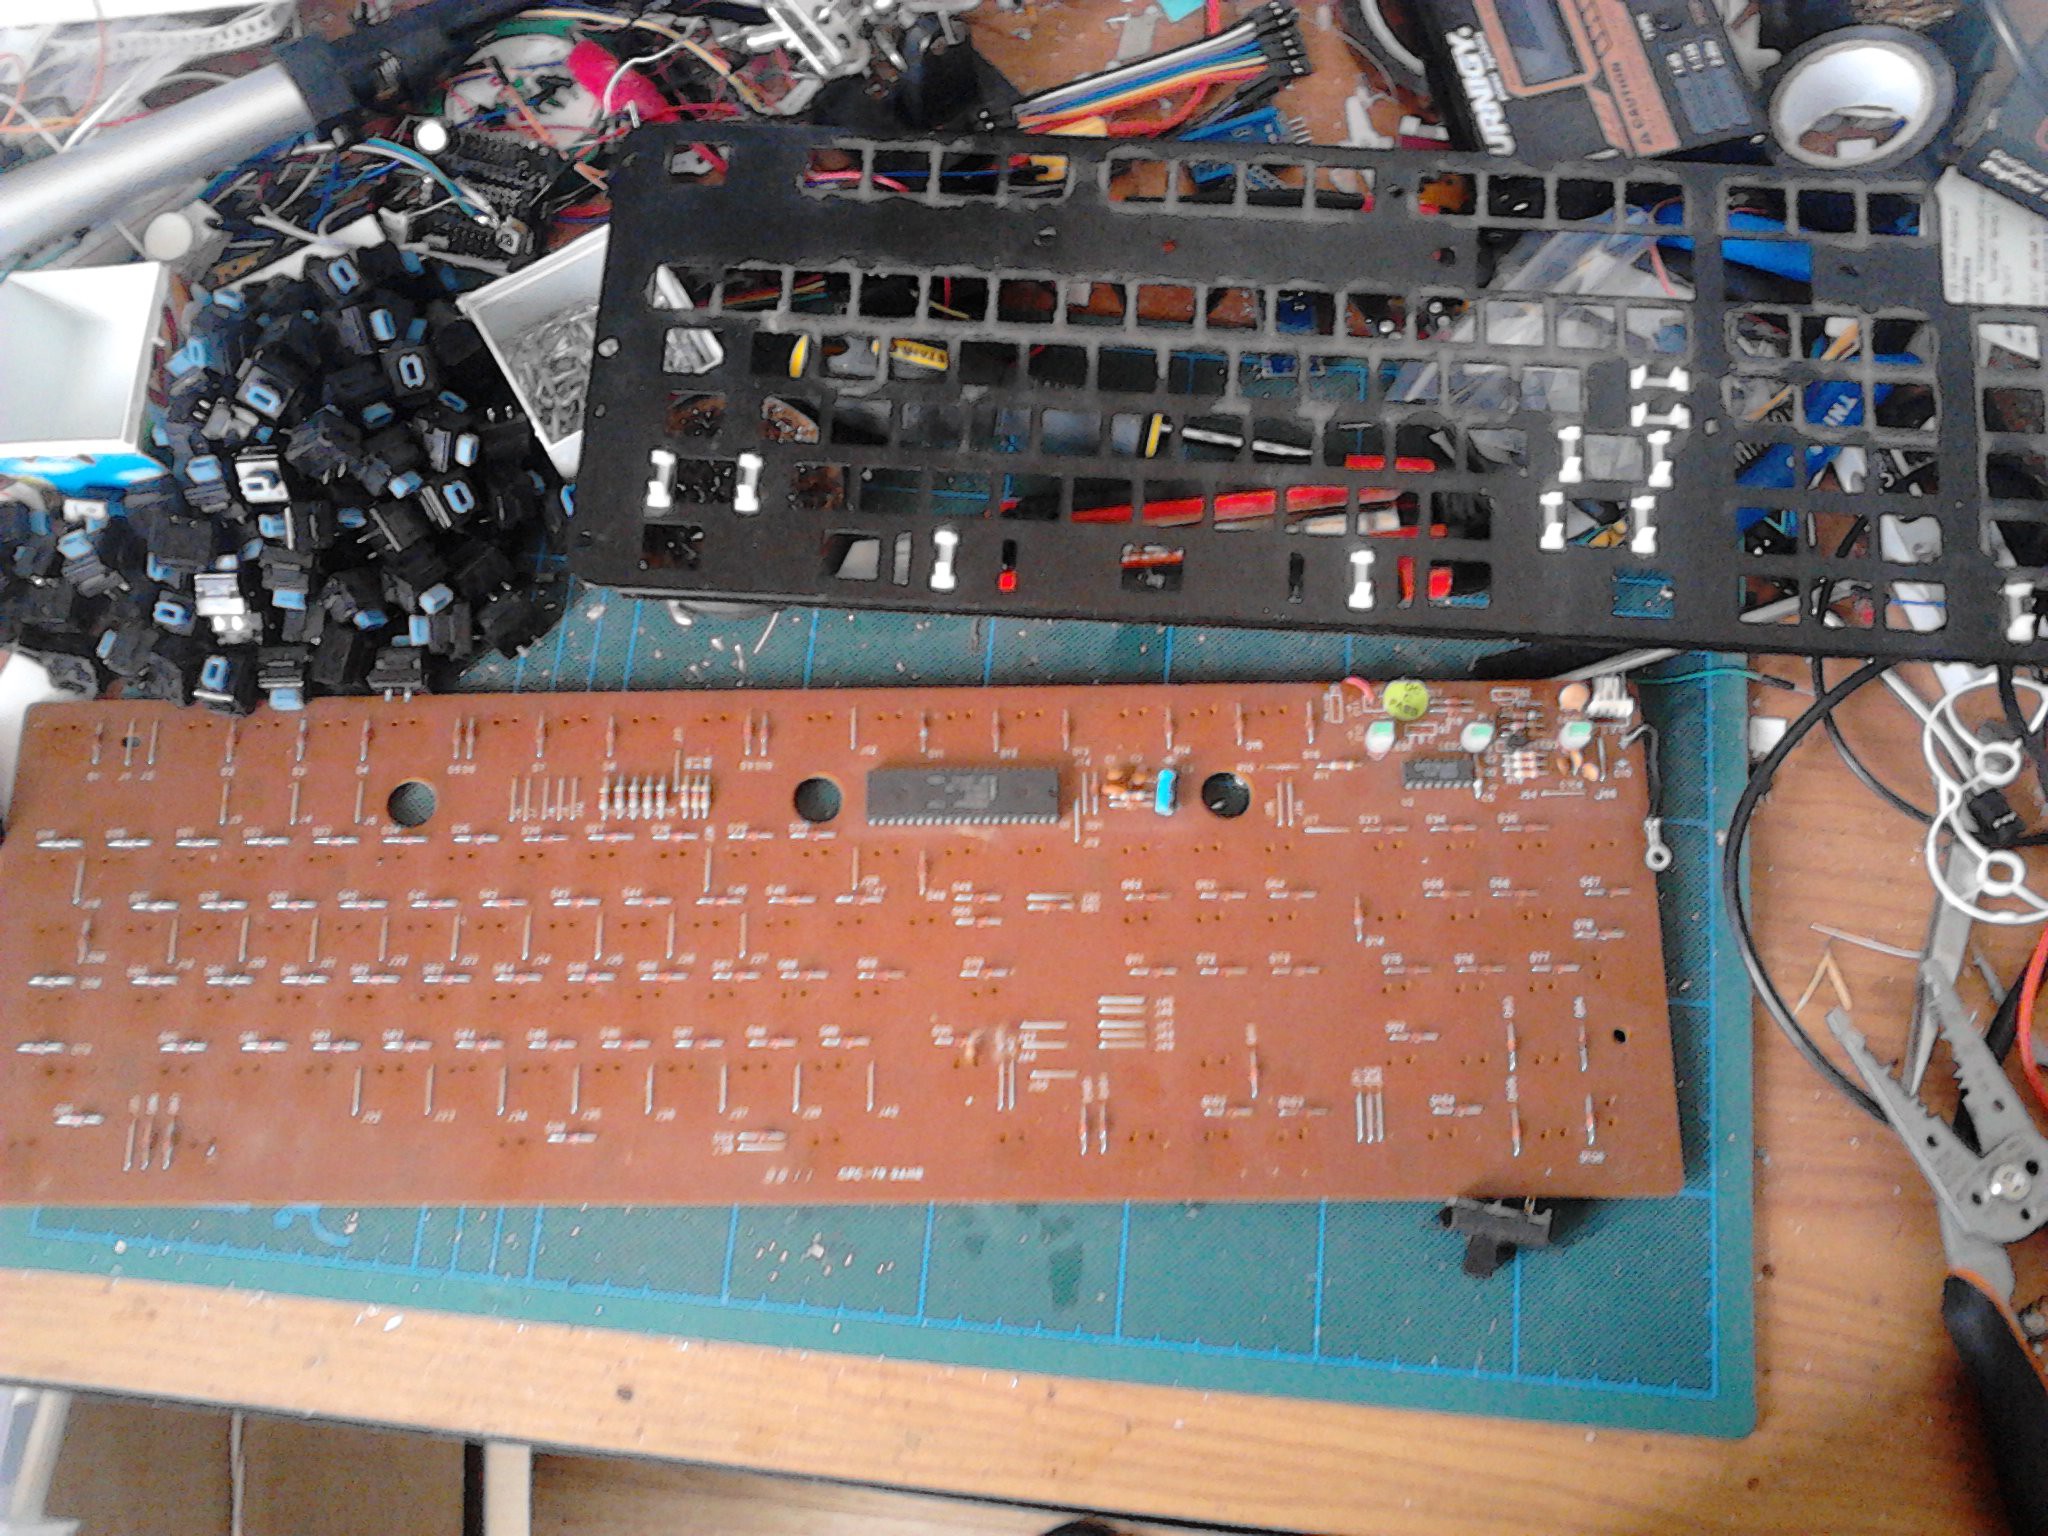
Then the PCB can be removed. I will probably also use all the diodes that are on it:
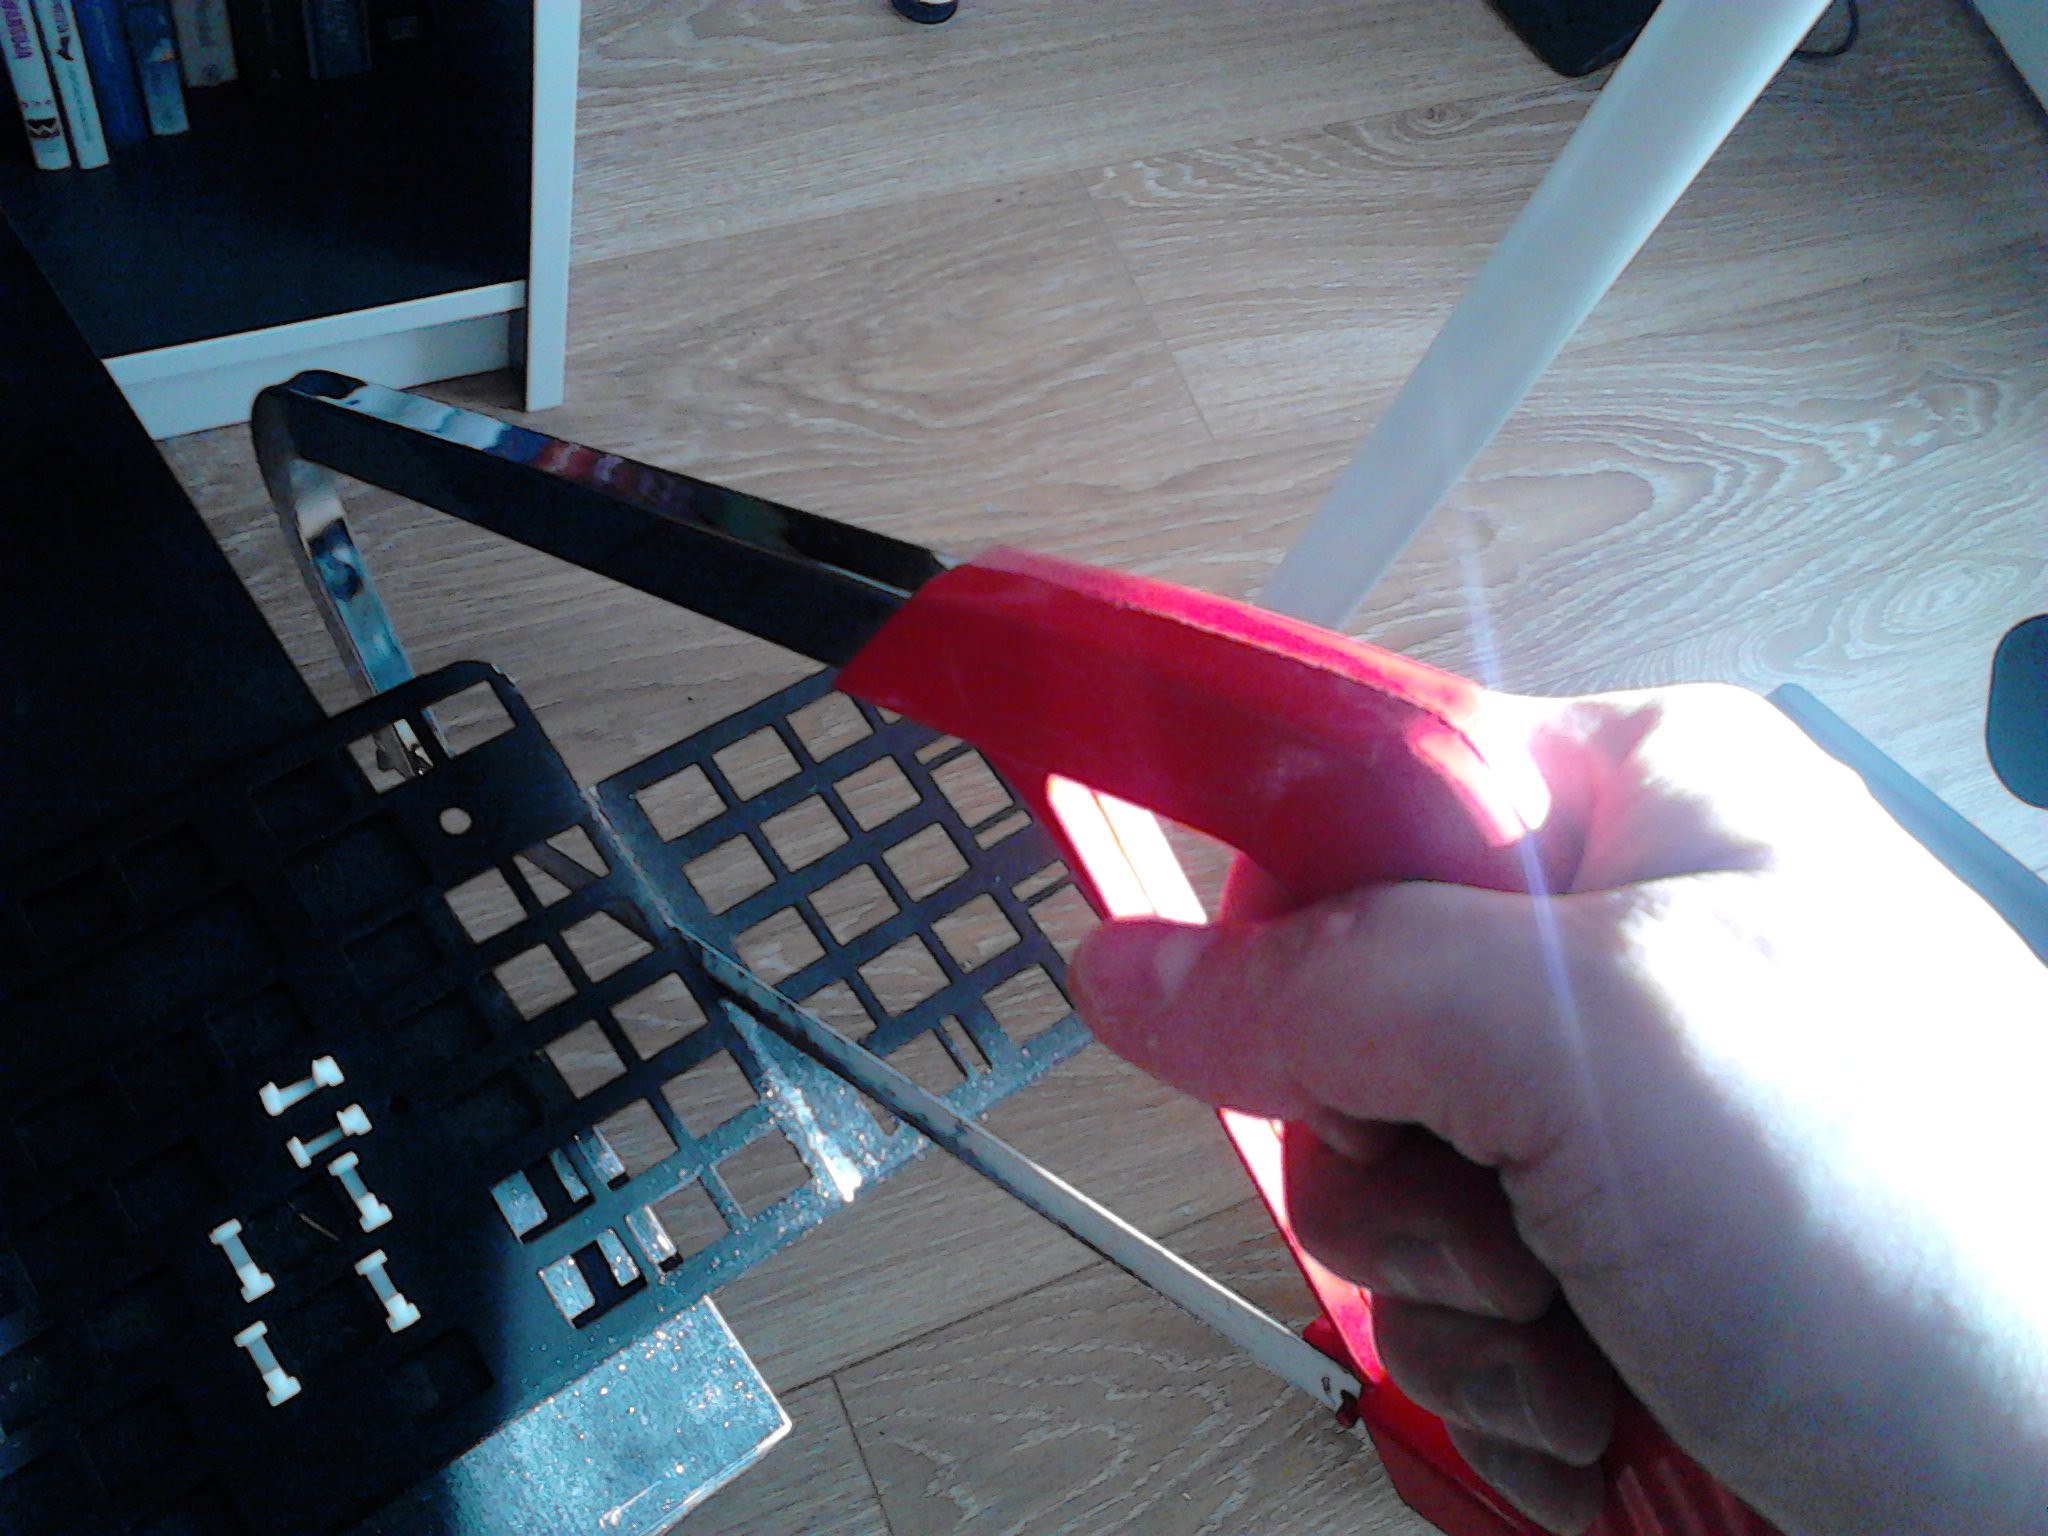
Next, I need to cut the metal plate. First, just cut off the numpad part:
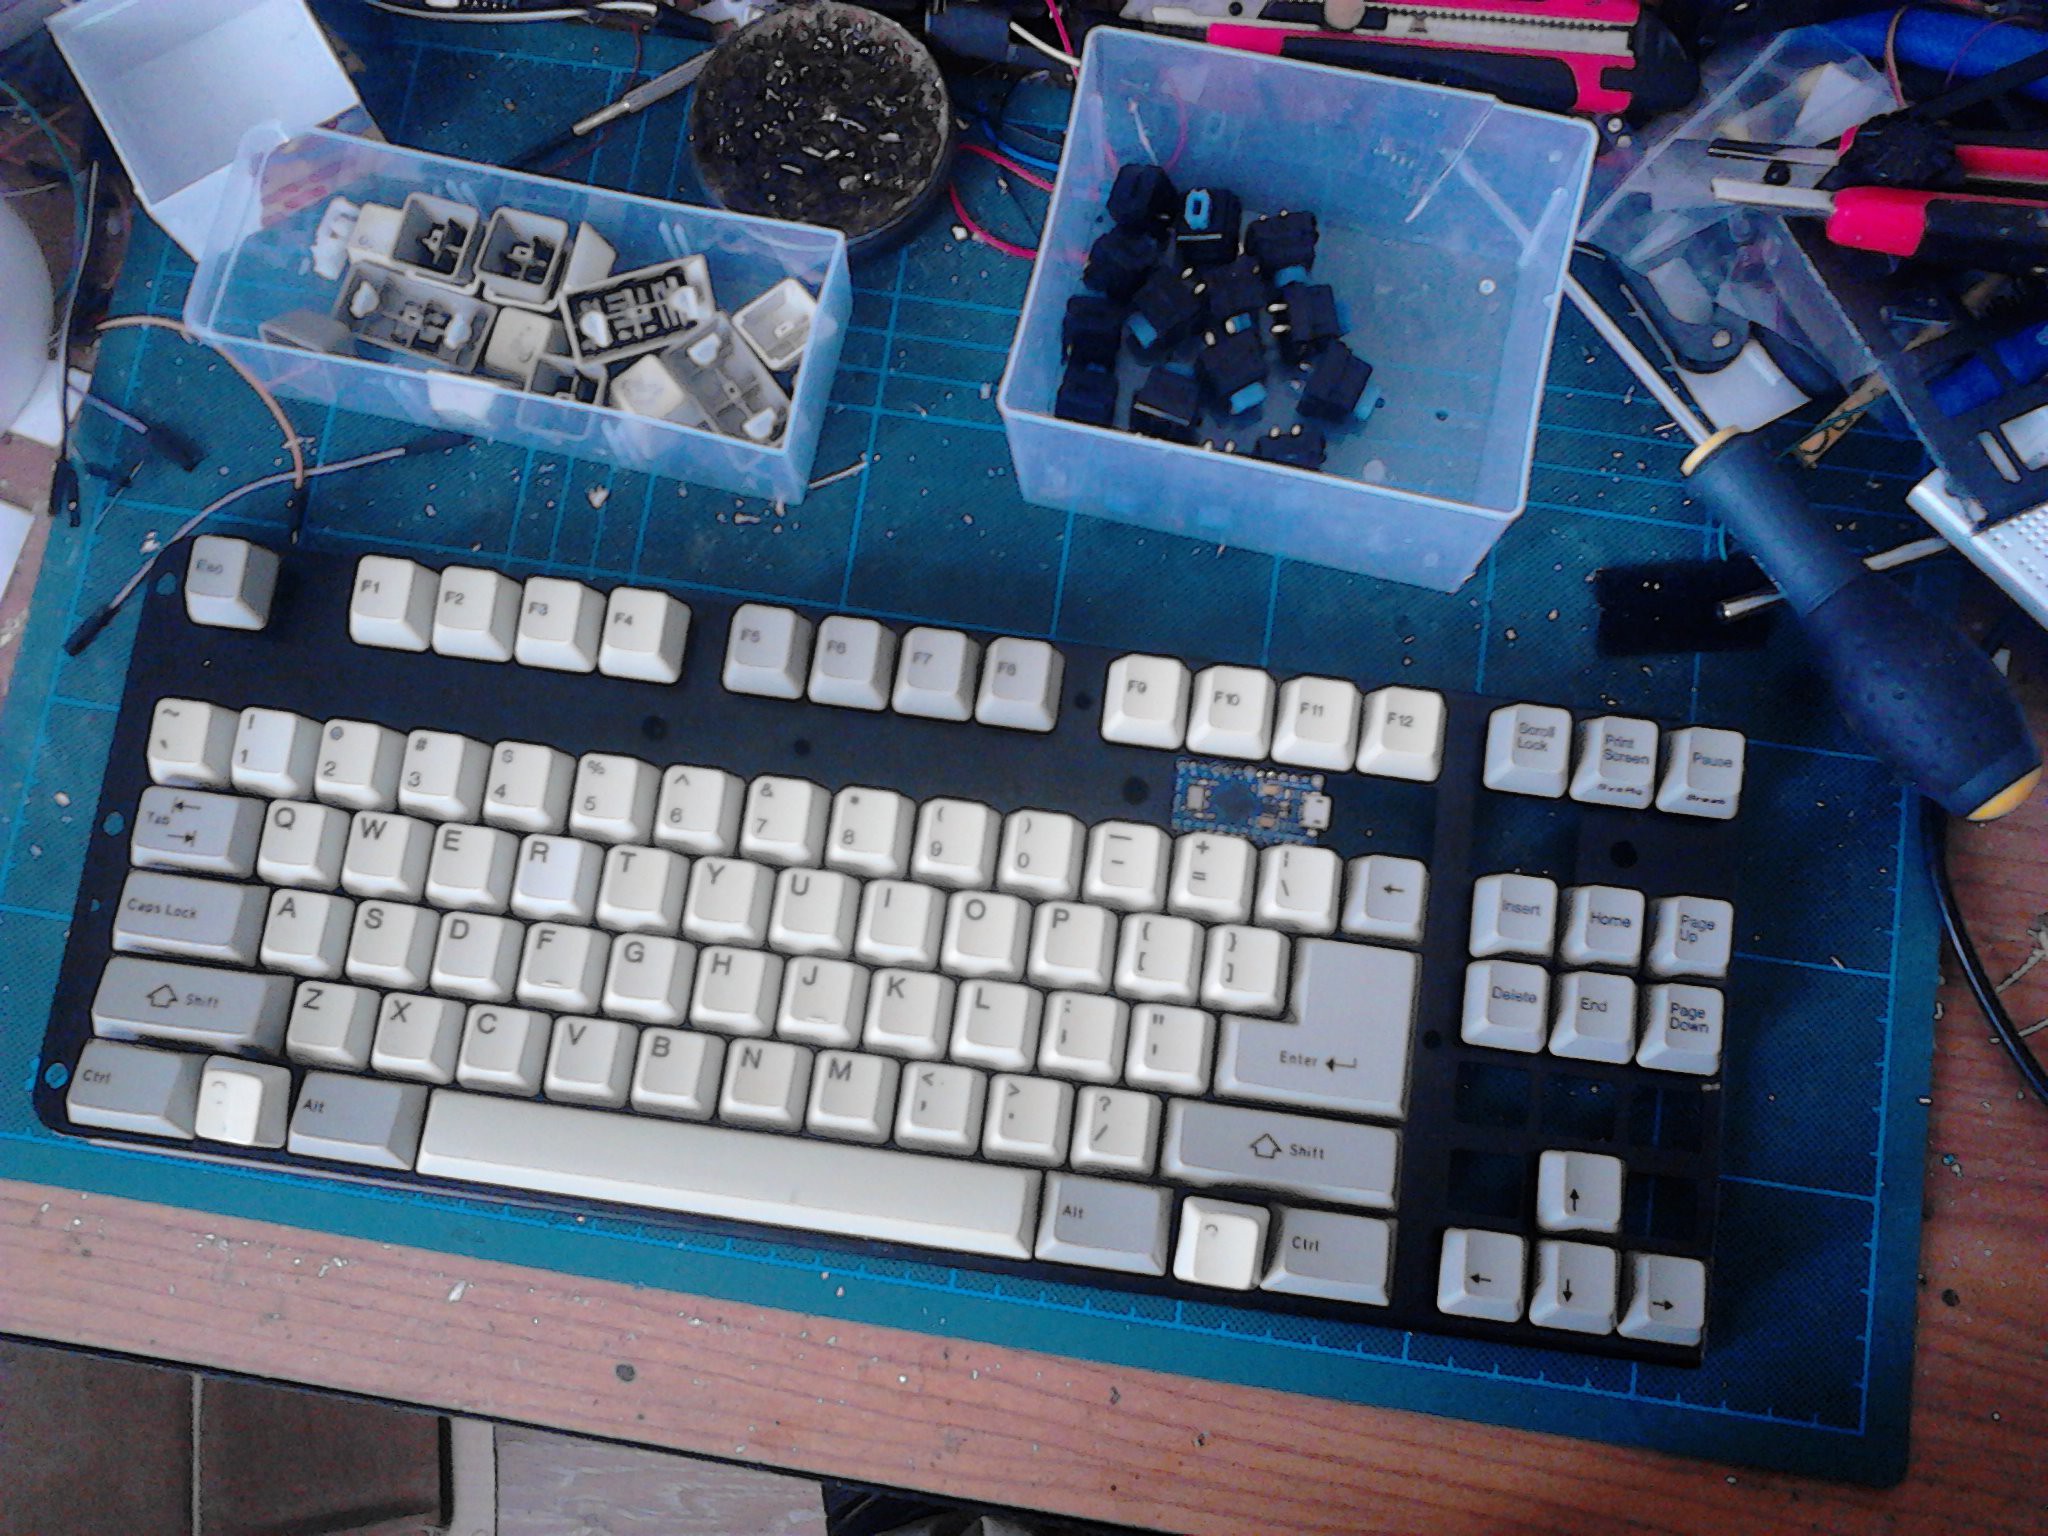
Trying out the desired layout:
Then, a bit of a complication. You see, modern keyboards have more keys than the old ones had. In particular, they have the “Super” keys between the “Ctrl” and “Alt”. I want to have those too. Fortunately I have some spare switches and keycaps from the numpad, so I will just have to make additional holes for them.First, drill around the edge:
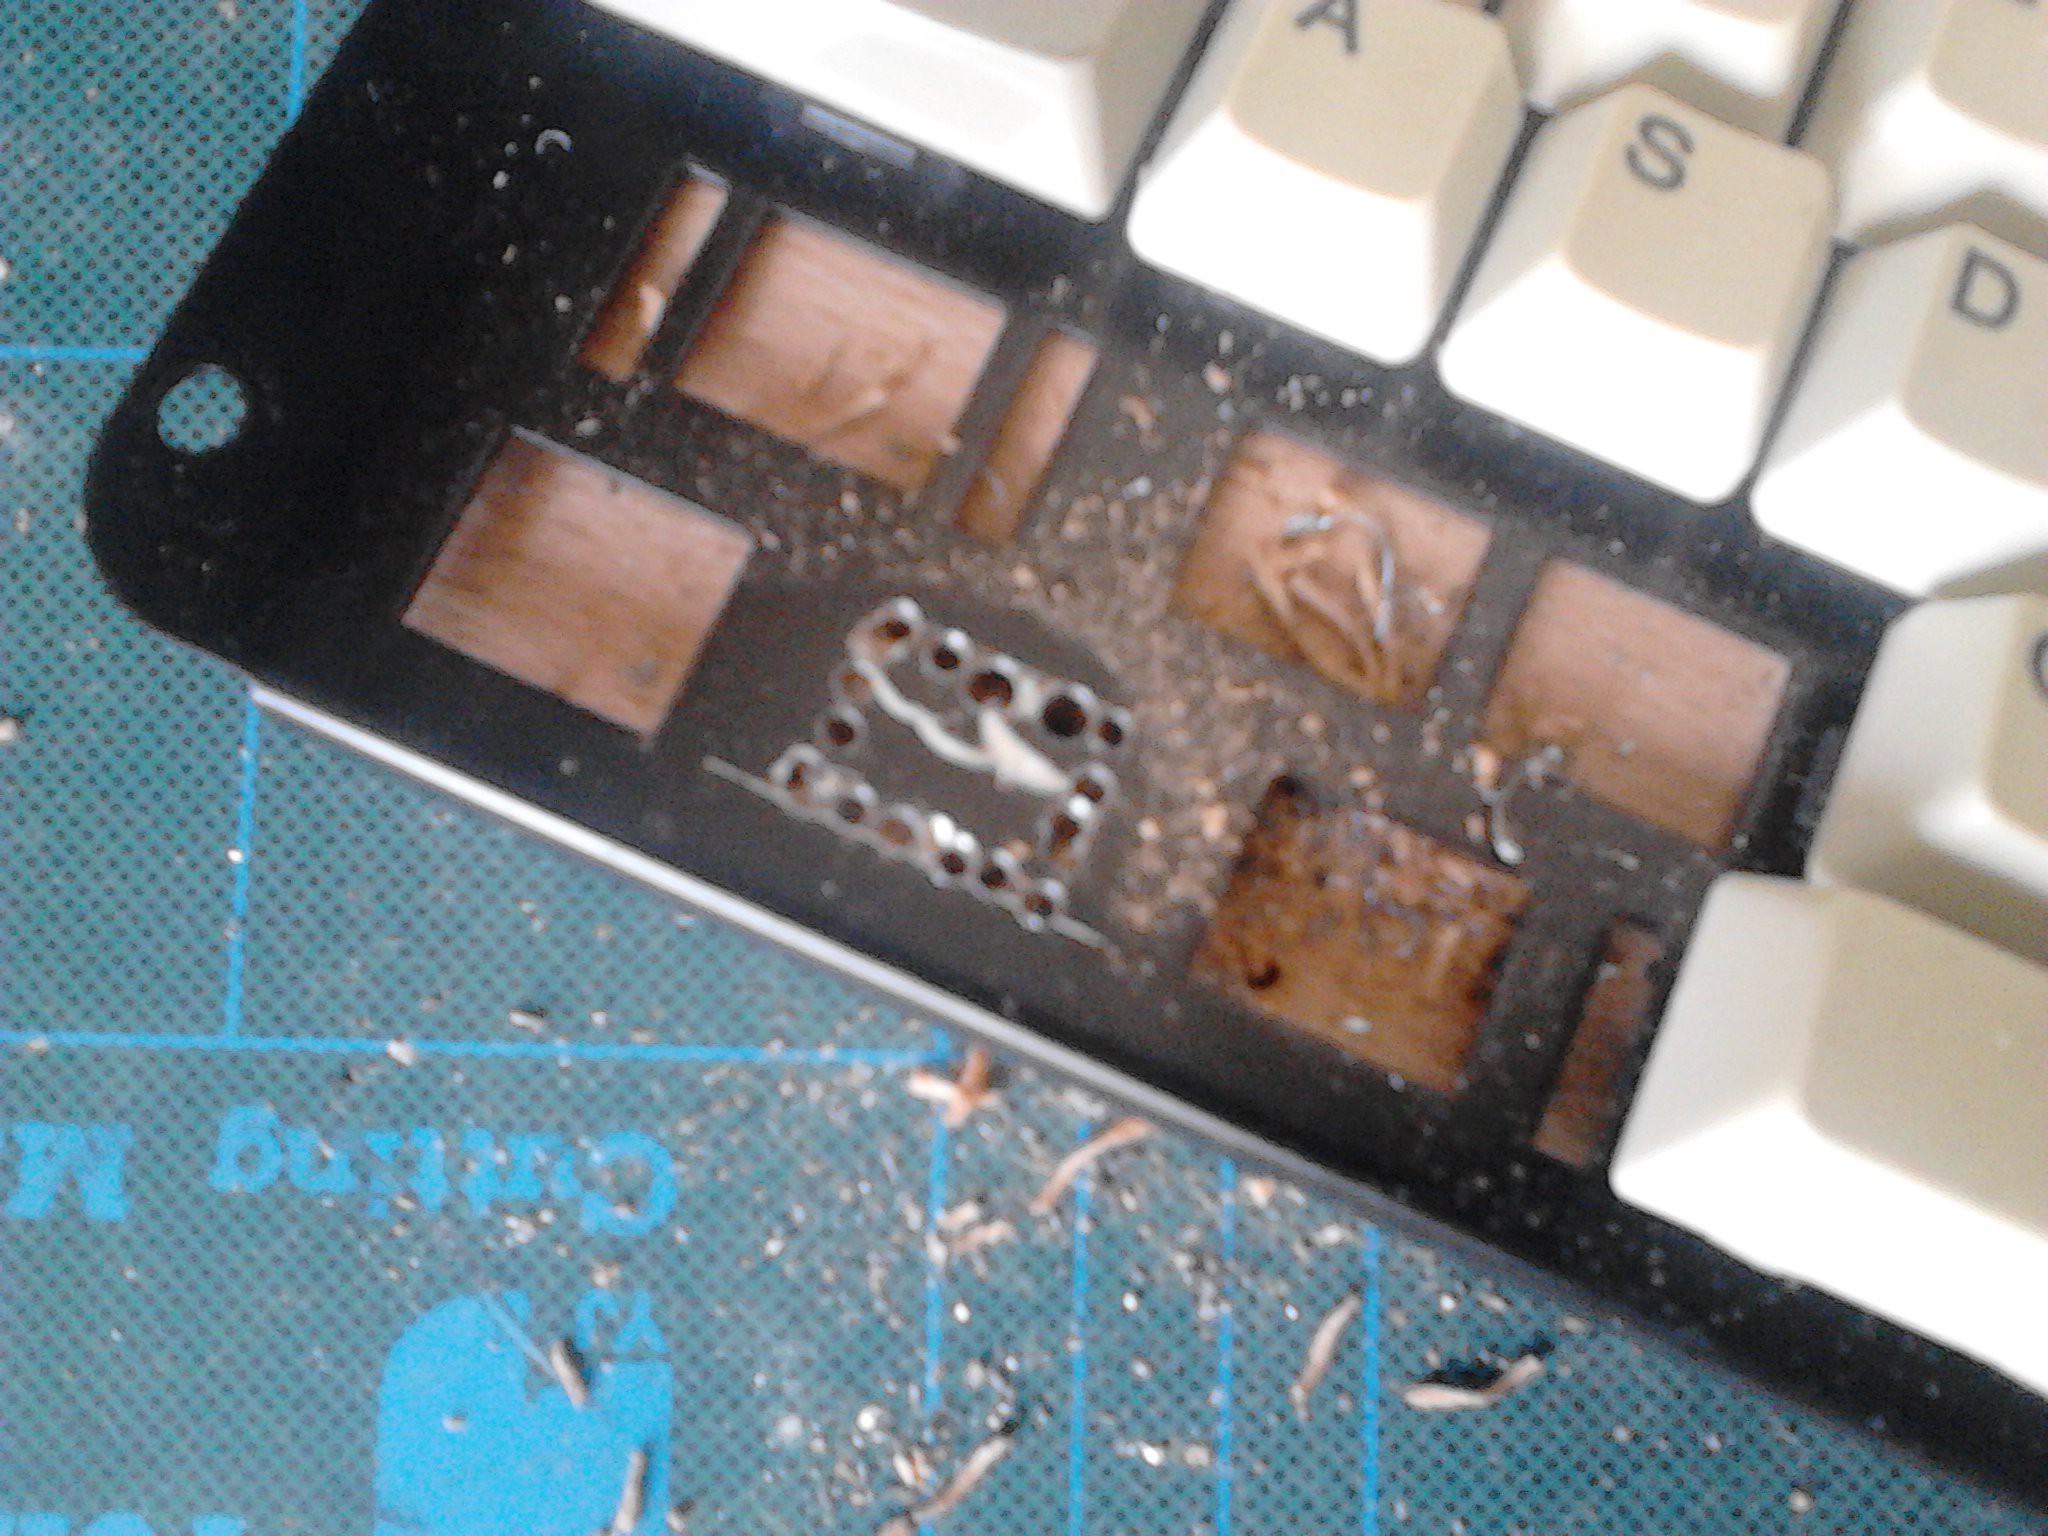
And then file the remains:
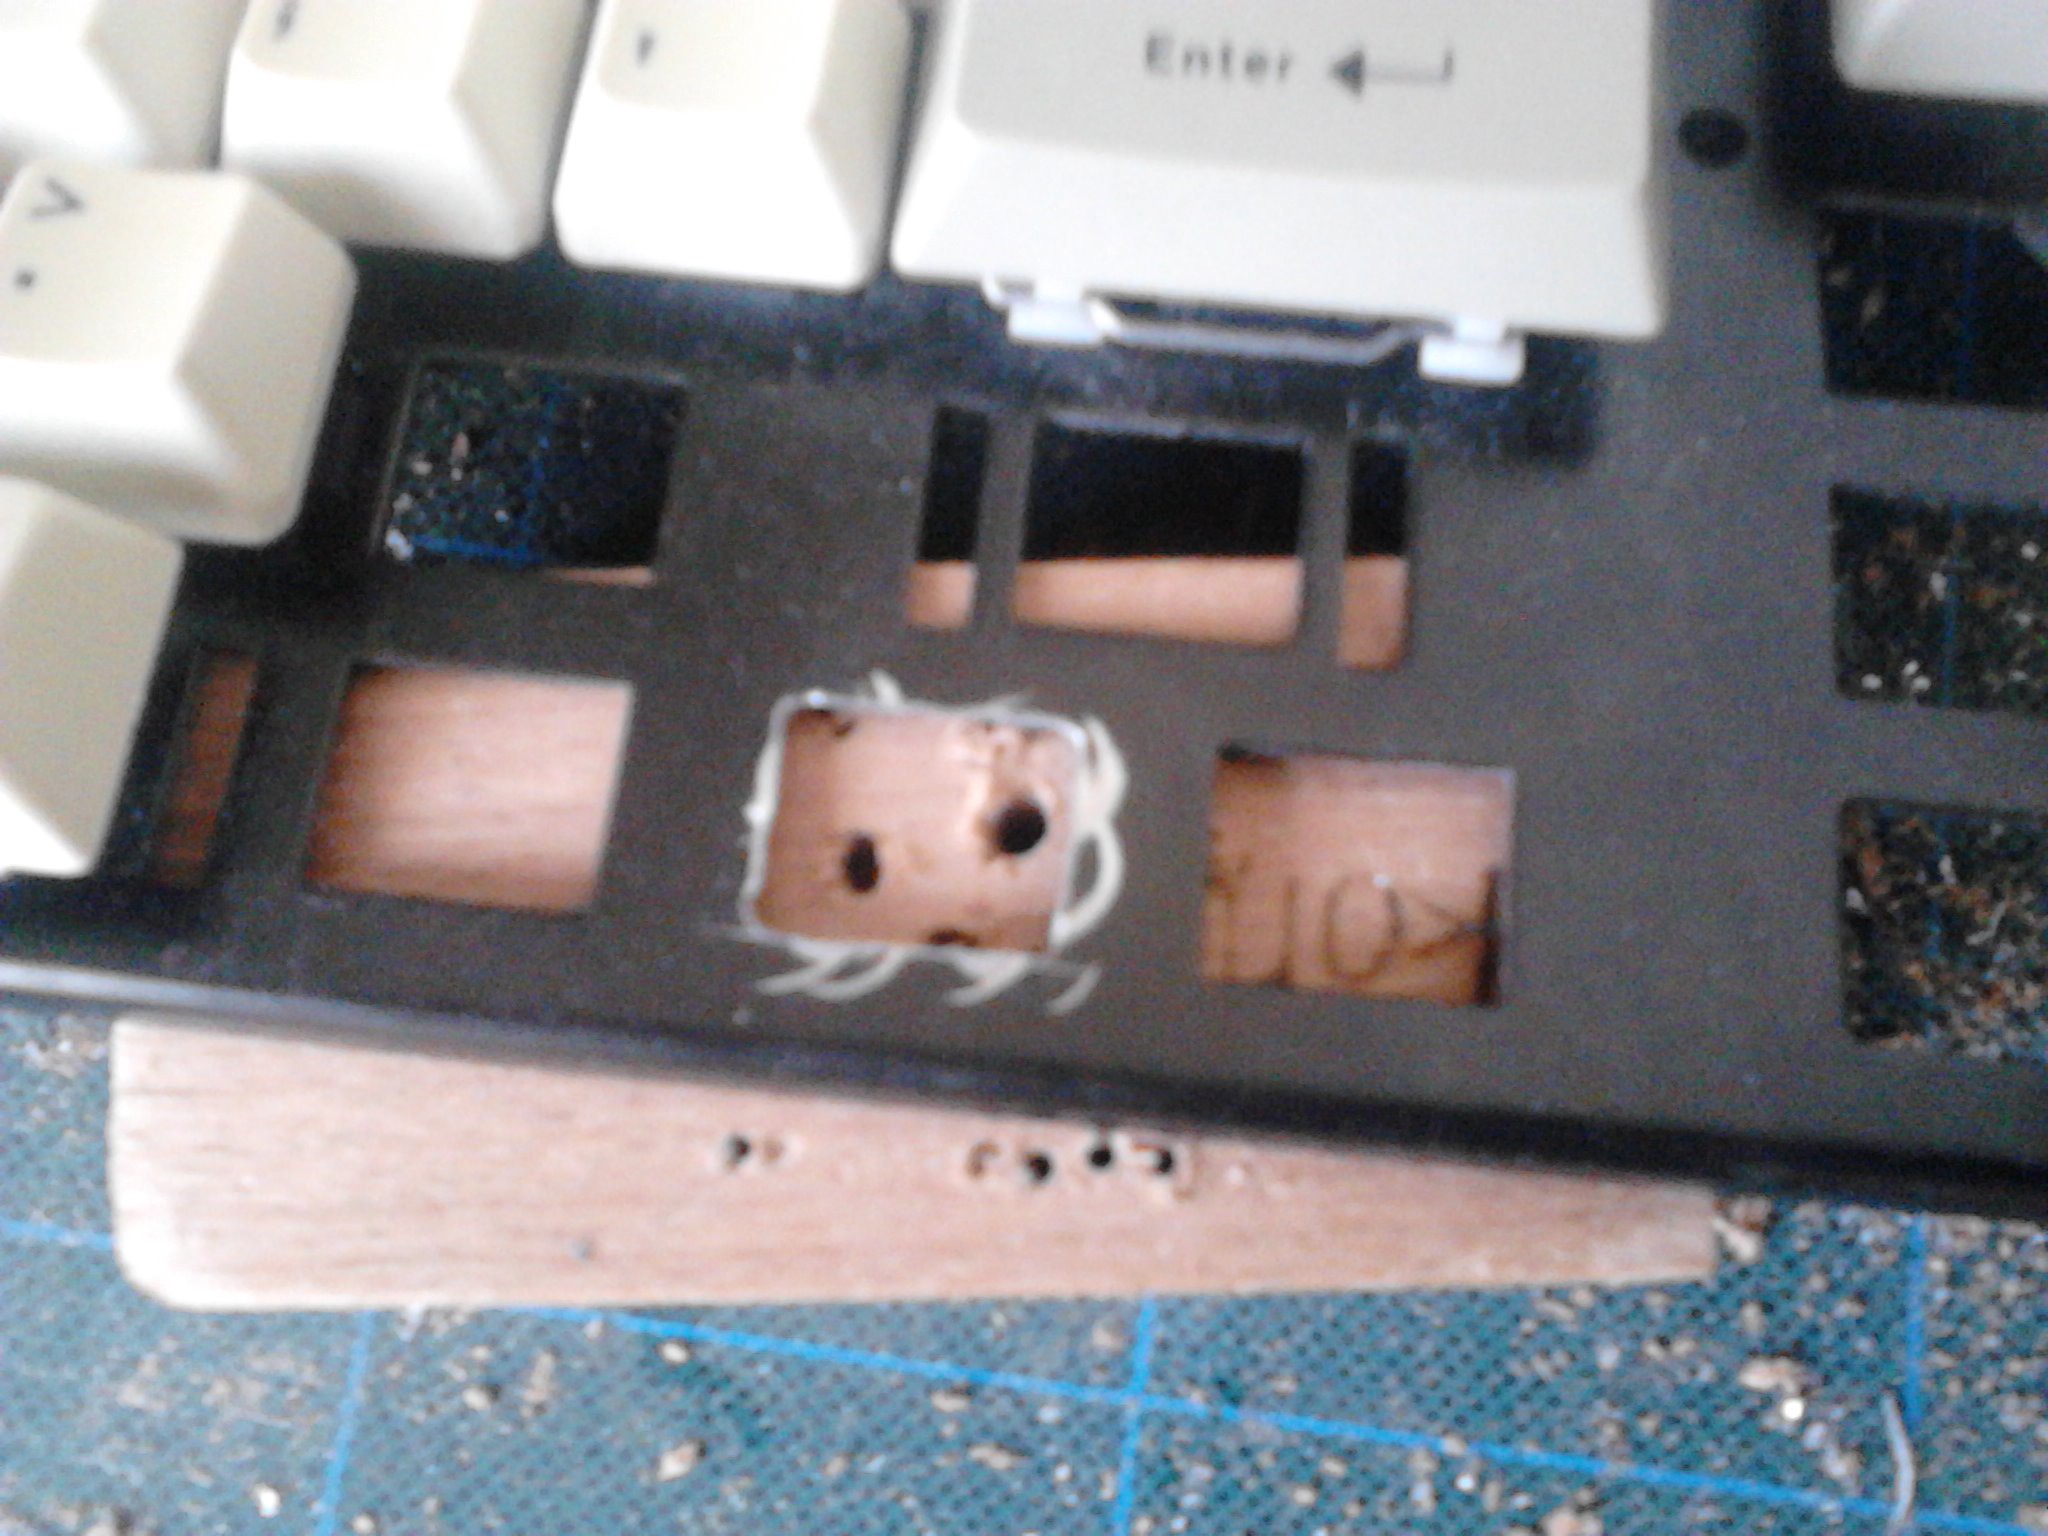
It’s not super-pretty, mostly because that metal plate turns out to be surprisingly hard. Steel? Perhaps.Finally, the finished layout:
Next, electronics and chassis.