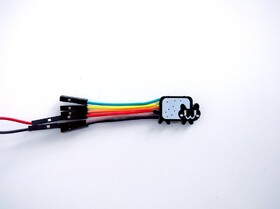
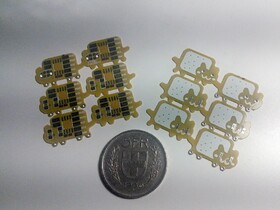
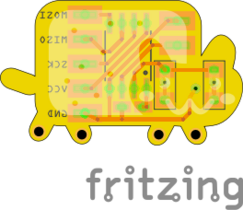
Nyan Board
A small ATtiny85 board playing the Nyan Cat tune.
Logs
2018-06-24 - Corrected Repositories
2017-03-15 - Crazy Custom Colors
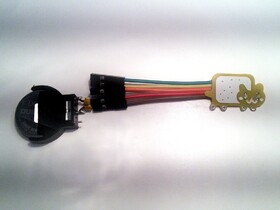
2017-01-04 - ATtiny10 Nyan Cat
2017-01-01 - ATtiny10 Board
2016-12-31 - ATtiny10 Working
2016-12-30 - ATtiny10
2016-12-21 - ATtiny13
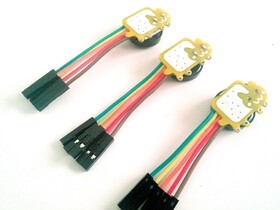
2016-12-02 - Nyan Boards in Singles (Actually Triplets)
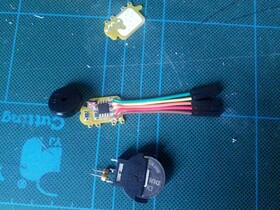
2016-12-02 - Faulty Parts
2016-12-01 - Boards Arrived
2016-11-28 - Schematic
2016-11-28 - ATtiny13
2016-11-26 - The Power of Plain C
2016-11-26 - Tabulate your Data
2016-11-24 - Shrunken Cat
2016-11-23 - Efficient Tone
2016-11-21 - Second Version
2016-01-06 - Doing Useful Work
2015-11-09 - Now Using PROGMEM
2015-10-23 - PCBs Are Here
2015-10-23 - Great Success
2015-10-02 - Programming ATtiny85
2015-09-27 - Melody
2015-09-27 - Boards Ordered
Links
Components
Component |
Count |
Notes |
|---|---|---|
SMD ATtiny85 (or 45) |
1 |
|
200Ω SMD 0603 Resistors |
2 |
|
Green SMD 0603 LEDs |
2 |
|
12mm Piezo Buzzer |
1 |
|
Colorful Ribbon Cable |
1 |
|
Printed Circuit Board |
1 |
|
USB Plug |
1 |
Instructions
Separate a single cat from the rest of the board. You can use a rotary tool, a scroll saw, a hand saw or a file. For best effect, round off the edges.
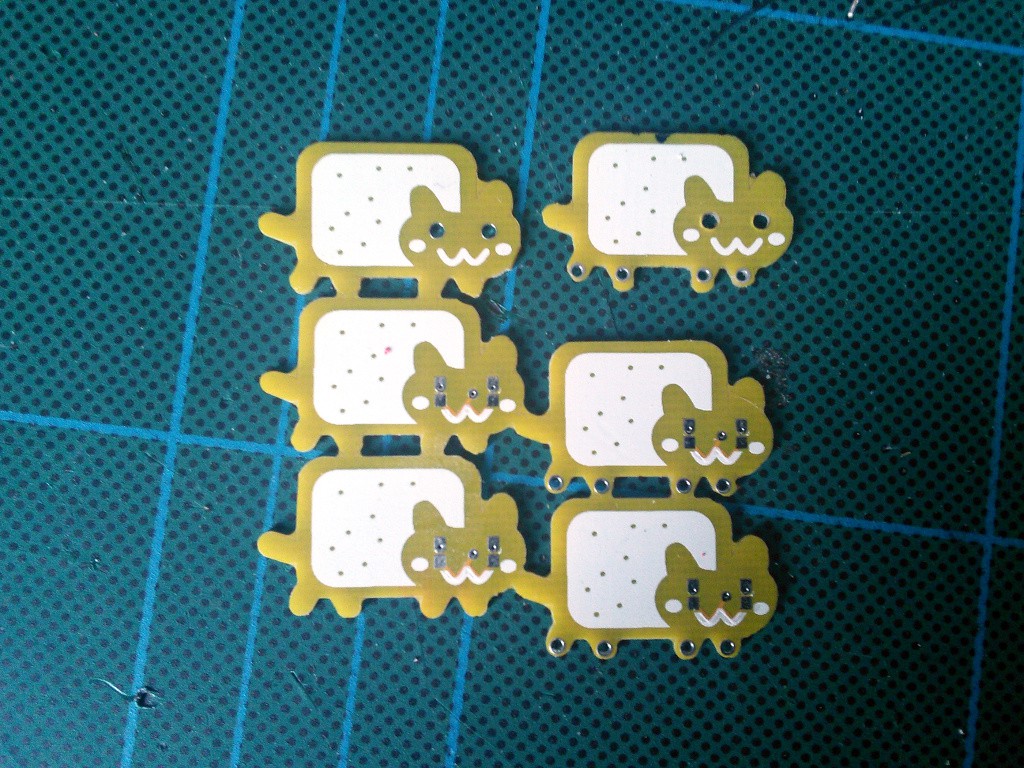
If it’s a cat with holes for the eyes, you need to get rid of the metallic layer inside the holes. Cut it with a knife until there is no electrical connection between the pads of the LED.
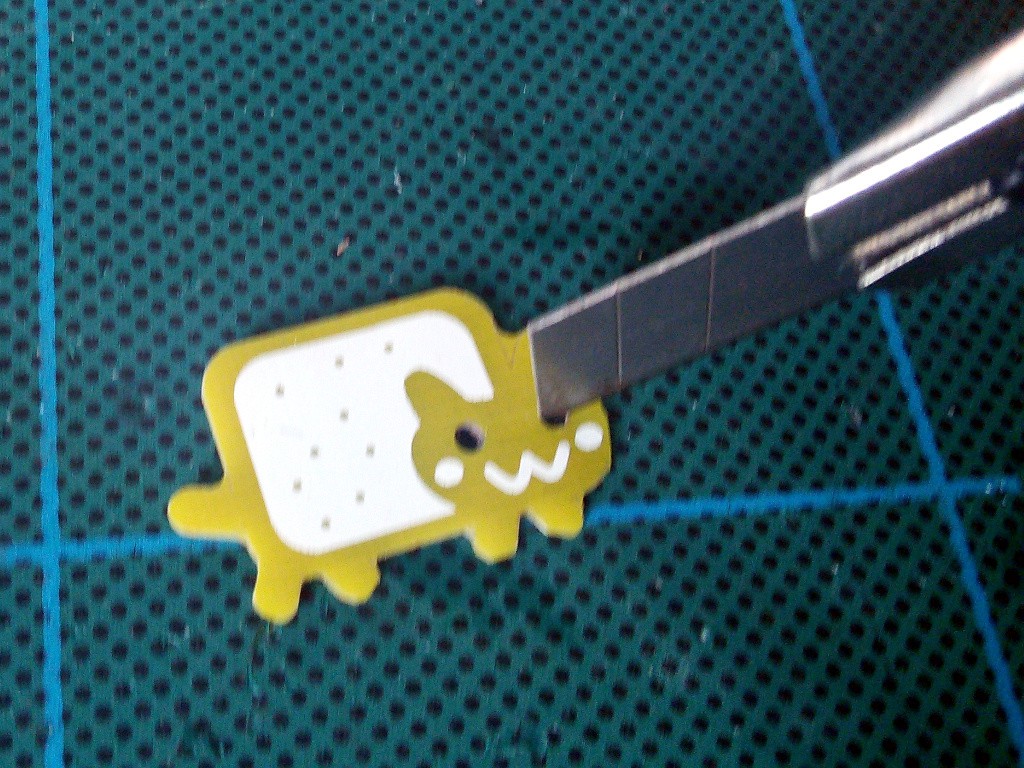
Solder all the parts onto the board. Also solder an additional wire for the reset.
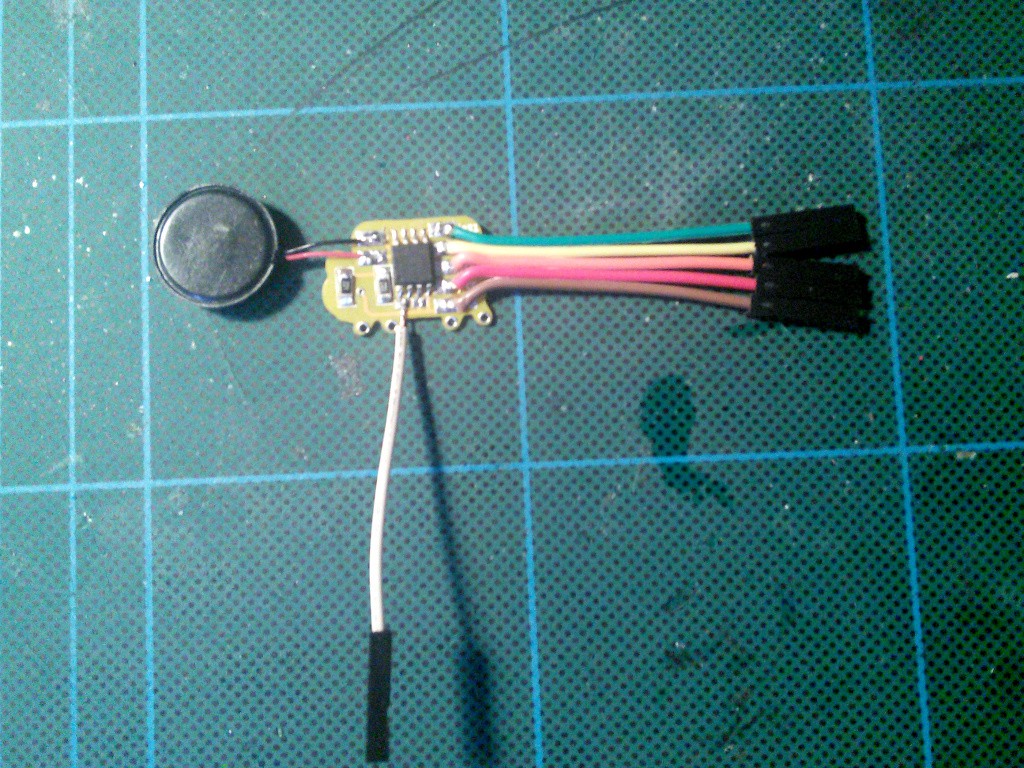
Pay attention to the polarization of the LEDs.
Connect your programmer. I use USBASP, but there is a number of different programmers that you can use, including an Arduino.
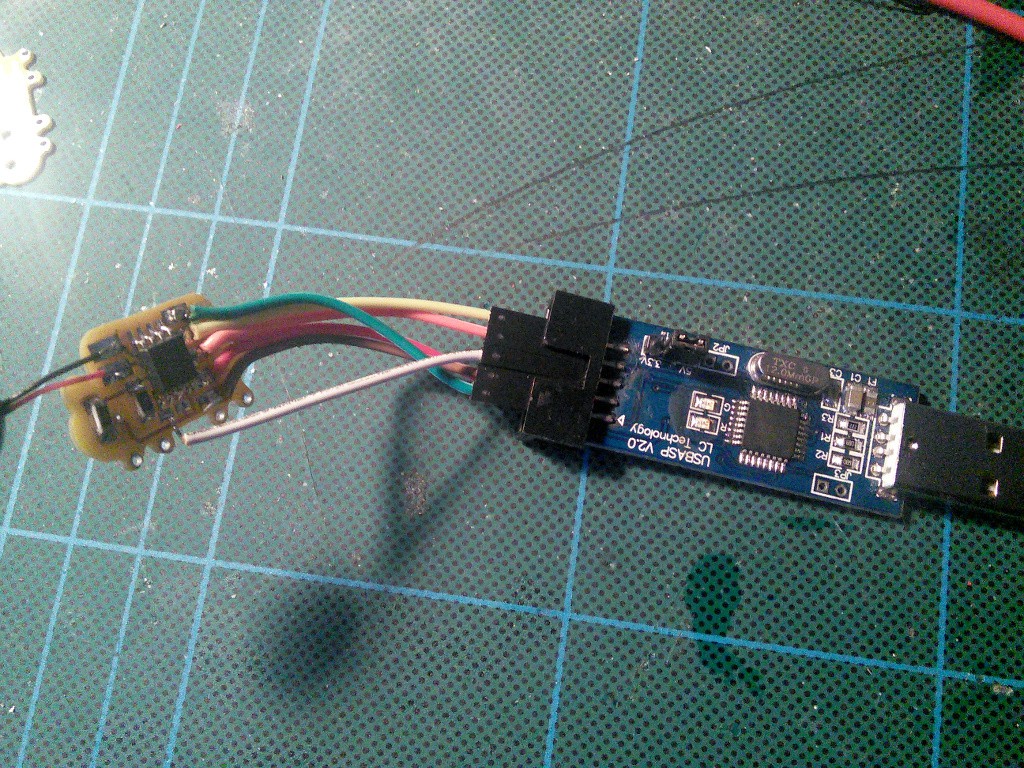
Follow this tutorial to setup your Arduino IDE . You may need to run it as root. Use this arduino core: https://code.google.com/p/arduino-tiny/
Upload the following code:
const int BEEP_PIN = 4;
const int LED_PIN = 3;

const int LENGTH = 27;
const int NOTES[] = {
    65, 67, 70, 67, 74, 74, 72, 65, 67, 70, 67, 72, 72, 70, 69, 67, 65, 67, 70,
    67, 70, 72, 69, 65, 65, 72, 70
};
const float DURATIONS[] = {
    0.25, 0.25, 0.25, 0.25, 0.75, 0.75, 1.5, 0.25, 0.25, 0.25, 0.25, 0.75,
    0.75, 0.75, 0.25, 0.5, 0.25, 0.25, 0.25, 0.25, 1.0, 0.5, 0.75, 0.25,
    1.0, 0.5, 1.0, 2.0
};
const int BPM = 120;


void play(const int notes[], const float durations[], int bpm, int length) {
    float bps = (60.0 / BPM) * 1000.0;
    for (int i = 0; i < length; ++i) {
        int hertz = (int) (pow(2.0, ((notes[i] - 69.0) / 12.0)) * 440);
        tone(BEEP_PIN, hertz, (long) (durations[i] * bps) - 10);
        delay((long) (durations[i] * bps));
        toggle_eyes();
    }
}

void toggle_eyes() {
    static bool blink = false;

    digitalWrite(LED_PIN, blink);
    blink = !blink;
}

void setup() {
    pinMode(BEEP_PIN, OUTPUT);
    pinMode(LED_PIN, OUTPUT);
}

void loop() {
    play(NOTES, DURATIONS, BPM, LENGTH);
}
Disconnect the programmer, and connect a power source (from 3V to 5V) to the brown (minus) and red (plus) wires. You should hear music and the eyes should blink. Congratulations.
You can now glue the speaker to the back of the cat, and it’s finished.
 deshipu.art