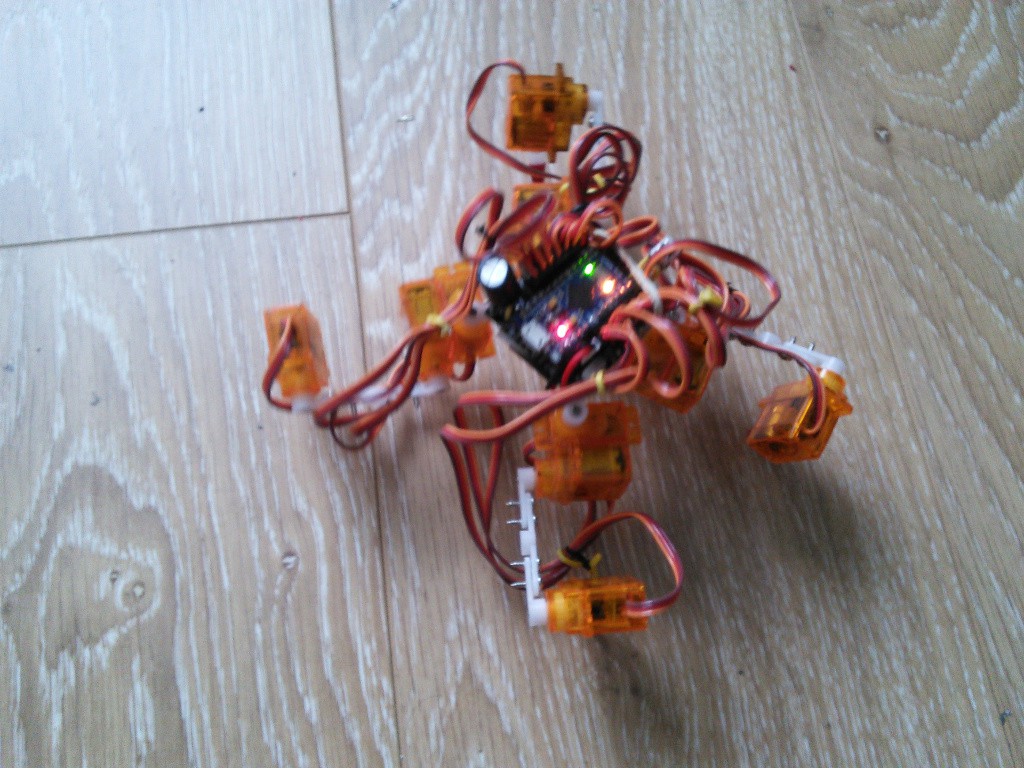
Using Arduino Pro Micro
Published on 2015-06-10 in Tote.
You can use Arduino Nano instead of the Pro Mini in Tote, if you prefer to have that USB socket available. Apart from the fact that the Nano has the USB2TTL build into it, there are no differences, so it should all work. However, I don’t have a spare Nano around, so I haven’t actually tested it. Caveats may appear.
Such caveats appeared when I decided to test it with a Pro Micro instead. Pro Micro is the miniaturized (both in size and price) version of Arduino Leonardo. It uses ATMega32u and has the USB support right on the chip, which makes it easy to program it as a keyboard or mouse. It also has a form factor similar to the Pro Mini, so let’s see if we can use it.
First of all,**never plug your Pro Micro to the USB while it’s in the robot.**The power lines are connected, and the servos draw so much current, that it will instantly fry the on-board regulator on the Pro Micro. That means, that you have to go with the socket version of the PCB, not solder the module directly.I am serious here, I fried one poor Pro Micro this way.
Second, the pin numbers and interrupts are different. You will need to edit_servos.ino_and change the whole right side of the robot, from_”__12, 11, 10,__14, 15, 16”to”_14, 16, 10,A0, A1, A2” so that it corresponds with the pin numbers that are in those places. The LED pin, that used to be_13 on the Pro Mini is_14 on the Pro Micro, and shifted by one in its position – we can’t really do anything about it, the LED will shine all the time due to the servo PWM signal that it gets.
The pin interrupts are different too, so you will need to edit_ir.ino._ However, changing the interrupt number from 0 to 1 didn’t seem to make the IR sensor work again, so there might be some more magic involved, or there is a bug in the IRLremote library that I’m using.

 deshipu.art