Version 2.0
Published on 2017-07-31 in Ye Olde Nowt.
The second version of the PCB arrived some time ago already, but I was struggling with the ways to power the raspberry pi and didn’t really try them. Now I confirmed that the new layout of the buttons works perfectly fine with just the device tree overlay. I didn’t test the memory for storing that overlay yet — there will be a separate update log for that.
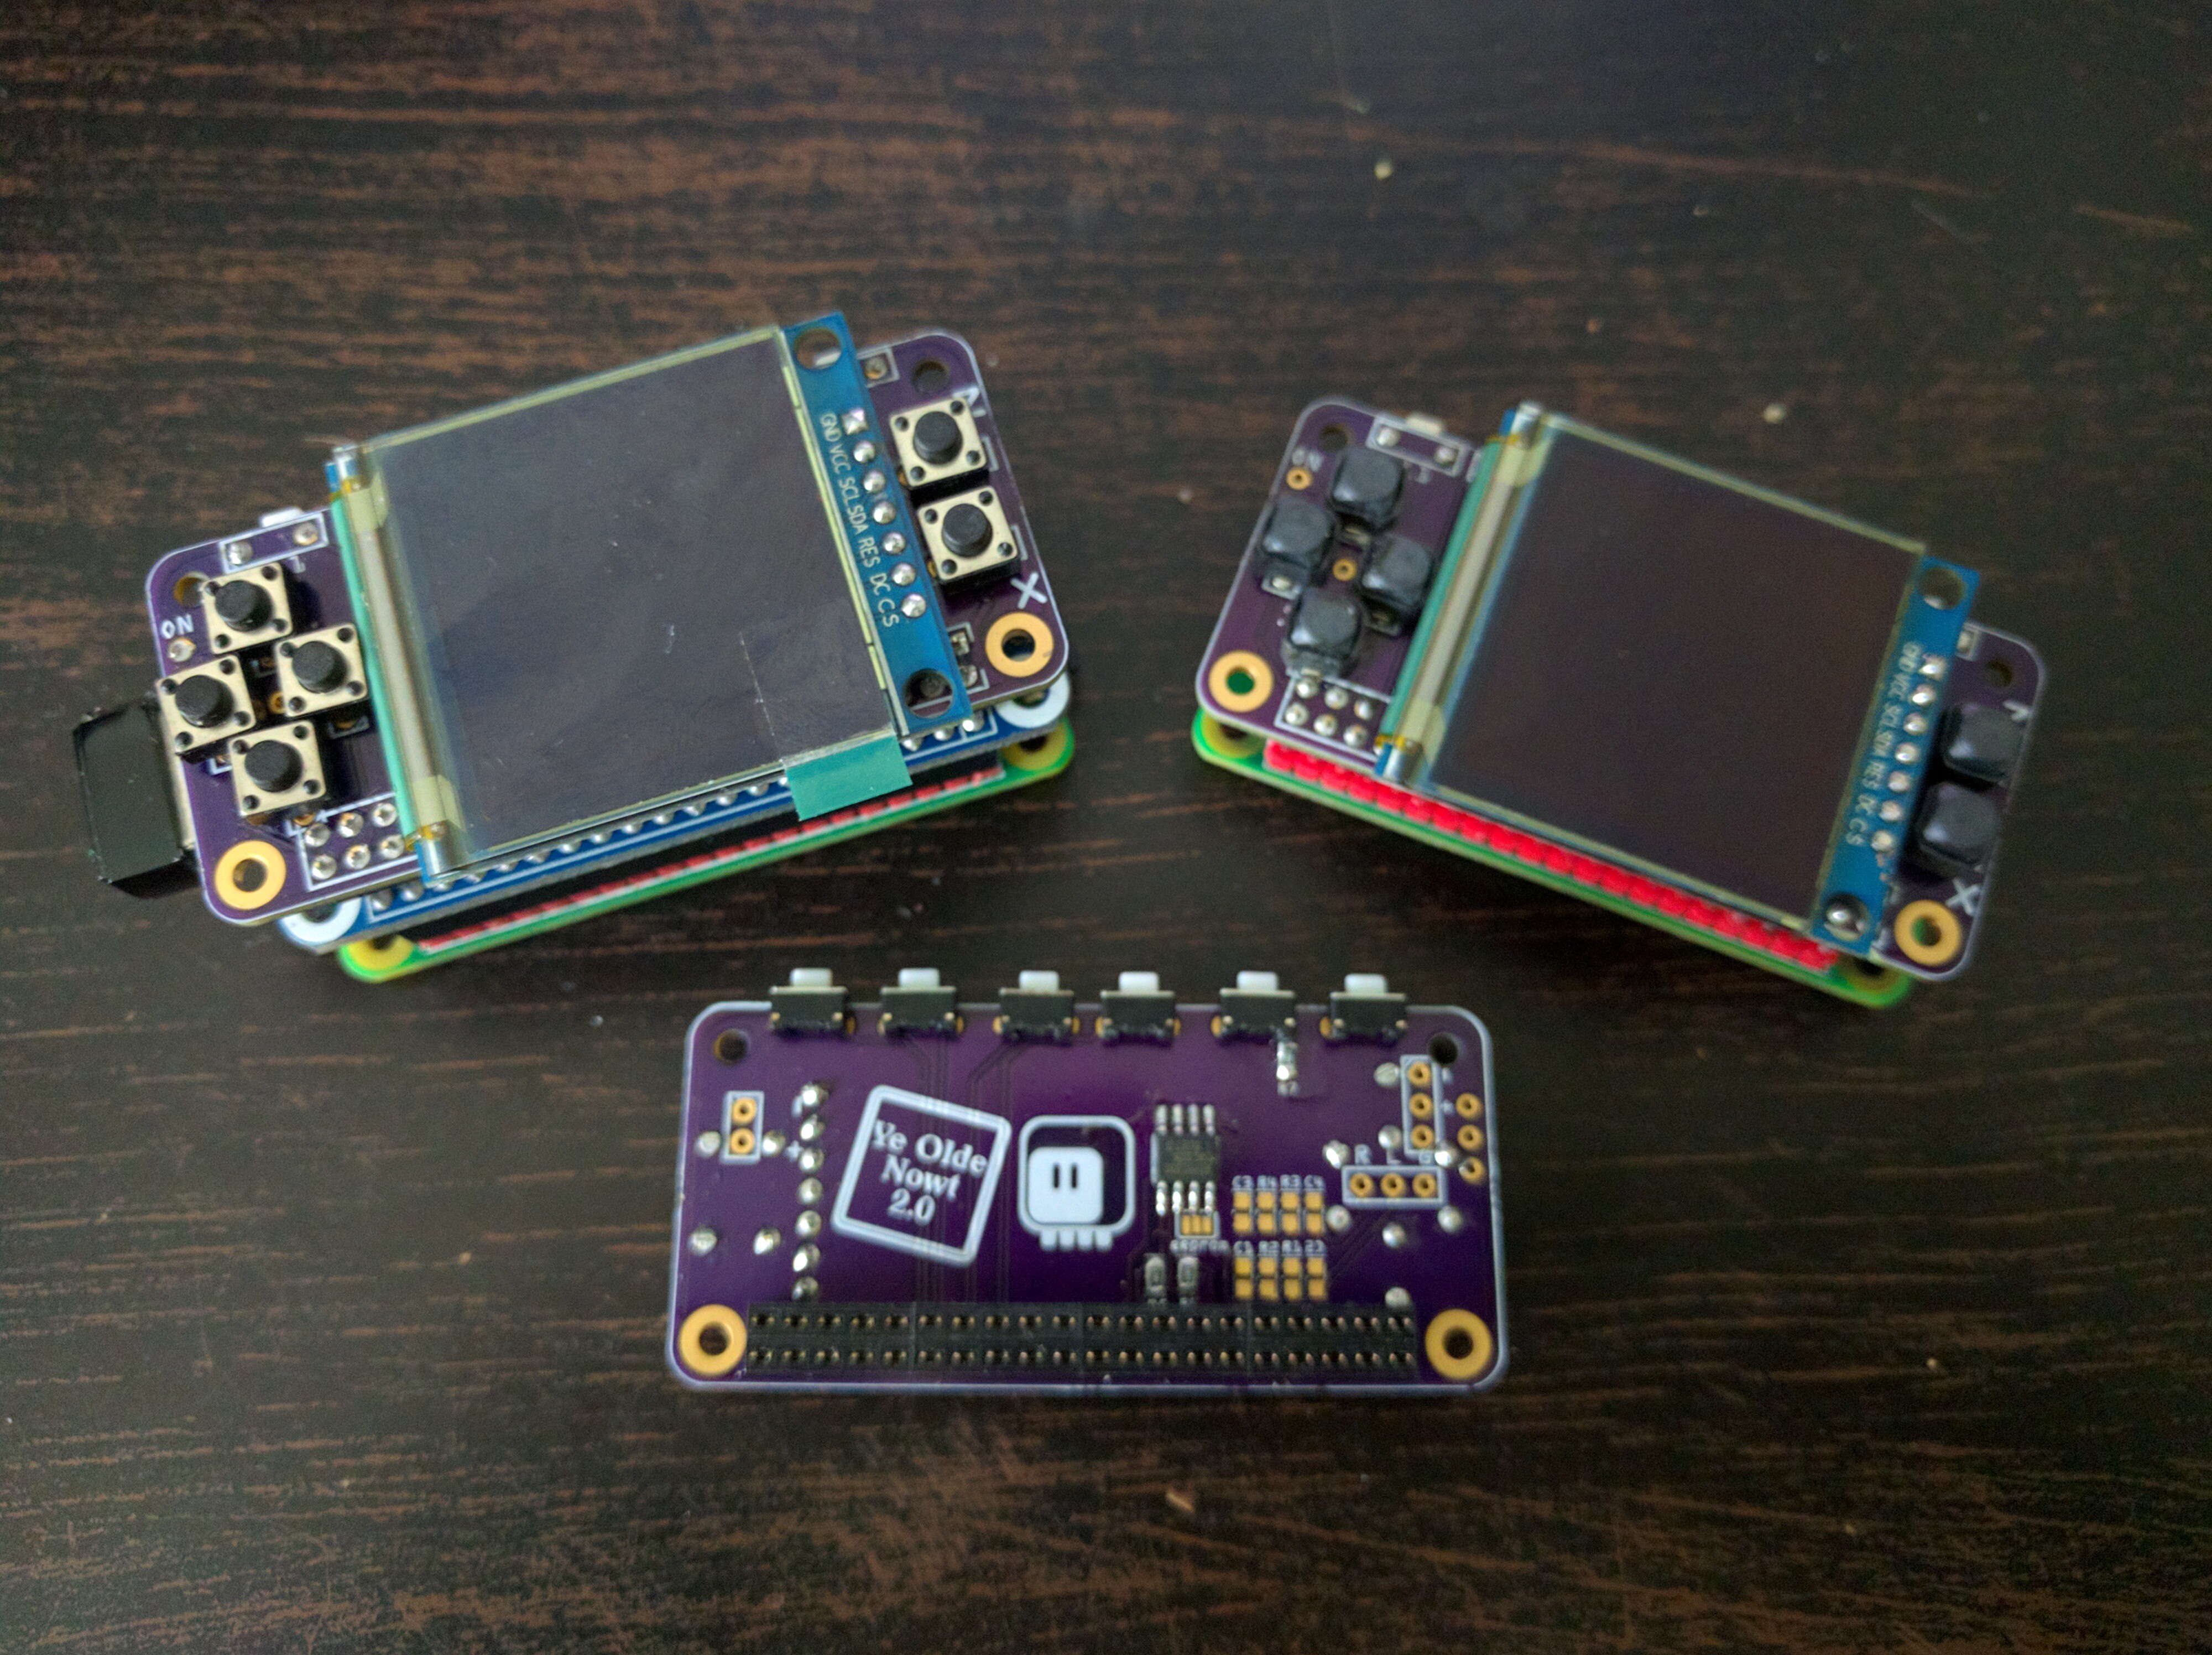
I assembled all three of the PCBs I got from OSHPark this time, and with the second display I used a low-profile female header, instead of soldering the module’s pins directly into the board — so now I can unplug the display. I also experimented with two kinds of switches: the standard through-hole clicky switches, and a weird SMD switch with very soft and springy action. I’m not yet entirely sure which ones I like better, to be honest.
Oh, and I still didn’t try the audio amplifier either.
Either way, the PCBs work, they mostly use through-hole components for the basic functionality (minus the sound and the memory), and you can order them from OSHPark here: https://oshpark.com/projects/TfXEKJ7T