Improving Screws
Published on 2024-05-01 in µGame 22.
One of the remaining problems that I still have with this handheld console is the way the case is held together. I originally used self- tapping screws to hold the two layers of laser-cut acrylic together, but there are many problems with this approach. The holes need to be just the right size for the screws to tap them properly, but still sit in there firmly. The screws themselves tend to be of poor quality, with their heads breaking off. The last layer of the acrylic is pretty thin, and is only held in place by a few threads of the screw. And finally, when I take the console to various events, I always tend to lose screws along the way.
So I decided to look into this and find a better way to hold the whole thing together.
LCSC recently introduced a new category in their parts shop, mechanical fasteners, so I went and looked for possible solutions. I found something they call “welding nut”, which is basically like a threaded insert, but instead of being embedded in a plastic case, it’s soldered to the PCB. That sounds promising, so I added a few of the smallest ones to my next parts order.

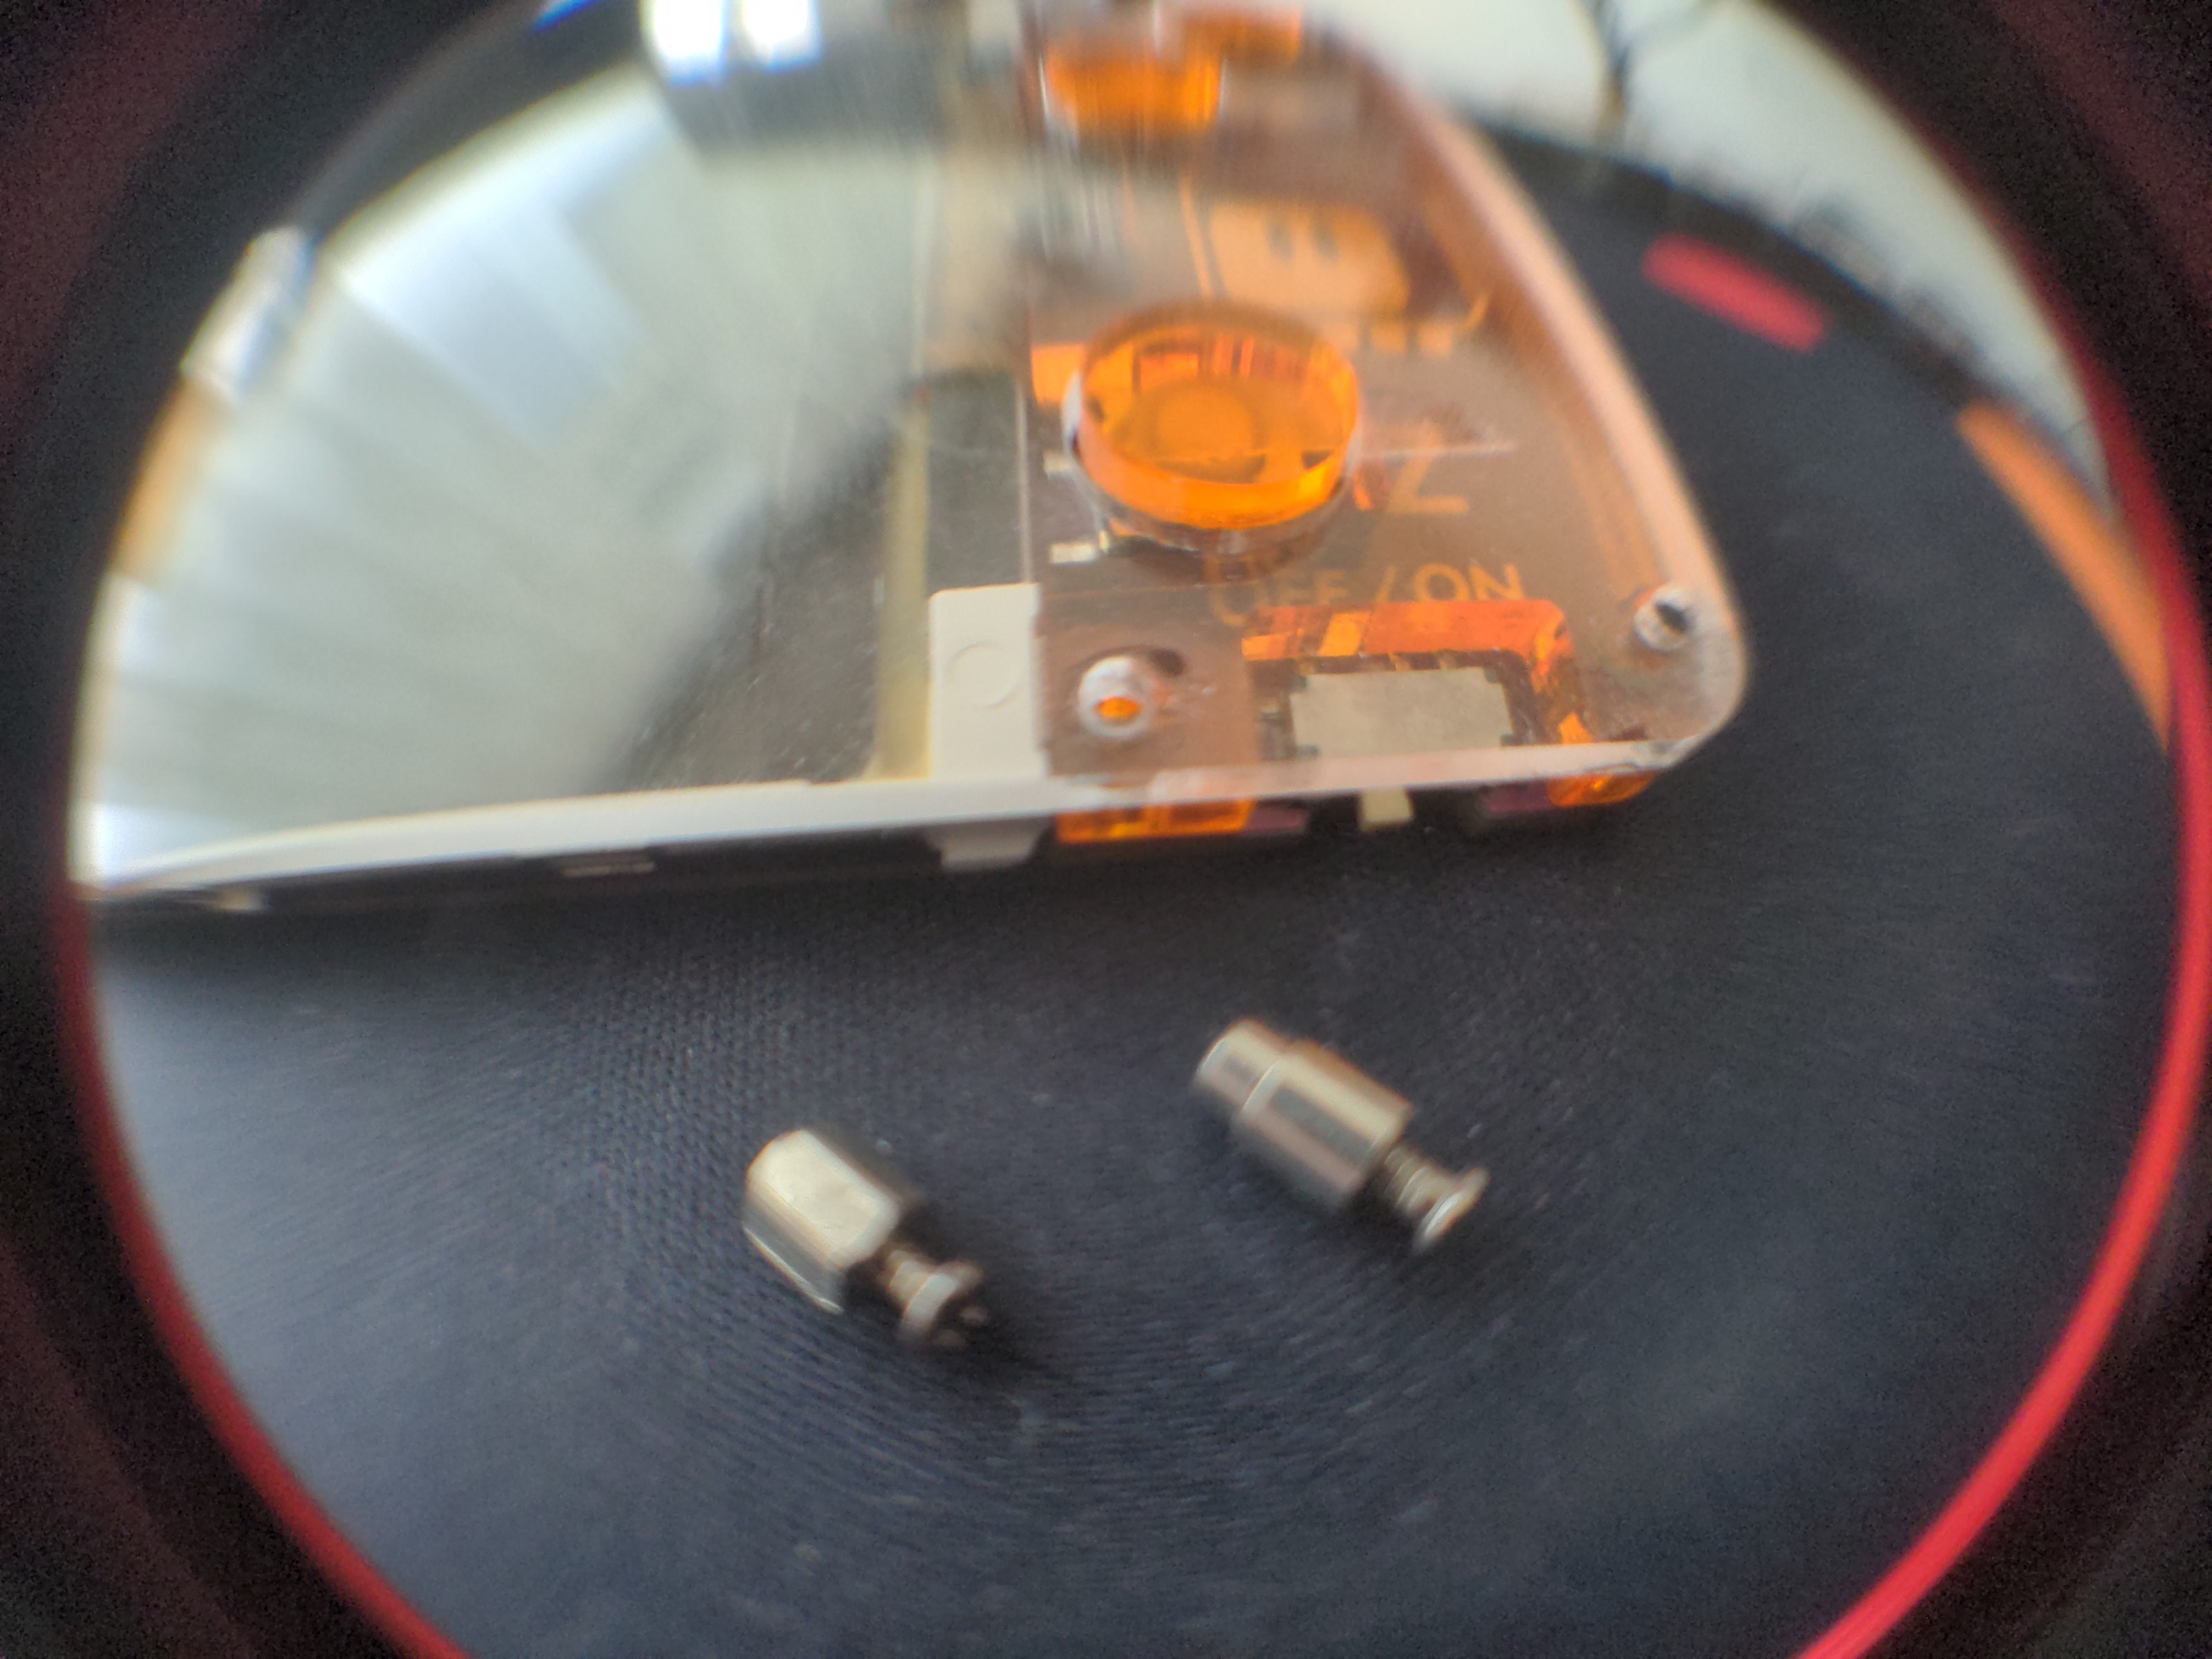
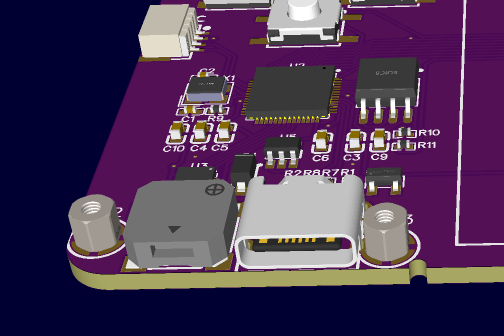
When they arrived, I decided that they look very promising. I got two kinds, one that is a smooth tube, and one that is a hex nut. The latter looks more promising, especially since it comes at a variety of heights. I tried to modify my design in EasyEDA to see how that would work mechanically:

It barely fits in some places, but it looks like I could pull it off. Of course the middle layer of the acrylic would need to be modified to make room for those nuts (or maybe even removed entirely, now that the top layer can rest on the nuts?), but that shouldn’t be too much of a problem. I’m still wondering if I should be using the 3mm high nuts, that match the height of the middle acrylic layer, and all the electronic parts theoretically, or use 2.5mm ones to allow for thinner acrylic (it’s never exactly 3mm) and tighter fit overall.
 deshipu.art