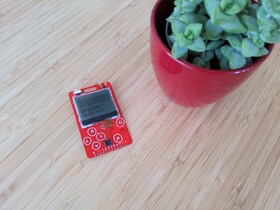
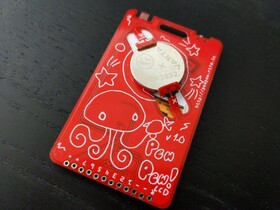
PewPew LCD
Learn Python programming with an affordable gaming handheld.
Teaching programming is hard. And it’s not made any easier by the fact that before you even start teaching, you have to first do the ungrateful job of an IT support worker and get your students through all the hoops of installing all the necessary software and libraries on their computers. And when you finish, the programs they have written only works on their own computers, unless they go through all the same (and possibly some additional) hoops.
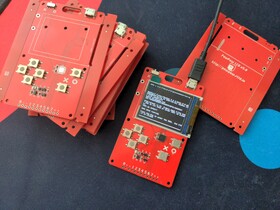
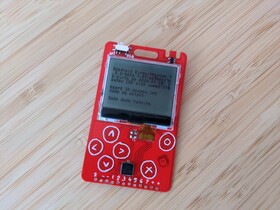
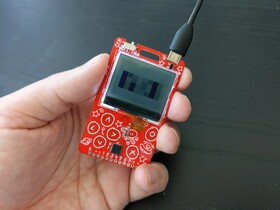
The PewPew family of devices is one possible answer to this. They are designed with one main goal in mind – to remove as many obstacles between your students and the game they want to create, as possible. To achieve that goal, the device itself has Python running on it – a version of Python designed for microcontrollers, called CircuitPython – so all you have to do is edit the files on it, using any text editor, to write your programs. As soon as you save, the device restarts and runs your code. In addition, if you want to show your game to other people, or enjoy it on the bus, you can simply put it into your pocket.
This is one of many devices in the family – I started with PewPew FeatherWing and as I tried it in different workshops, I refined the design with PewPew Standalone , PewPew M4 , PewPew Slim , µGame S3 and PewPew OLED . So far the standalone version has been the most successful, being simple and affordable, but later experimenting showed me that there is room for improvement.
This time I want to design a device that is even simpler and cheaper than any previous one, while at the same time being more convenient to use, and maybe helping us find a use for some of the old electronic spare parts that lie around.
Logs
2024-06-23 - Practicality Beats Purity
2023-09-23 - Connectors
2023-09-01 - Never Be Clever for the Sake of Being Clever
2023-08-29 - What Remains to be Done
2022-10-16 - The Challenge
2022-10-13 - PewPew Around the World
2022-09-30 - Swiss Python Summit 2022
2022-07-19 - EuroPython 2022
2022-06-29 - Better Game Selection Menu
2022-06-19 - A Workshop
2022-06-02 - Power Switch
2022-05-28 - More Battery
2022-05-27 - Version 2.1 Assembled
2022-05-27 - The PewPew Ecosystem
2022-05-24 - Talk to the Display
2022-05-17 - Why not Recycle Everything?
2022-05-14 - Version 2.1
2022-05-13 - Dithering About
2022-05-13 - CircuitPython
2022-05-12 - On Batteries
2022-05-10 - Version Two
2022-05-10 - The Display
2022-05-10 - Published
2022-05-10 - First Hardware
2022-05-10 - Environmental Cost of Displays
2022-05-10 - 9-bit DisplayIO and CircuitPython
2022-05-09 - Why a New Design?
Links
Instructions
Fabricate the PCB
Use the provided gerber files to get the PCBs fabricated. Use 0.6mm thickness of the PCB. Lead-free or gold coating recommended, as the device will be touched by hands.
Populate the PCB
Solder all the components. The QFN chip can be soldered by drag- soldering the edges, though a hot-air gun or hot-plate are recommended for convenience. All the other components are easily soldered by hand.
Flash the Bootloader
Get the UF2 bootloader from the link in the hardware repository readme, and flash it onto the microcontroller using a JLink programmer or compatible. The SWD and SWC pins are marked 1 and 2 on the connector at the bottom of the device. VCC is marked + and GND is marked -. Use a 12-pin male header to friction-fit it into the connector and a breadboard for a reliable connection while programming. Power can be provide through the USB connector, make sure the switch is in the USB position.
Flash the Firmware
Once the bootloader is flashed, a PEWBOOT disk will be available over the USB. Download the latest CircuitPython firmware from circuitpython.org and copy it over to that disk. The device will reset and the CIRCUITPY disk will become available.
Ready
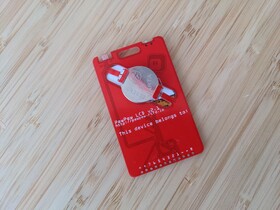
Safely remove the USB disk, and disconnect the device. Insert a battery.
 deshipu.art