Assembled
Published on 2021-12-09 in Kleks Keyboard.
First I needed to test how good the stitching of the two halves together was.
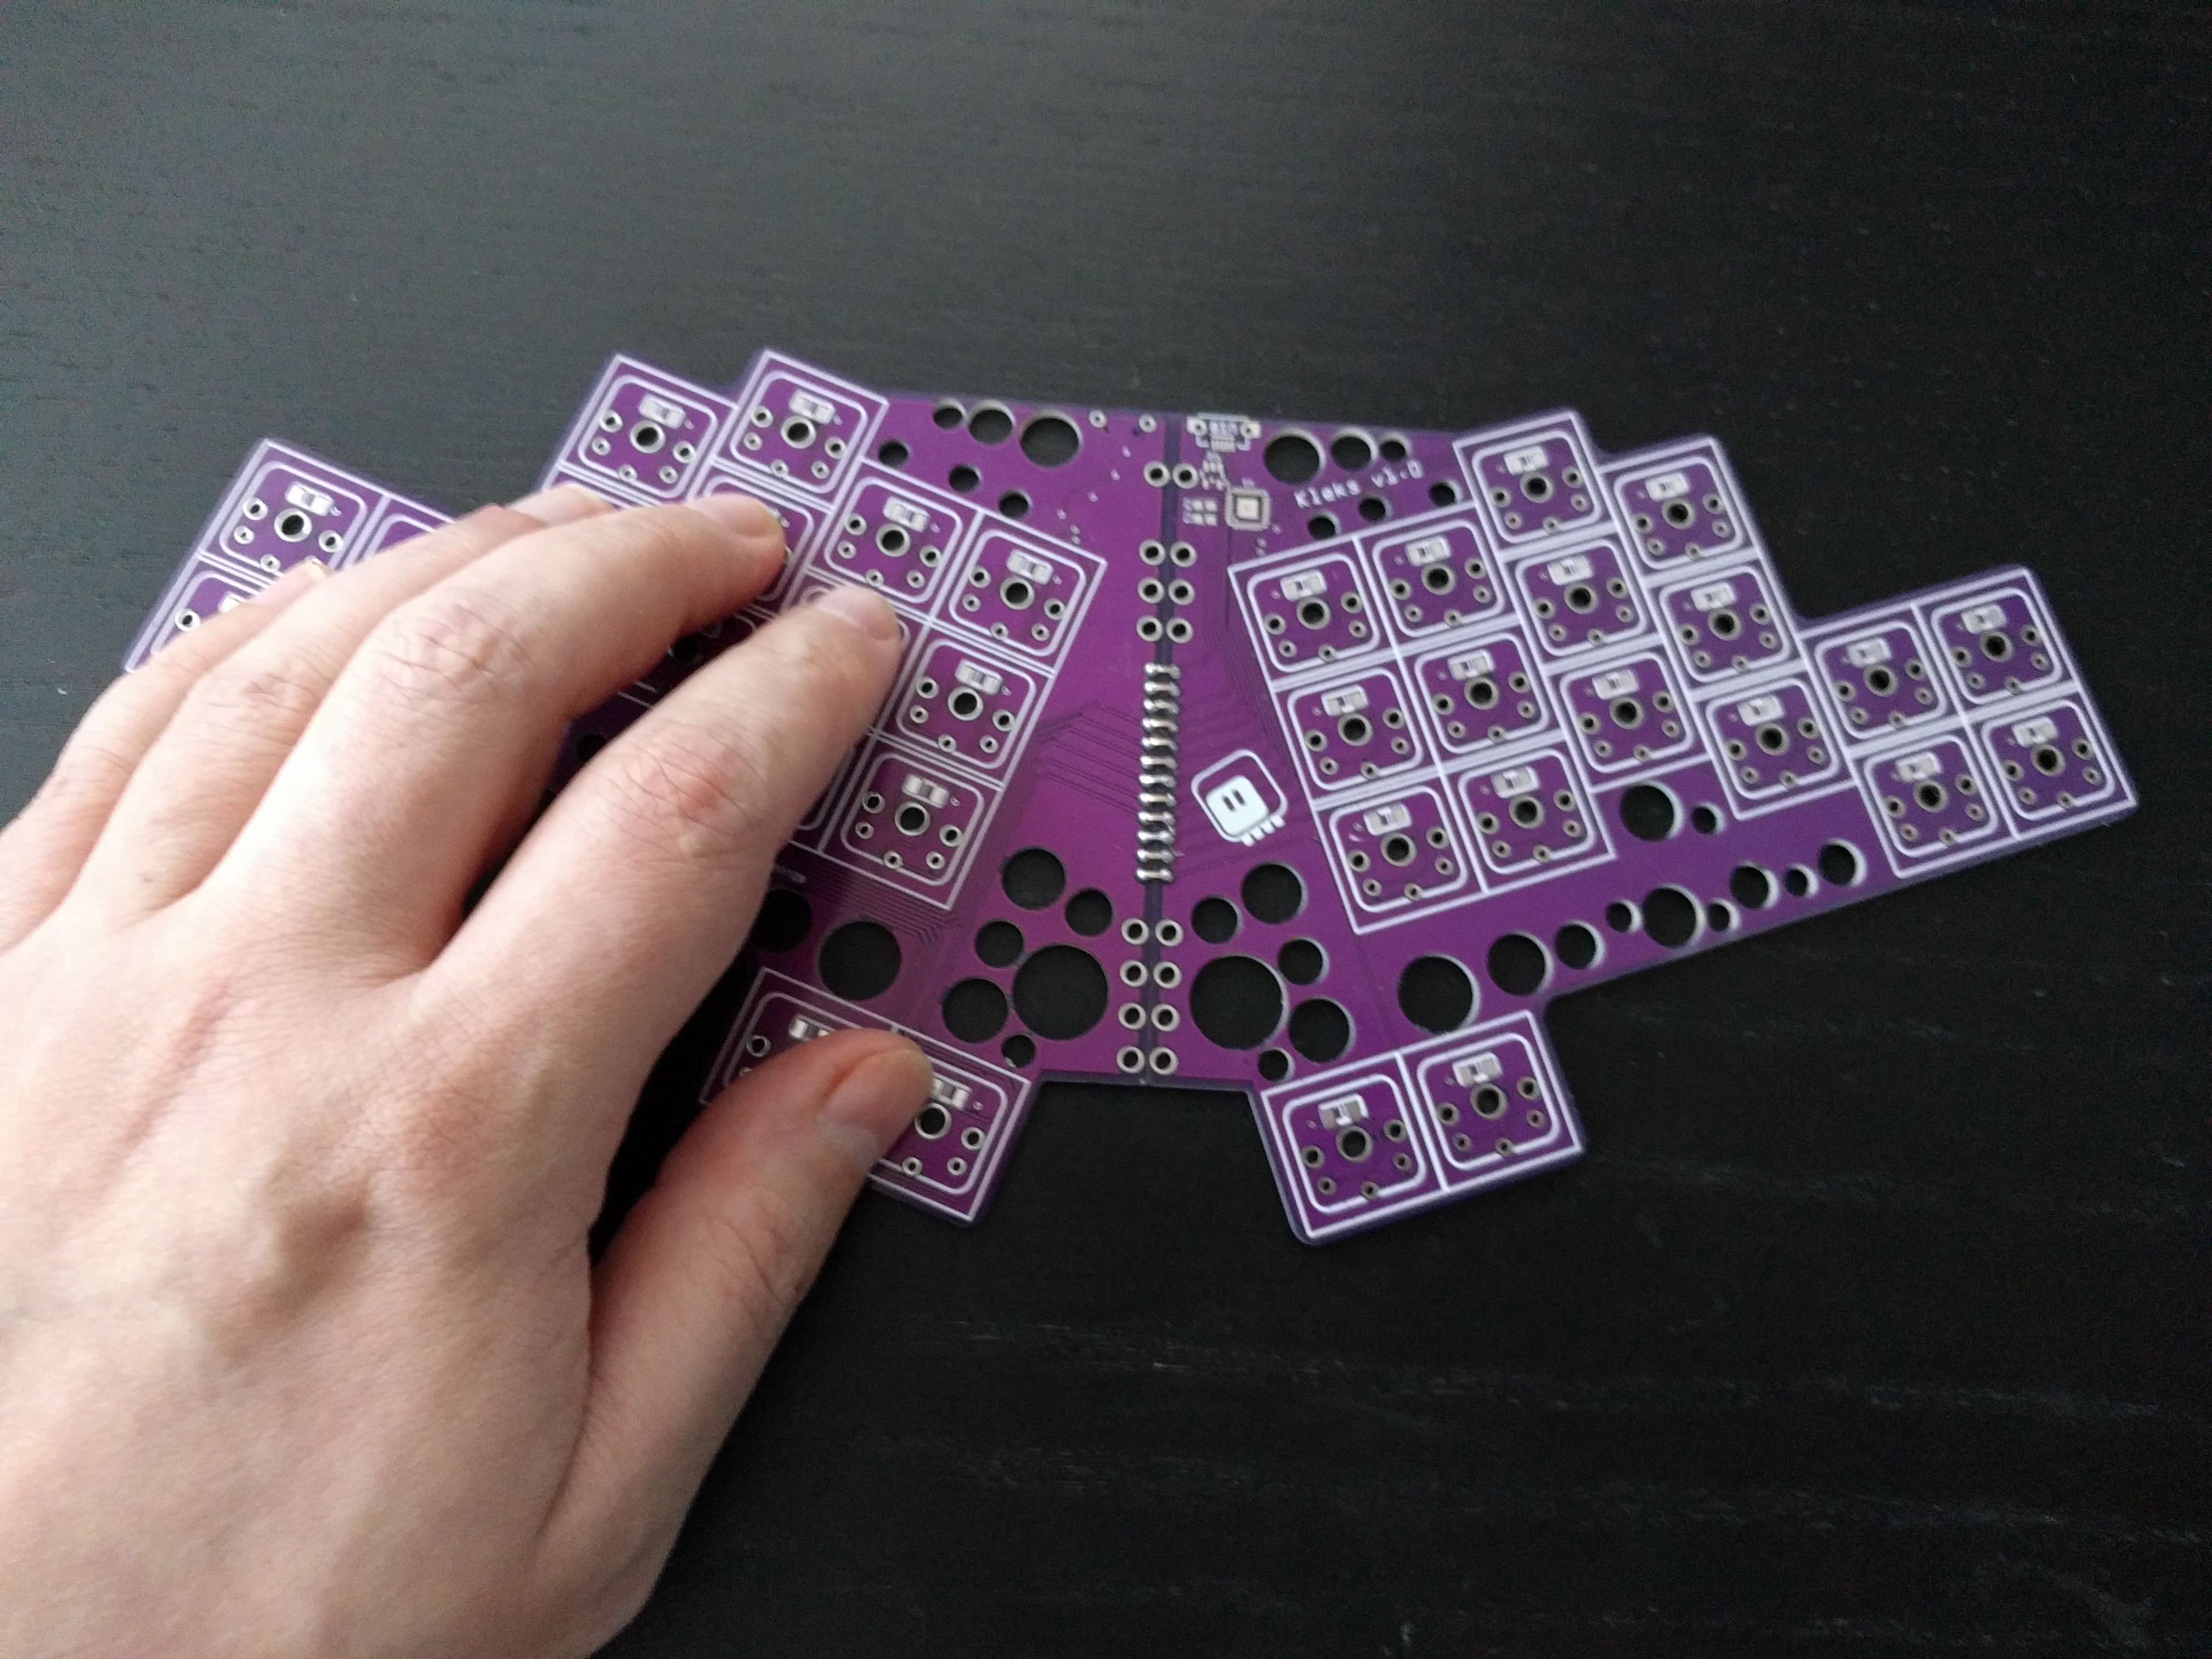
It tuns out to be pretty good. I didn’t even have to use the holes I added to the edges in case there was a need for more mechanical stability. The boards are connected by a male pin header, that was soldered in one side, had its plastic part removed, and then was inserted into the other half and bent into U-shape until both halves were parallel. Then I tinned it with copious amounts of solder, to make it look like the rest of the pads on the board.
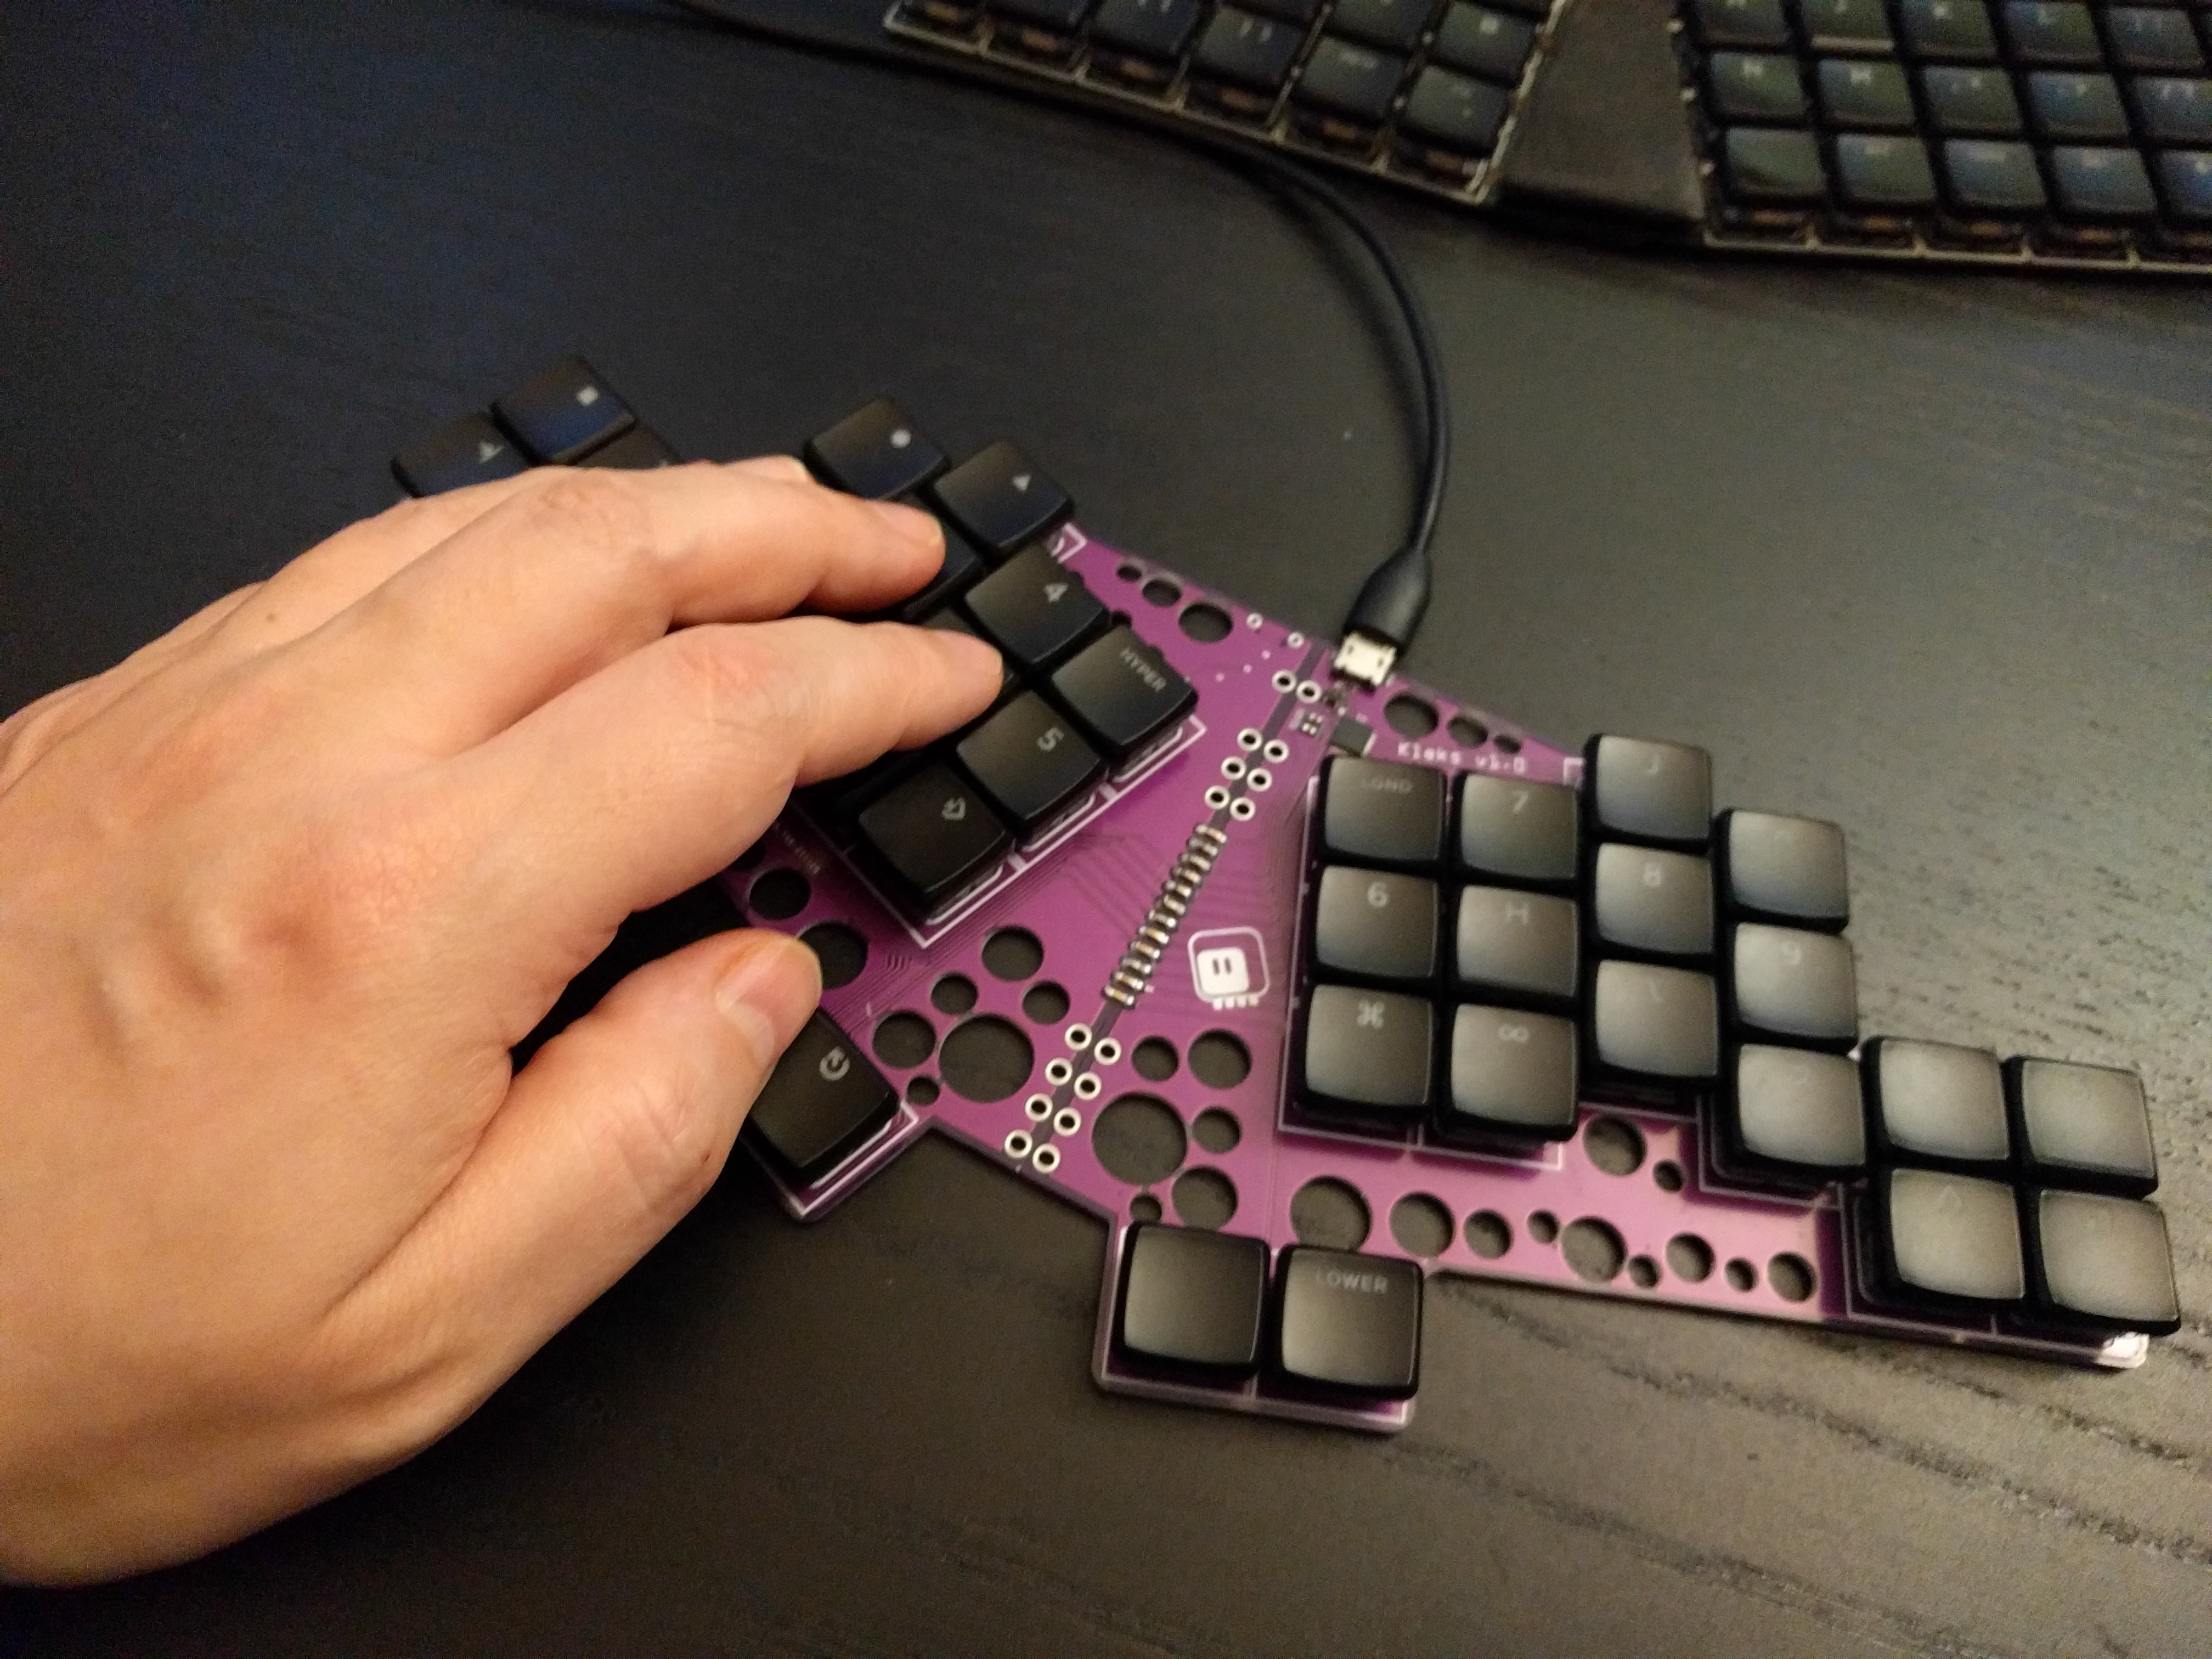
With that done and tested, I soldered the diodes, the MCU and the remaining components. Then I added the Purpz switches and MBK keycaps (somewhat randomly labeled, I’m still waiting for the MBK Legends groupbuy), and we have a keyboard.