After the Workshop
Published on 2023-03-05 in Fluffbug.
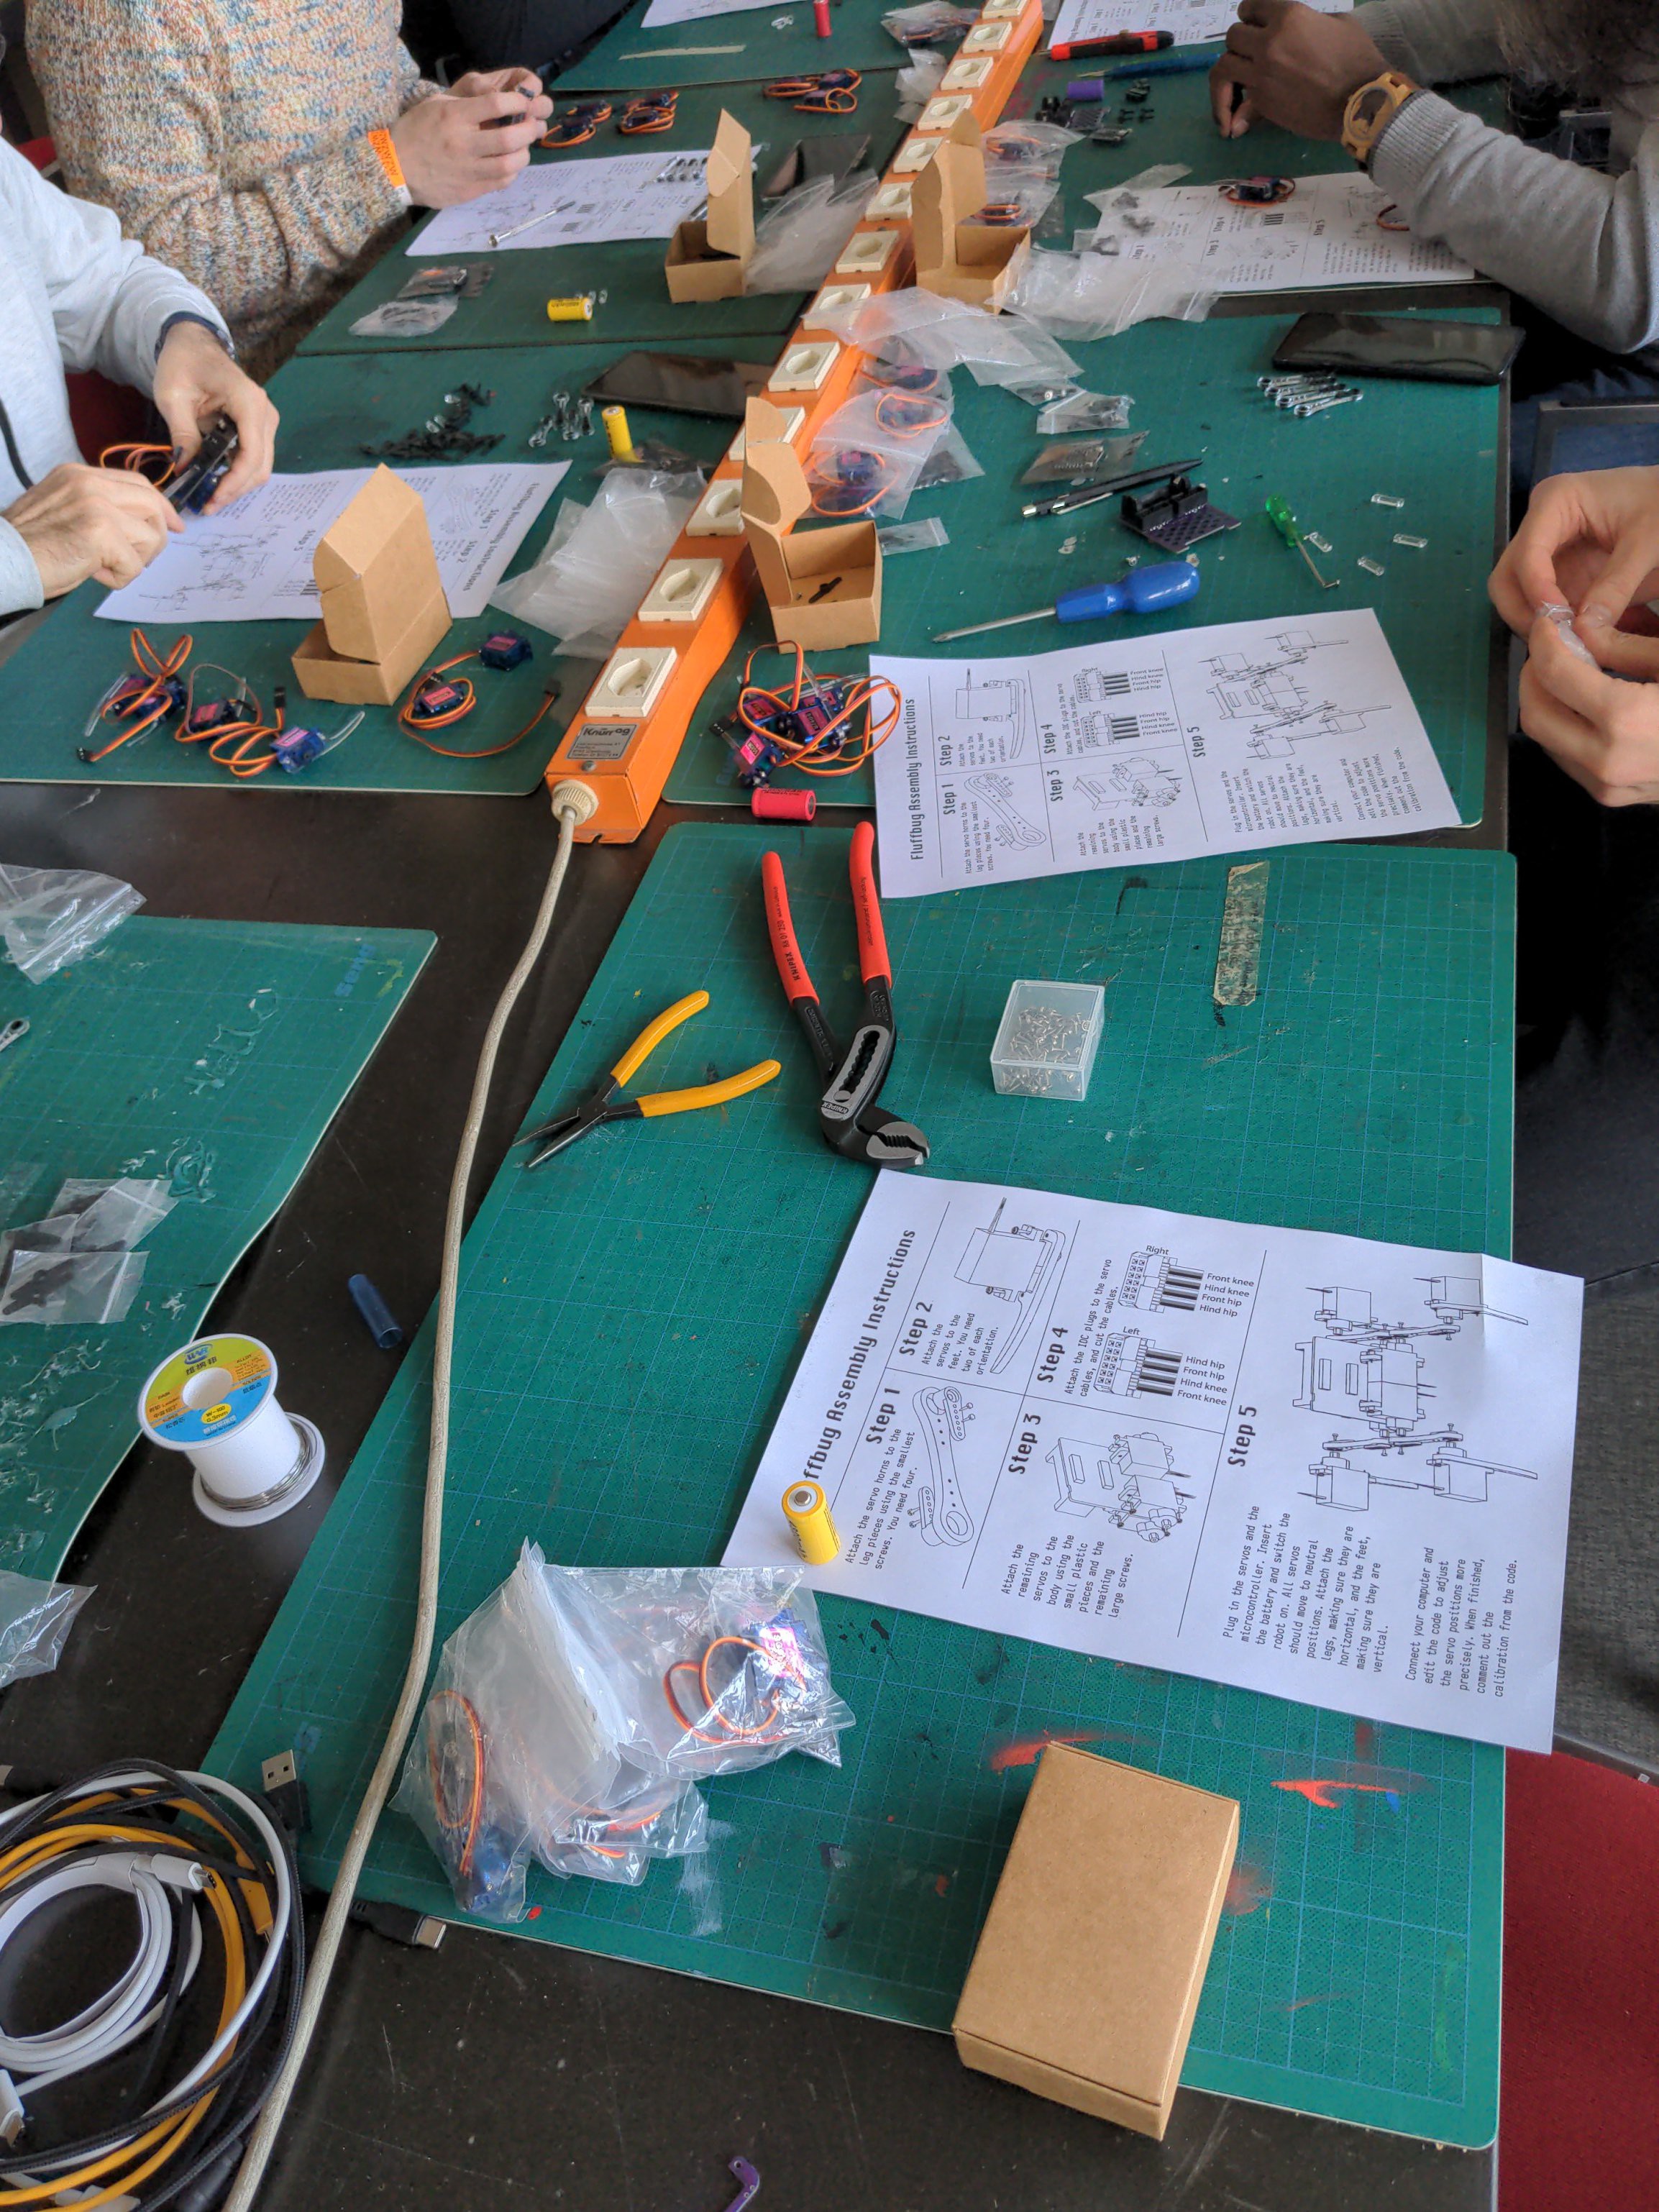
As I wrote previously, we just had a small workshop at a local art festival for building Fluffbug robots. I think it generally went very well: all the participants left with working robots, and they didn’t seem to have regretted spending those four hours there. I call it a win.

However, there is always some room for improvement, so I’m going to put some notes here.\
Duration
Four hours seems to be the perfect length of the workshop. There was one person who came 2 hours late, and while they did finish their robot, they had to hurry and it didn’t come out as good as it could have. And that is without the soldering part – I chickened at the last moment and soldered up all the pins for the participants, because the soldering irons we were going to have available weren’t that great. With soldering, it would probably take half an hour to one hour longer.
There are ways in which I could speed it up a little by providing some partially assembled components, but that feels like taking away the fun, so I think I will stick to four hours in the future.
As an aside, we did have a break planned in the middle, but nobody wanted to take it. They were too engrossed in the building.
Tools
I have to bring good screwdrivers, preferably in two sizes, for the tiny screws and for the servo screws. Many people were frustrated using the sub-premium screwdrivers available at the hackerspace. I see myself in a tool shop in the near future.
All the other tools, like wire cutters, pliers and scissors were only needed for a moment and were easily shared. We didn’t do soldering, so no soldering irons. I might consider bringing some cork coasters, so people can use them when screwing the screws in and not damage the tables.
Calibration
I definitely need to add LED signalling to the calibration process, so you can be sure when all the servos have updated. This version of CircuitPython takes some random delay before it resets (a mitigation for a number of bugs), so it was frustrating changing the calibration values and than waiting not being sure if it updated yet or not.
I was afraid the people would struggle with the process or find it tiresome, but it doesn’t seem they did. Not everyone had a computer, but people did the calibration for those without computers on theirs, so there was no problem with that.
IDC Connectors
As expected, the IDC connectors were the source of the most problems, and also the most scary part of the whole assembly. It’s easy to introduce a short if the cables are not perfectly aligned while crimping the connector, and then the robot just stands there, because the battery protection chip cuts the power. It’s better than releasing the magical blue smoke, of course, but here again a LED indicator for the calibration process would help a lot, to at least see if there is power.
Getting the right lengths of the cables was a problem as well, as people were understandably afraid of cutting them too short. I think I should prepare some kind of a jig, where you insert the servos at one end, and the connectors at the other, which would give you the right lengths of the cables and also keep the cables aligned. I need to think about how to do it, but probably laser-cutting something will work.
I’m also considering cutting and crimping the cables beforehand, to eliminate this step completely, but I’m not sure I want to do it: it’s a lot of work, and it steals some of the experience from the participants – even if it’s scary. I will see if a jig makes things easier.
Spare Parts
The most important lesson is to always bring spare parts for the kits. People lose screws, break the plastic parts, damage the IDC connectors trying to re-crimp them, and even strip the gears on the servos. I had two boxes of extra screws, a set of extra leg parts, a bag of ten additional connectors, an additional battery and an additional microcontroller board, and we have used all of those, and without them someone’s robot wouldn’t be working anymore. Unfortunately I didn’t have spare servos, because I’m tight with them (I did plan to have spare servos, but one of the packages I ordered only had 2/3 of the servos I ordered), but maybe next time I will try to find some spares too.
Assembly Instructions
I also got some feedback for changes in the assembly instructions, so I will be adding those. It’s mostly clarifications, though. I still can’t think of a better way of describing the IDC connector step more clearly, perhaps the jig will help.
 deshipu.art