S3
Published on 2024-06-07 in µGame S3.
New microcontrollers keep coming out, and each one looks like an interesting choice for a game console. I have been working a little bit on the Xiao S3, so I decided to try and make a PCB for it with the same display and buttons. I also used it as a test for the solderable nuts that I wrote about in µGame 22 .

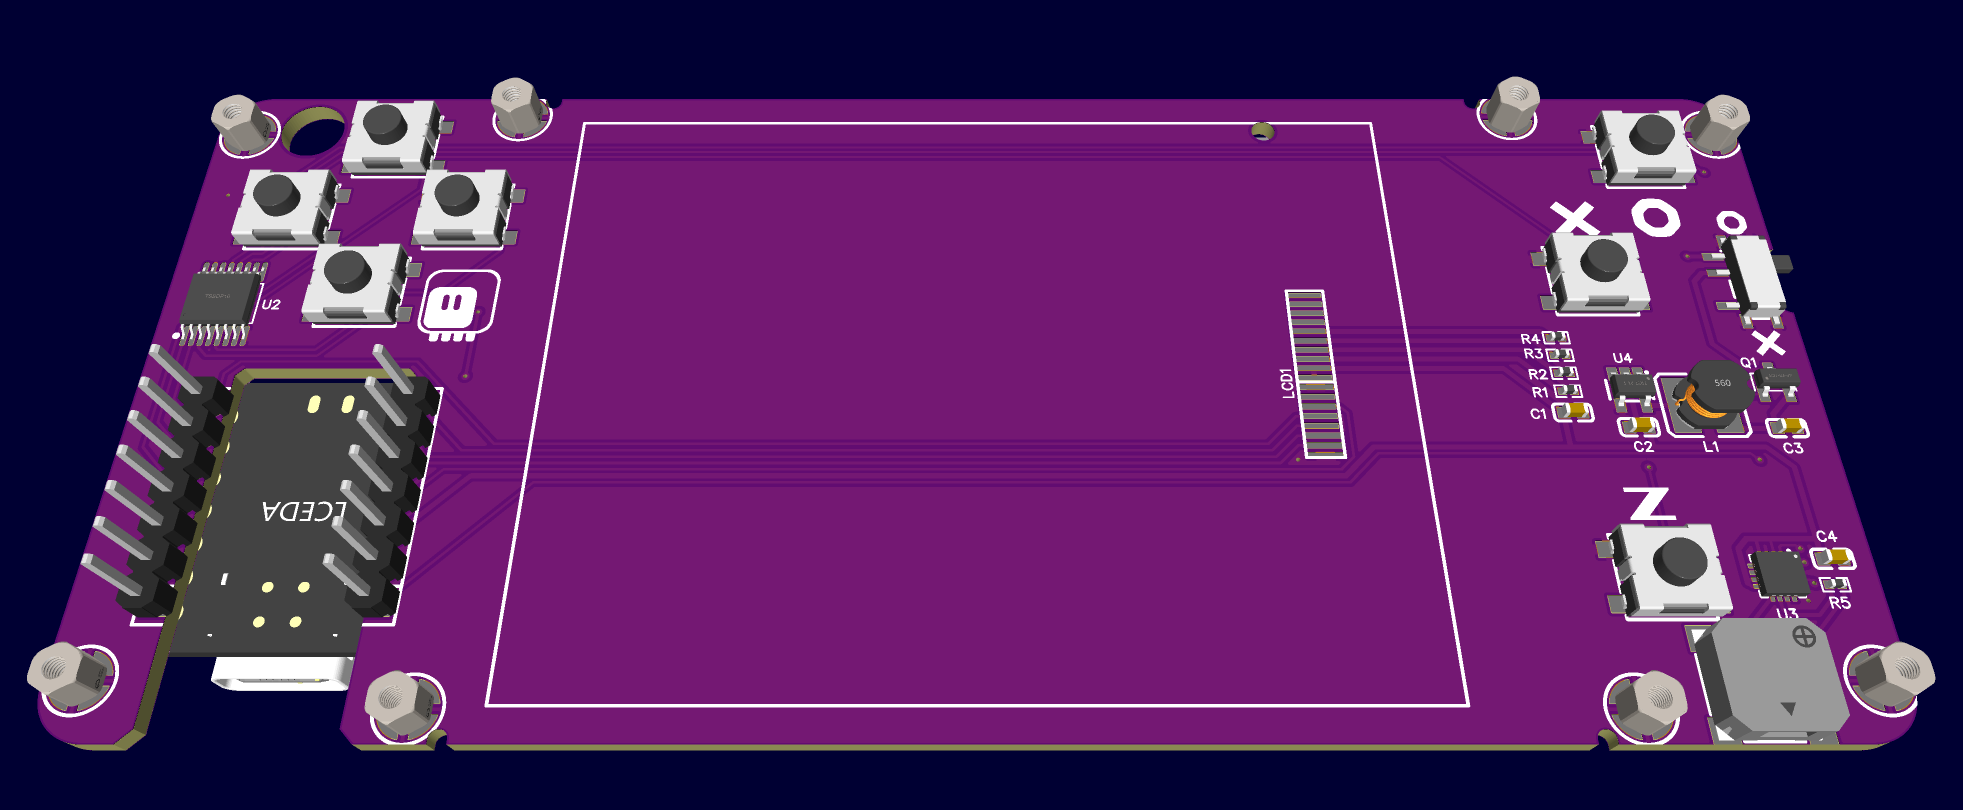
I started with the latest PCB for uGame 22, and removed the RP2)40 chip and all related components. That left me with the power and audio citcuits, which I moved to the other side of the board. I then placed the Xiao footprint in a cutout, so that it can be flush with the PCB from the bottom. The rendering doesn’t show it, because it assumes the module will go on the bottom of the PCB, when in fact it’s supposed to go on the top, partially fitting in that cutout.
I also had to change how the buttons are handled, because Xiao only has 11 usable GPIO pins. So I added a shift register, knowing that CircuitPython already has a keypad library that handles it in the background. Unfortunately that also meant adding explicit pull-up resistors for each button.
Finally, I added the solderable nut footprints. I already got some samples, so I knew what to expect from them. The render shows hex nuts, but the ones I ended up using are actually round. But they are still 3mm high, the same as the middle layer of acrylic was supposed to be. I placed them in the same spots as the screw holes were, so I can reuse the acrylic parts I already have.

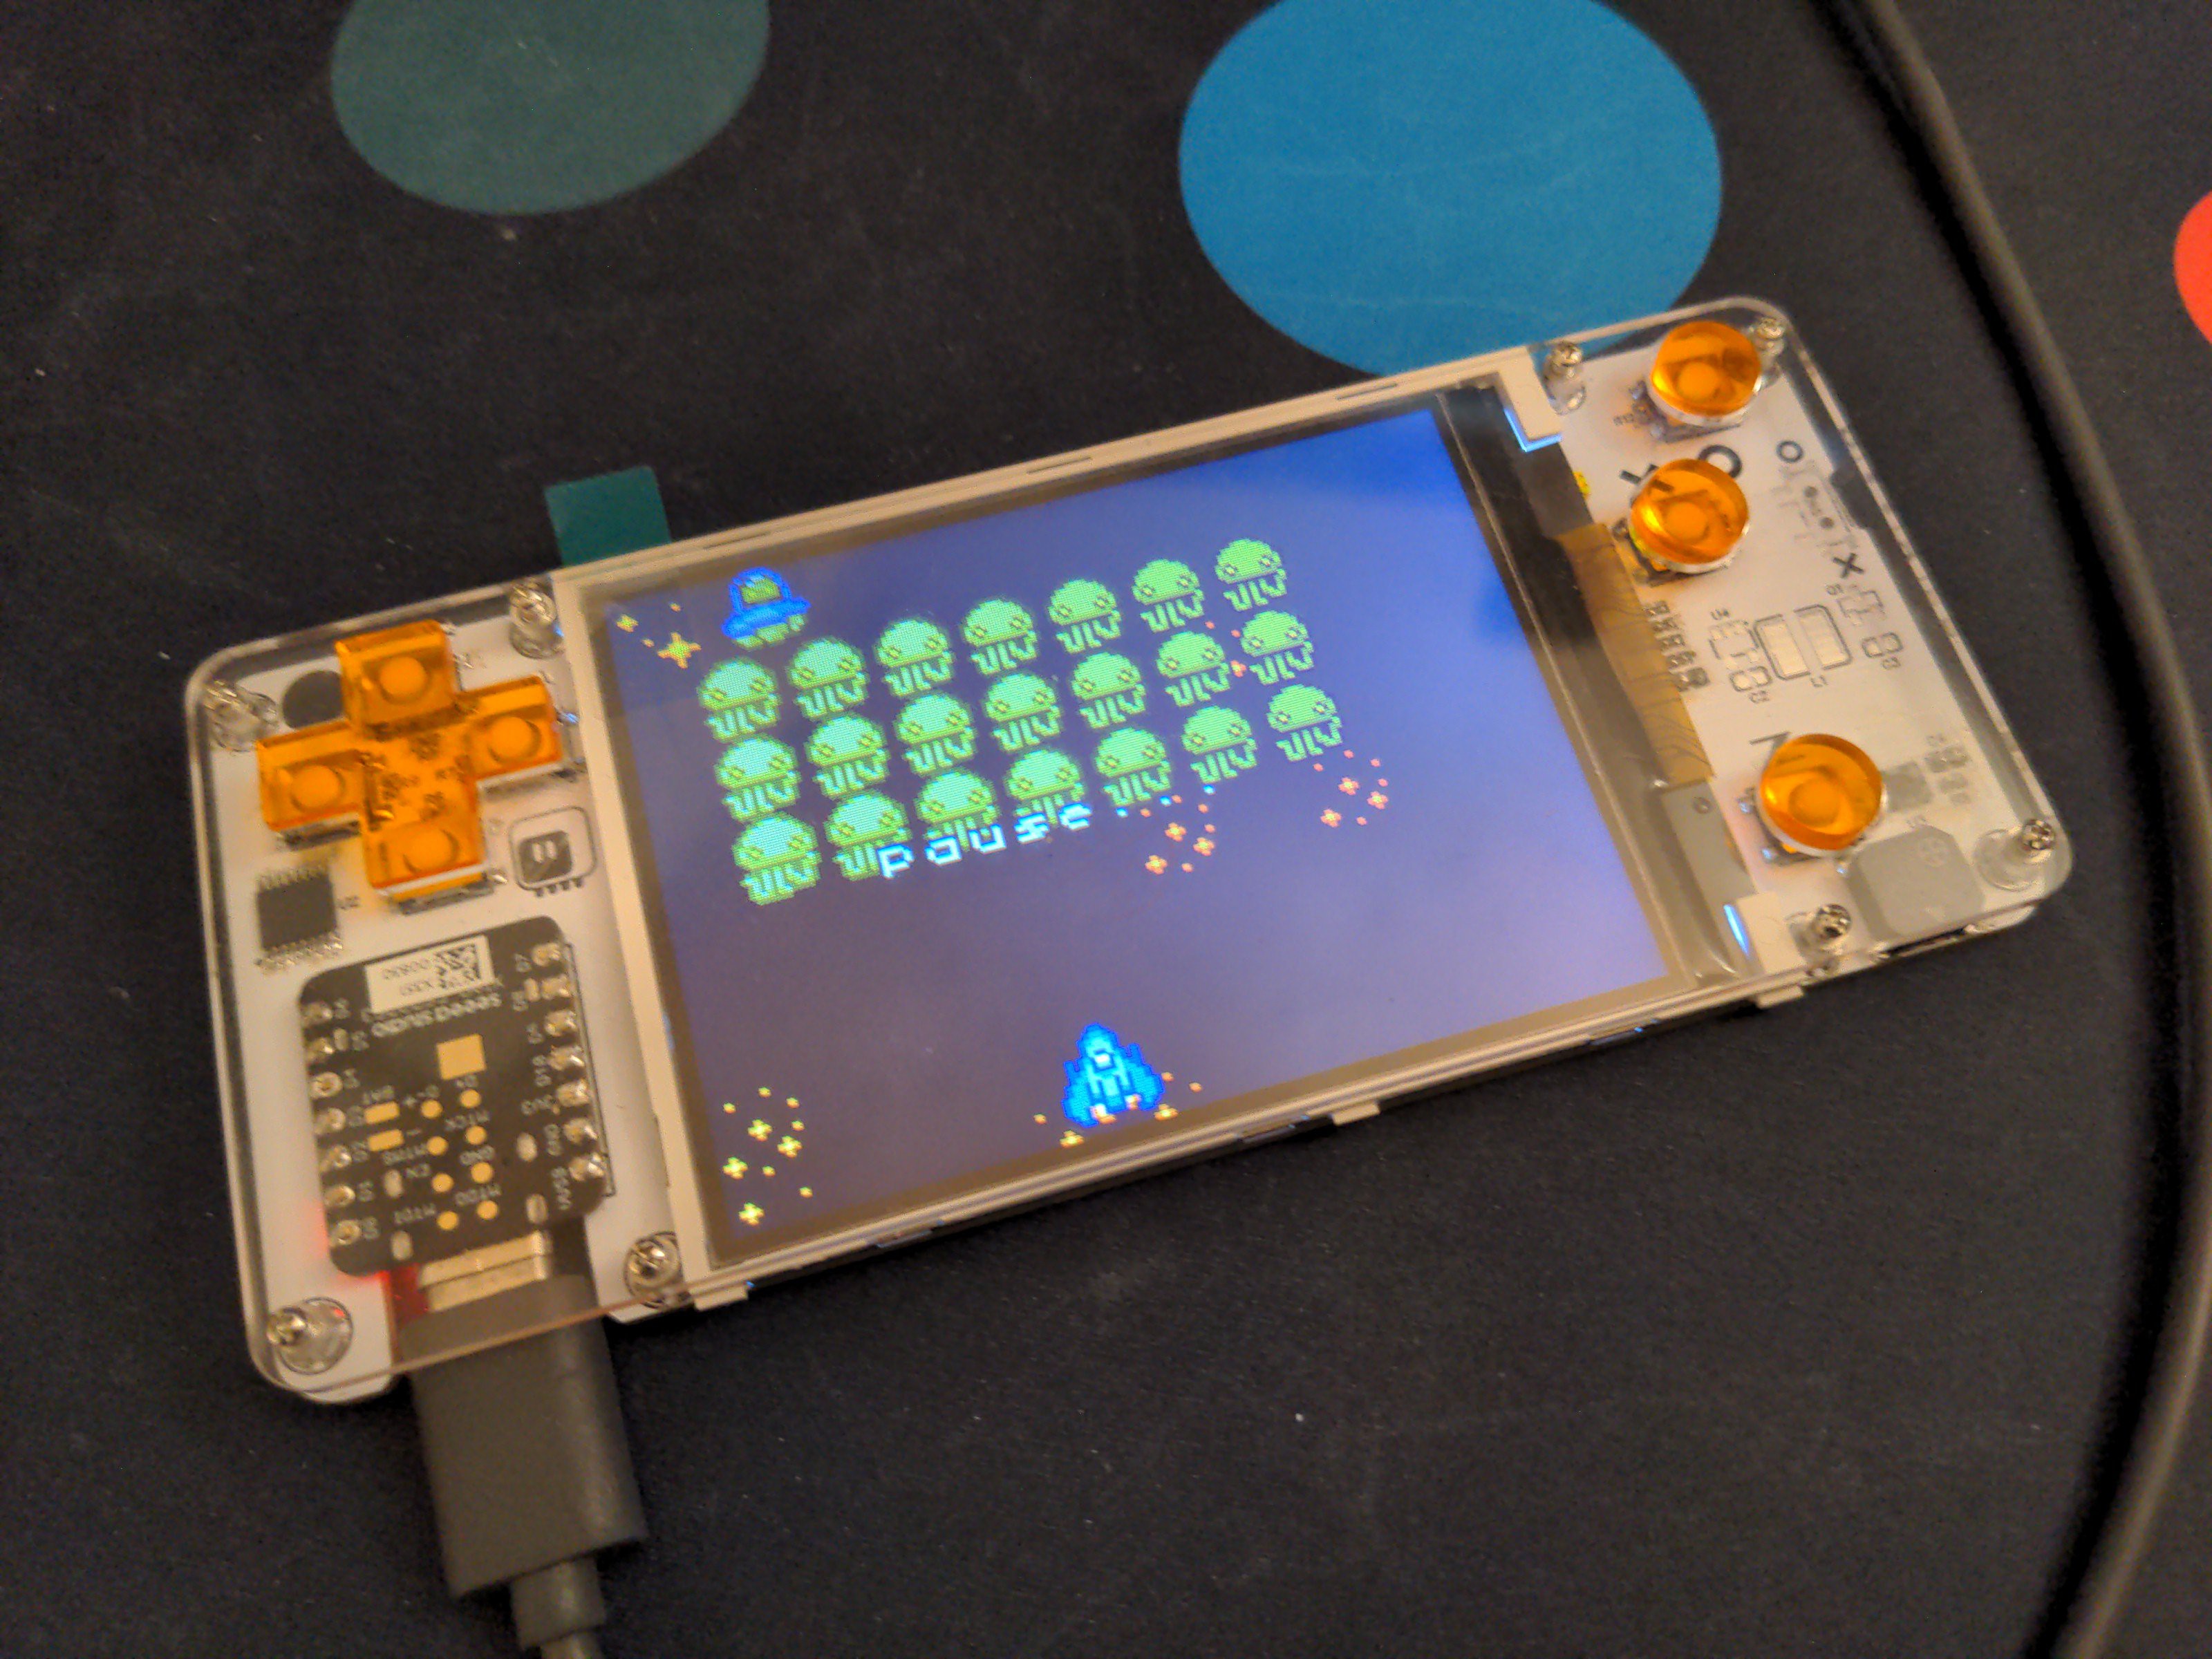
When the PCBs arrived, I assembled one, skipping the power circuit – I didn’t feel like looking for the parts in the drawers, and I already know that circuit works fine. I had to compile my own version of the firmware, because the support for that board in CircuitPython is still not merged, due to Seeed Studio not providing a VID/PID to use. I also had to add the Stage, a Tile and Sprite Engine to the firmware, to have all my games working – it’s not usually enabled for boards that don’t have a built-in display.
Overall, I’m very happy about how this microcontroller performs and about how the solderable nuts came out mechanically. I’m now thinking about repeating my experiment with the parallel display, but with the ESP32-S3 this time. Who knows, maybe it was something about the RP2040 implementation that made things so slow? If the parallel display works well, I might use a WROOM module for the next version of this console.
 deshipu.art