Electronic Barrette Hub
A base station of all your blinking lights
Electronic jewelry is difficult to make, especially when it’s supposed to be worn on your head. Things like earrings, hair clips, studs, and even glasses are difficult because of the size and power requirements. There is one accessory that doesn’t have such strict requirements: it can be large and relatively heavy, it doesn’t touch your skin, and it can fit a rechargeable battery: it’s the hair clasp, also known as barrette.
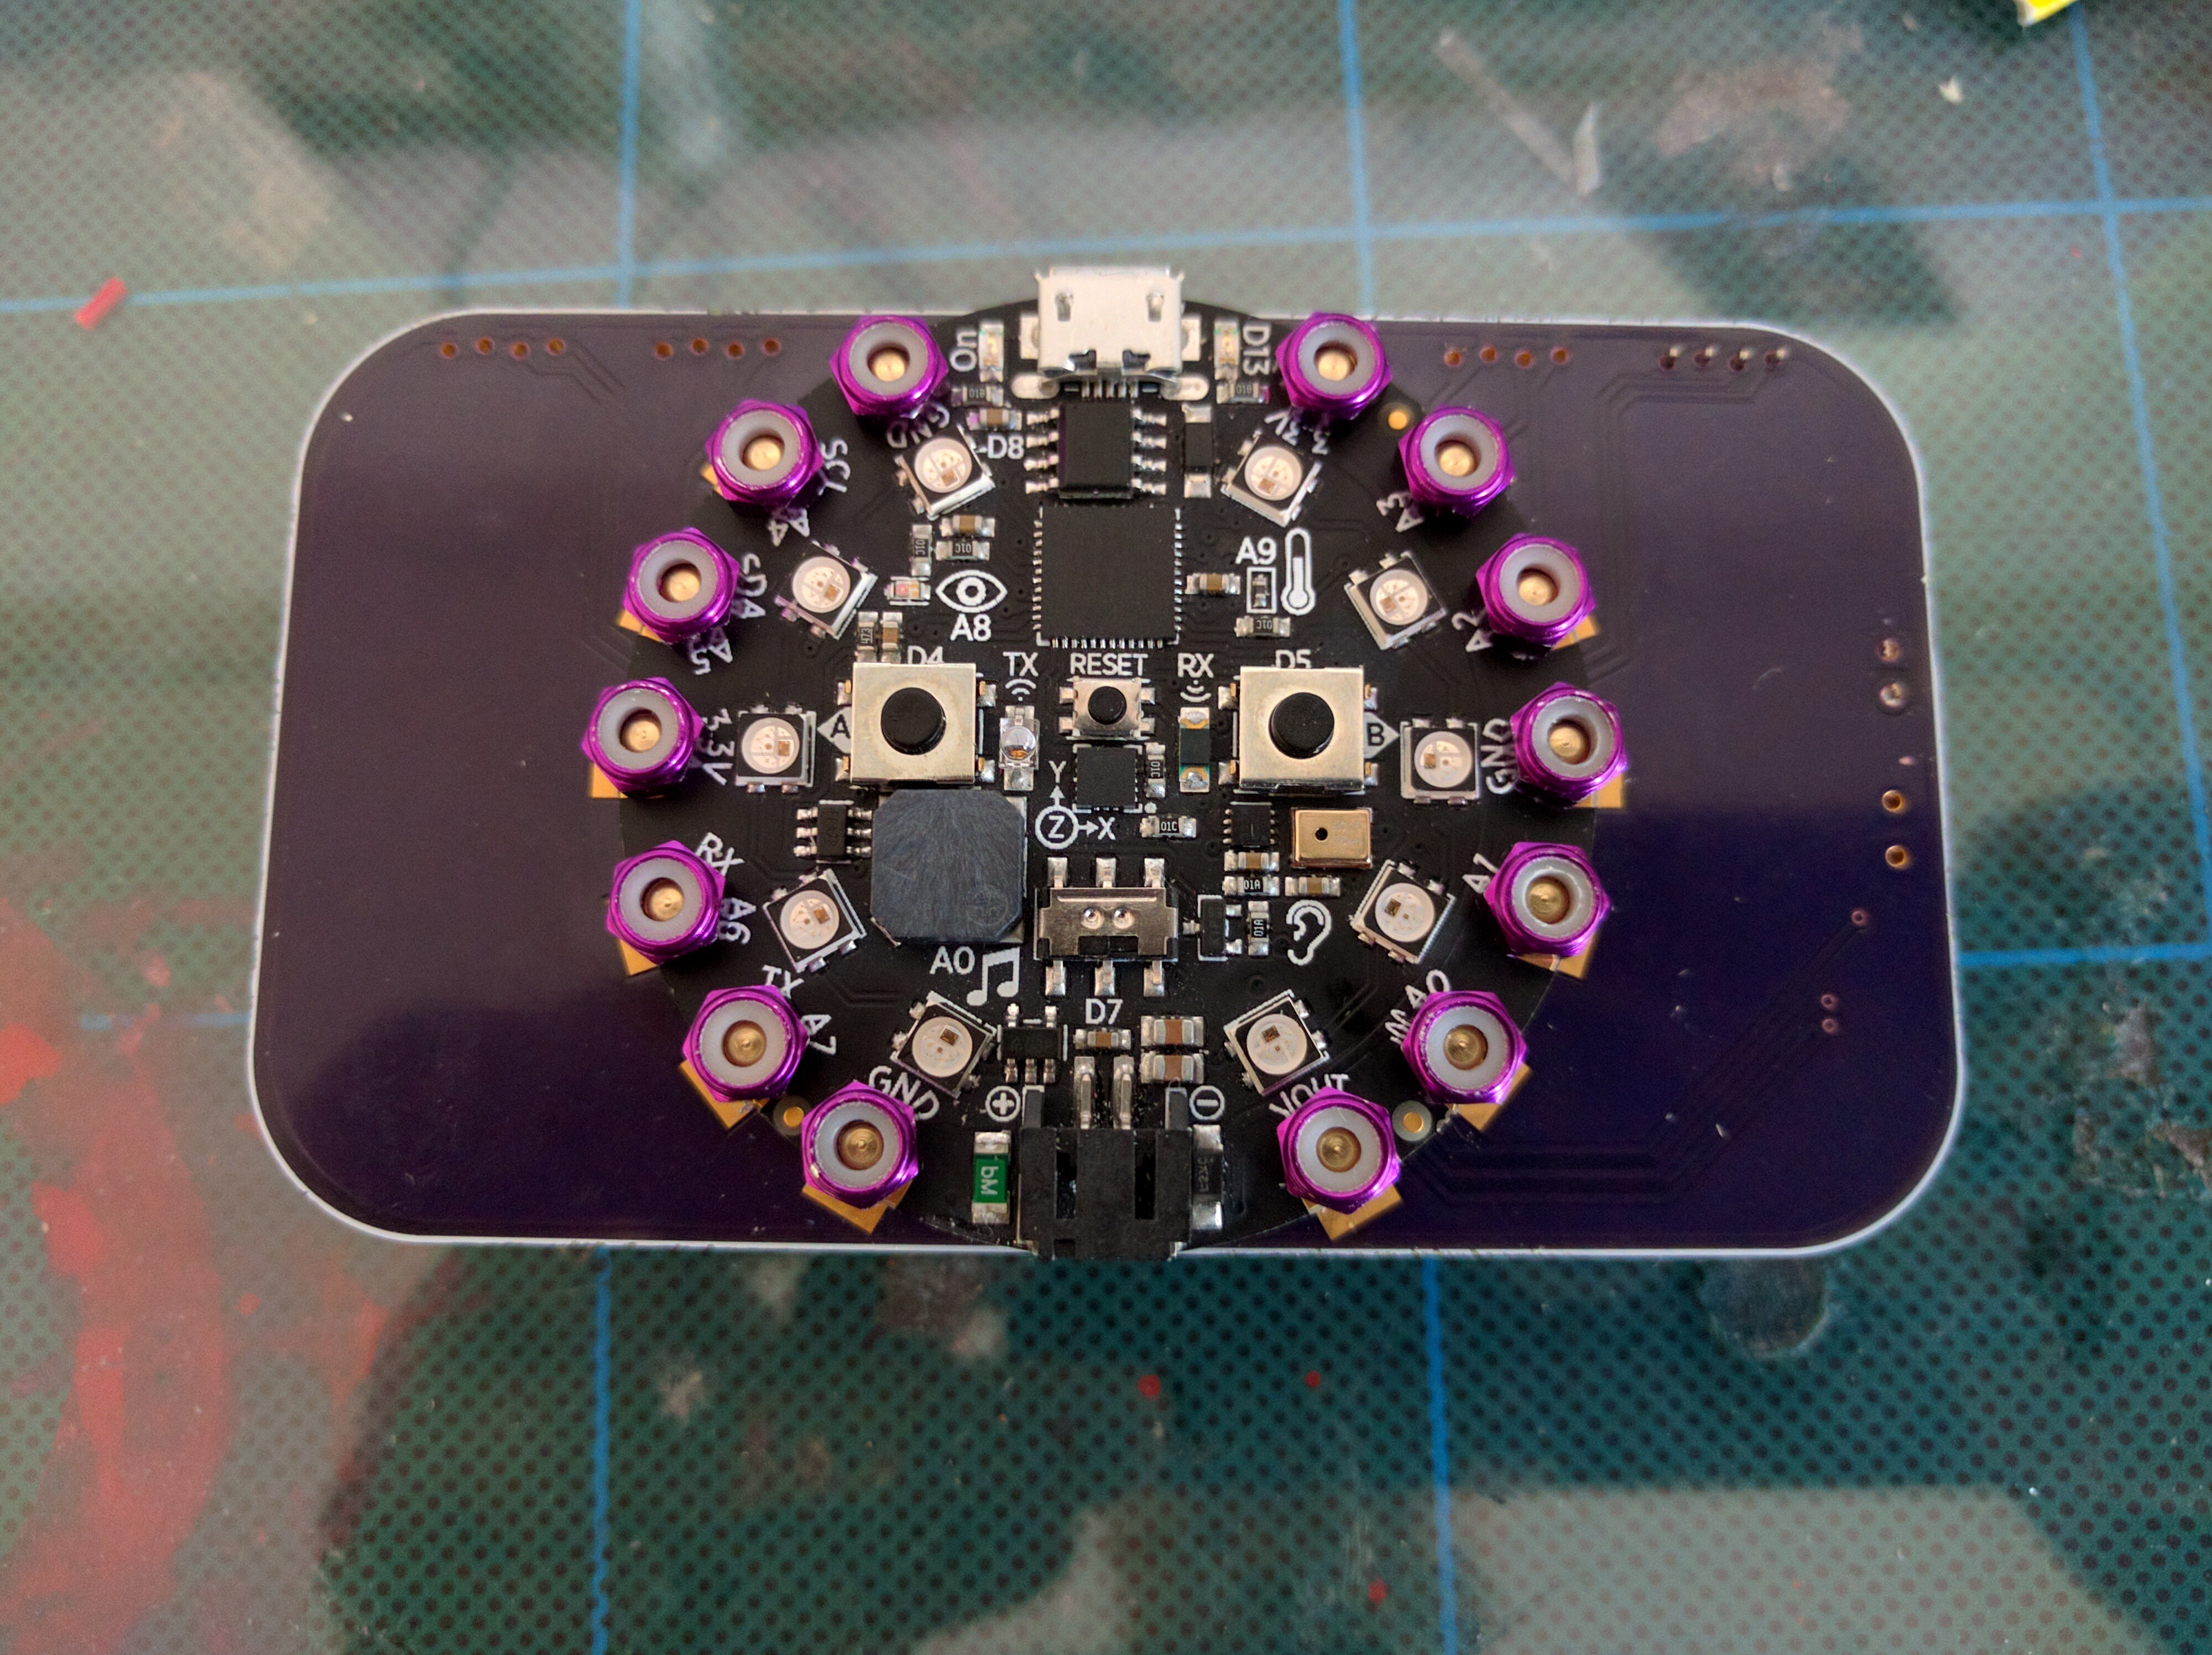
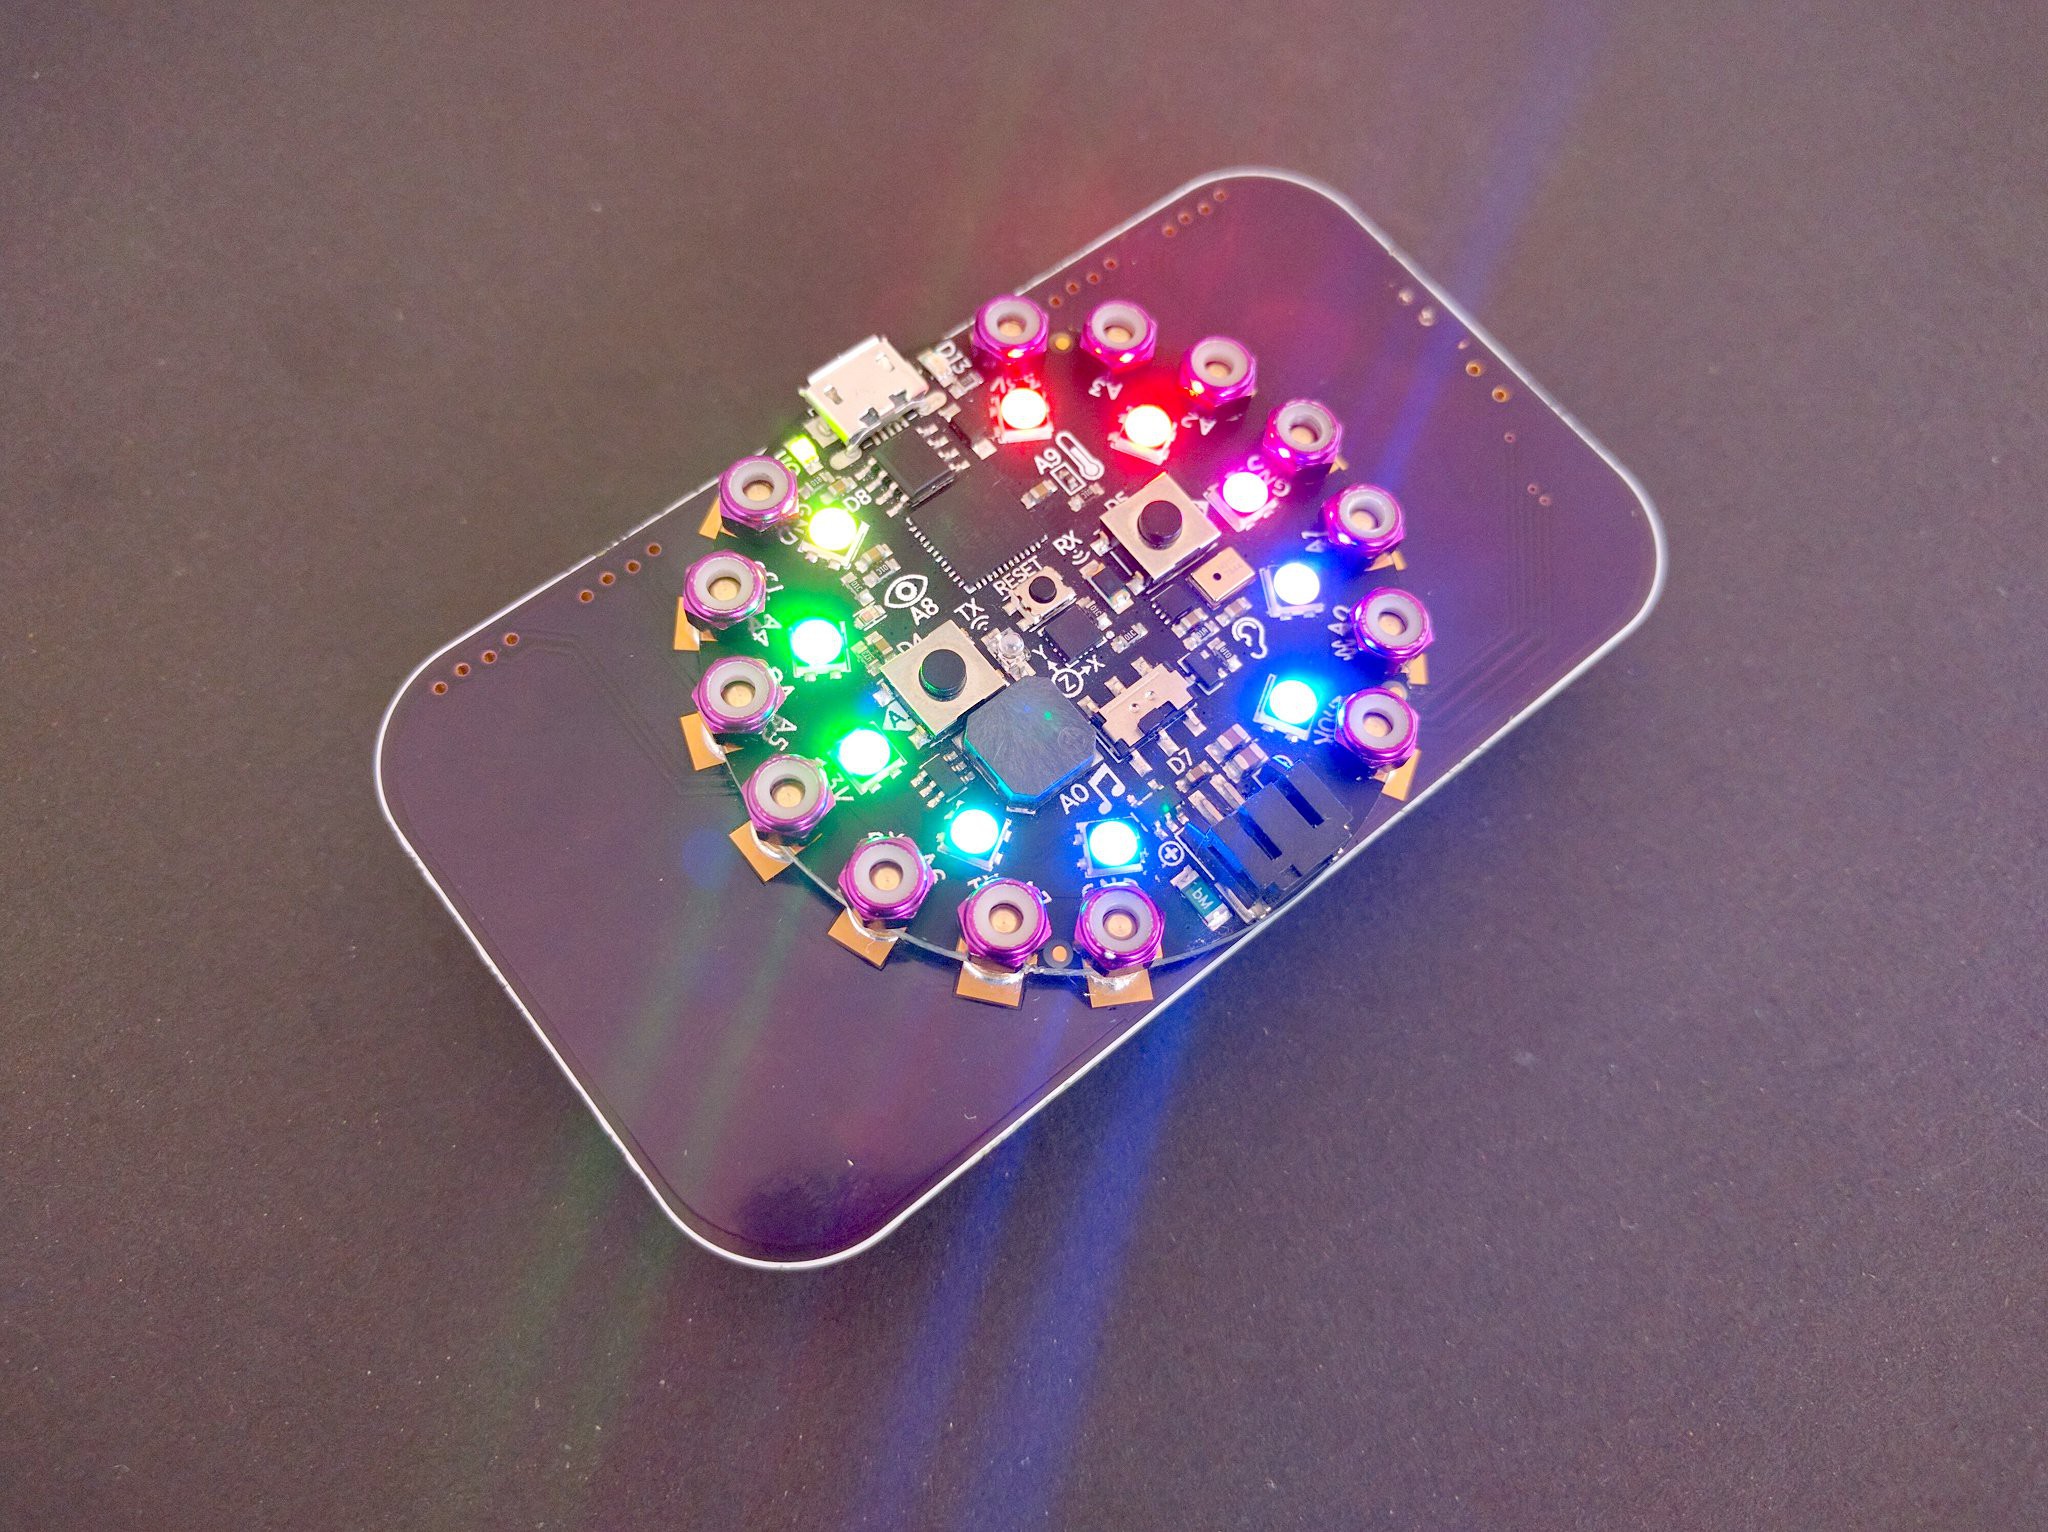
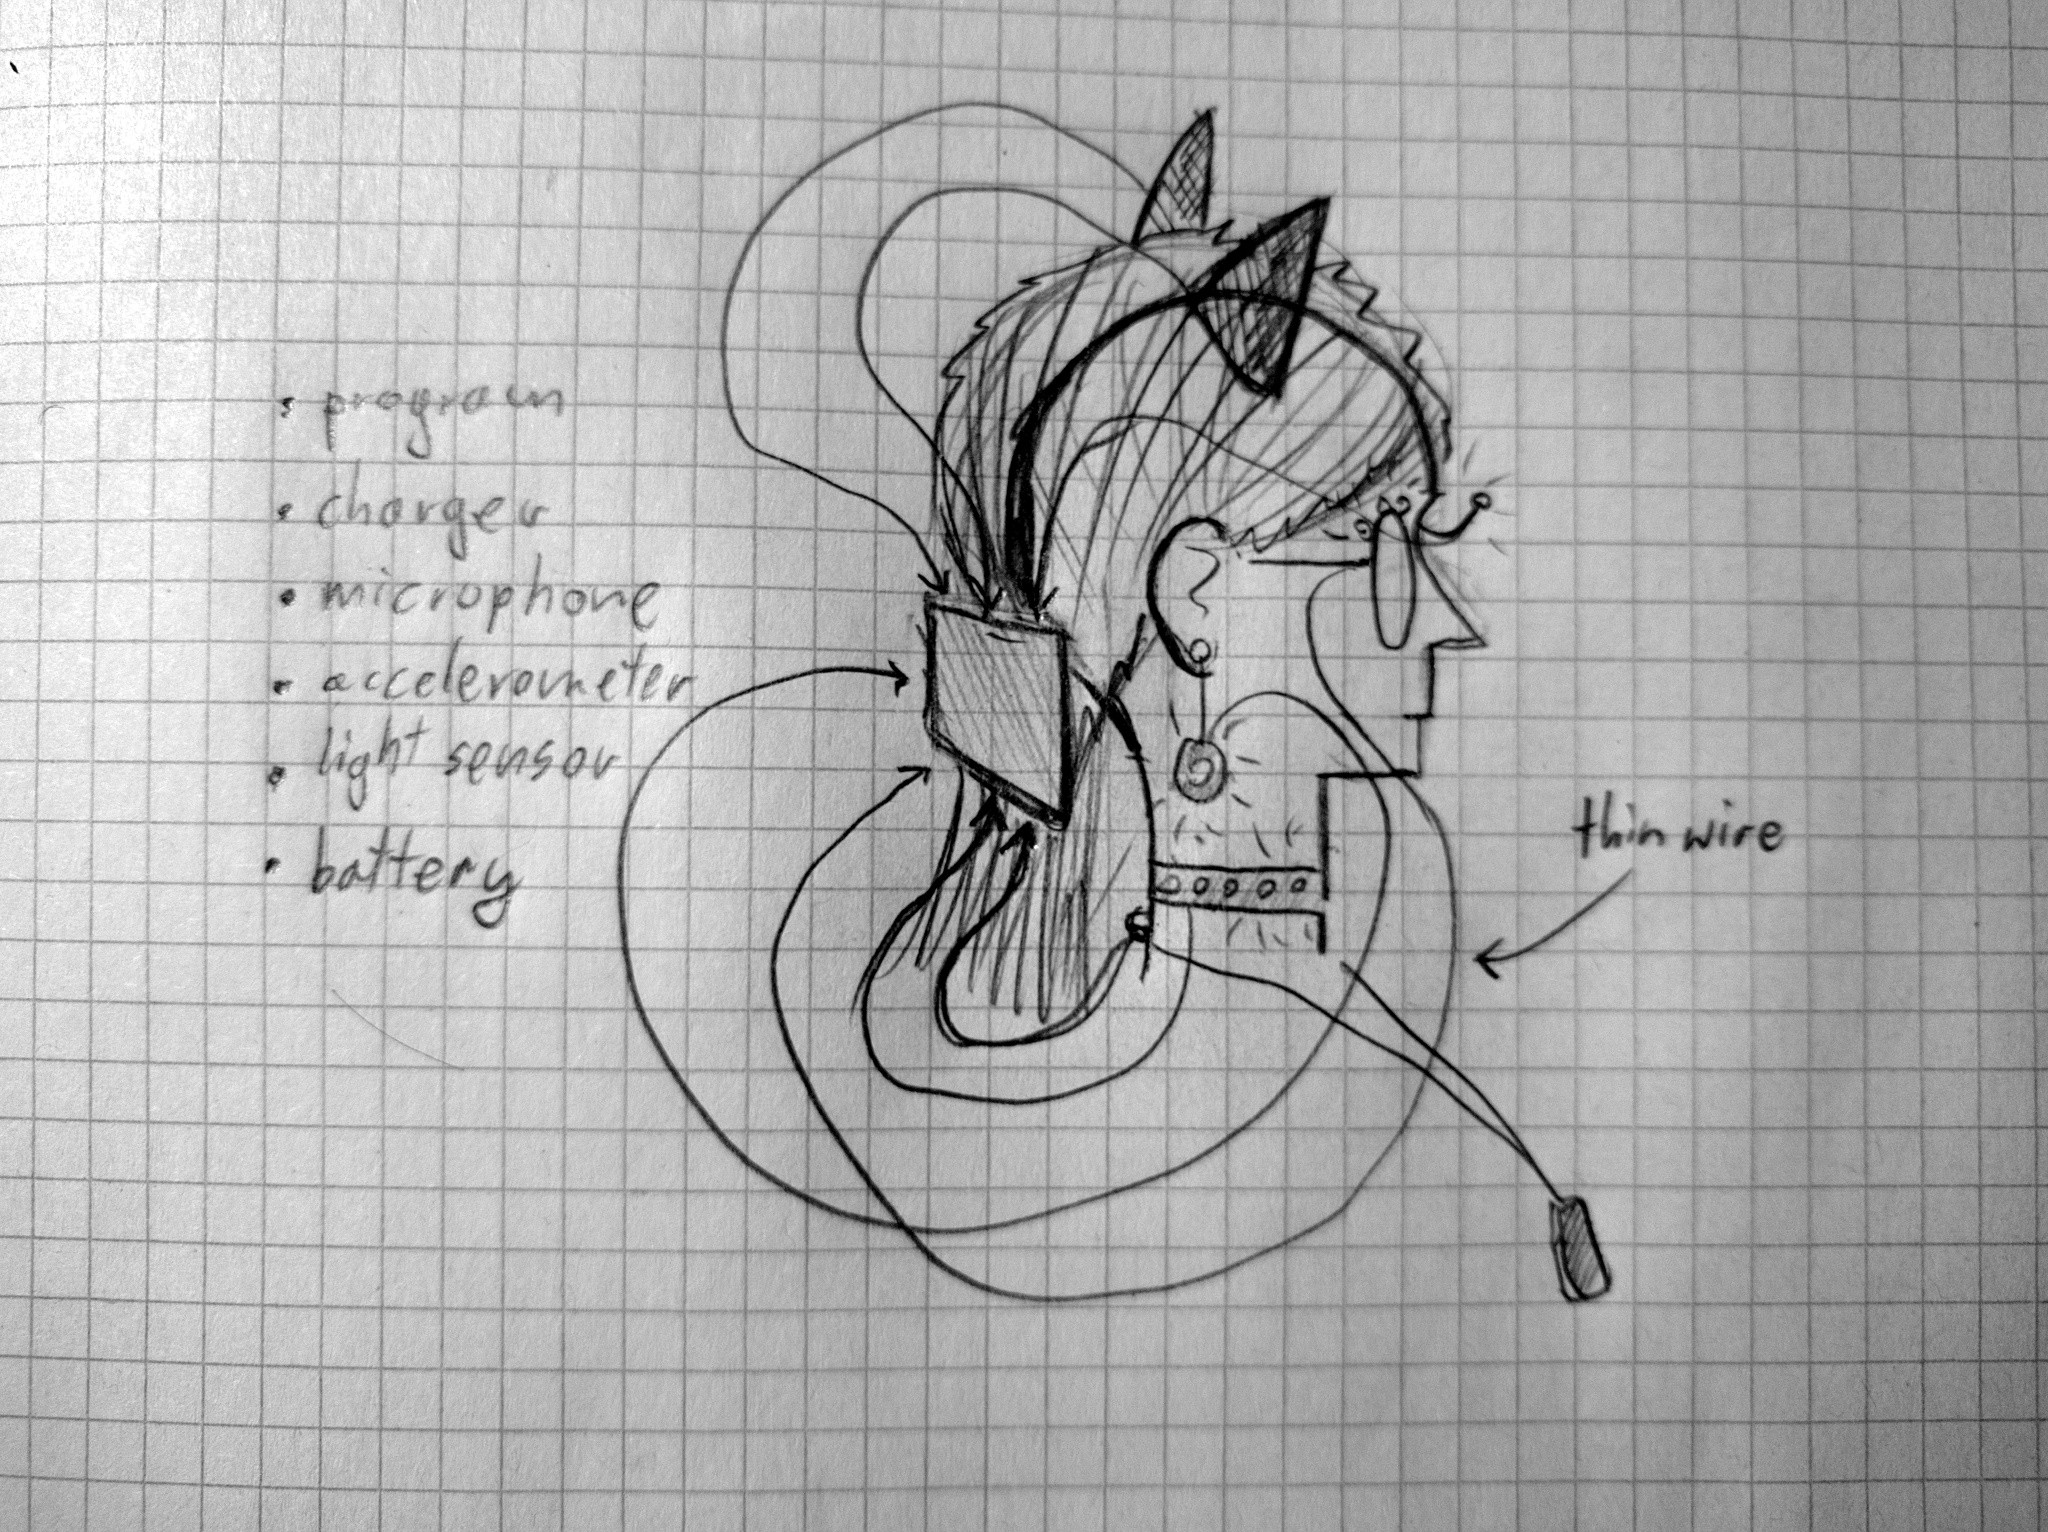
The idea here is to use a barrette as a sort of a hub providing power and control to other accessories on your head. It will contain a microcontroller programmable with CircuitPython, an accelerometer, a light sensor and a microphone — so that you can make things react to movement and sound — and a dozen small sockets, into which you can plug thin wires leading to the actual accessories. You can even have LED eye lashes or Mechatronic Ears with this!

Logs
2018-10-22 - Proper Prototype
2018-10-21 - What I Hope to Achieve?
2018-10-21 - Video and Repository Update
2018-10-20 - Working Prototype (kinda)
2018-10-18 - Making Holes
2018-10-16 - Replaceable Faceplates
2018-10-15 - Sent to Fab
2018-10-13 - Not Dead Yet
2018-08-26 - Power and Connectors
2018-08-21 - Reuse
2018-08-16 - More Blinking Lights
2018-08-04 - Preliminary Tests
2018-08-04 - Blinking Lights
Links
Components
Component |
Count |
Notes |
|---|---|---|
Adafruit Circuit Playground Express |
1 |
|
PCB |
1 |
|
7-pin SMD SPDT switch |
1 |
MK12C02 |
3.7V 1S AAA LiPo battery |
1 |
at least 500mAh |
AAA battery holder |
1 |
|
9cm barrette |
1 |
|
M3 nuts and bolts |
12 |
brass ones look the best |
MCP73831 |
1 |
Charge controller |
0603 SMD LED |
1 |
any color you like |
solder, flux, acetone, rubber bands, etc. |
1 |
|
2kΩ 0603 resistor |
2 |
Instructions
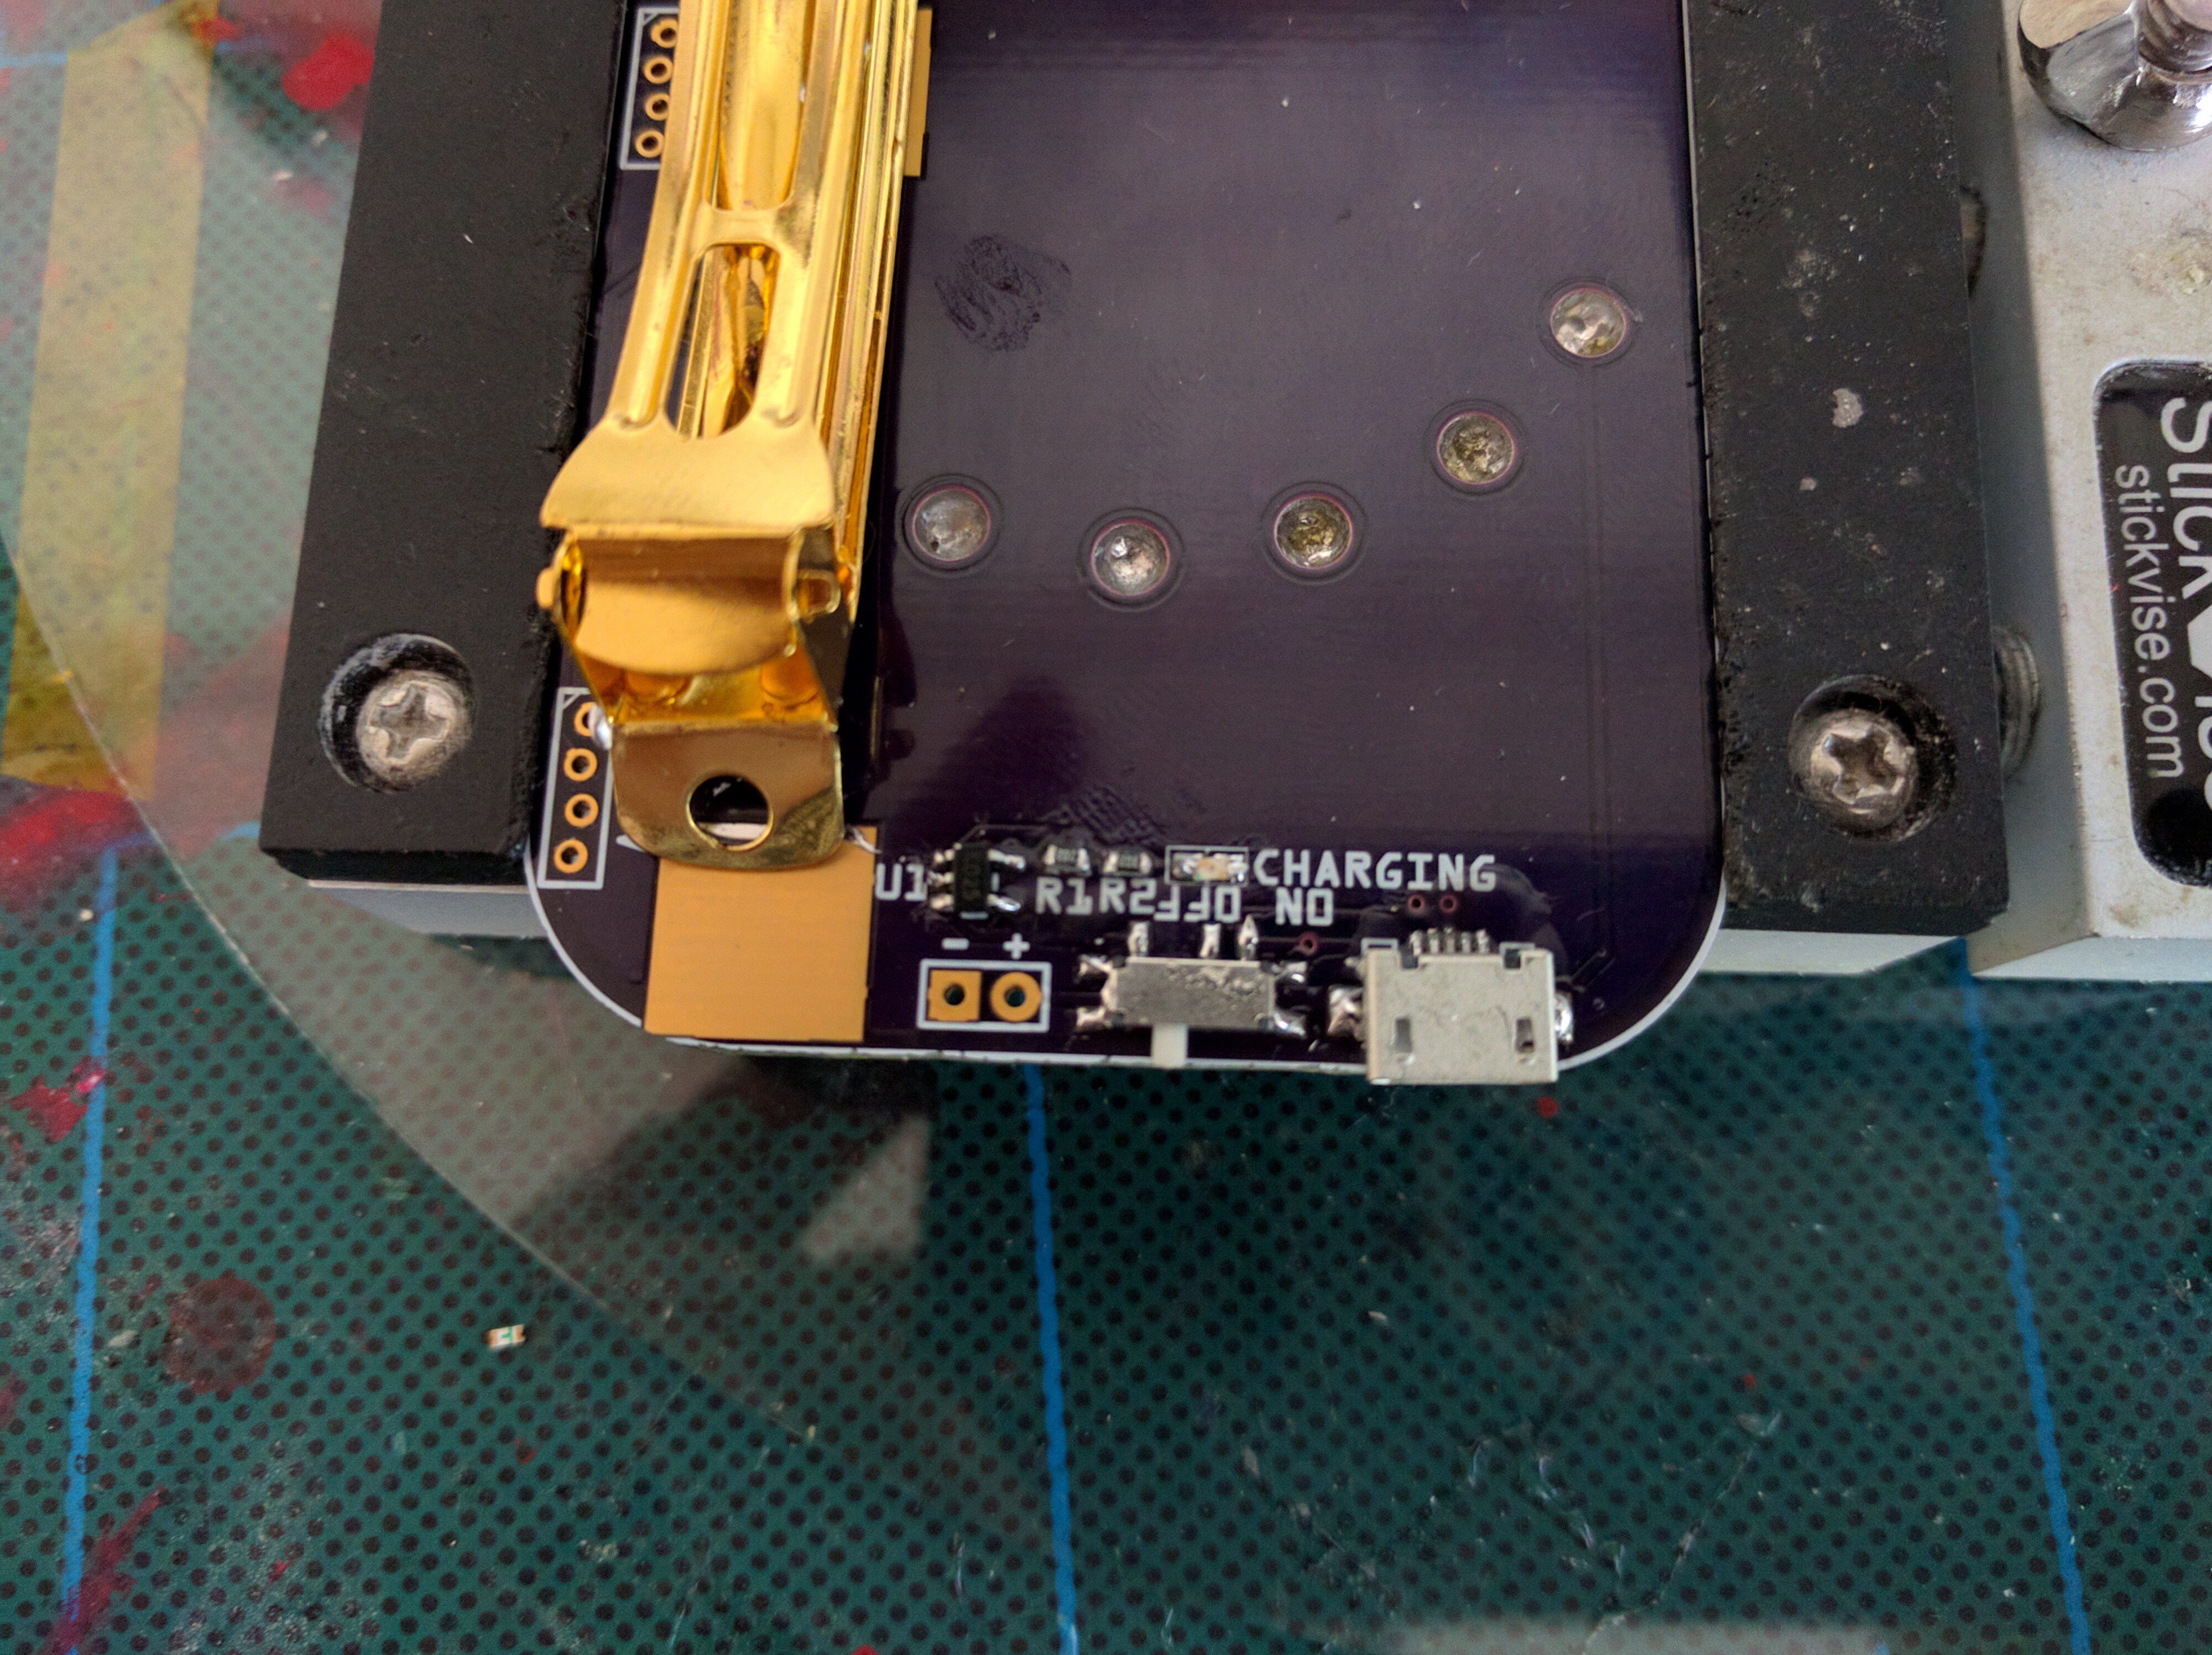
Attach the bolts
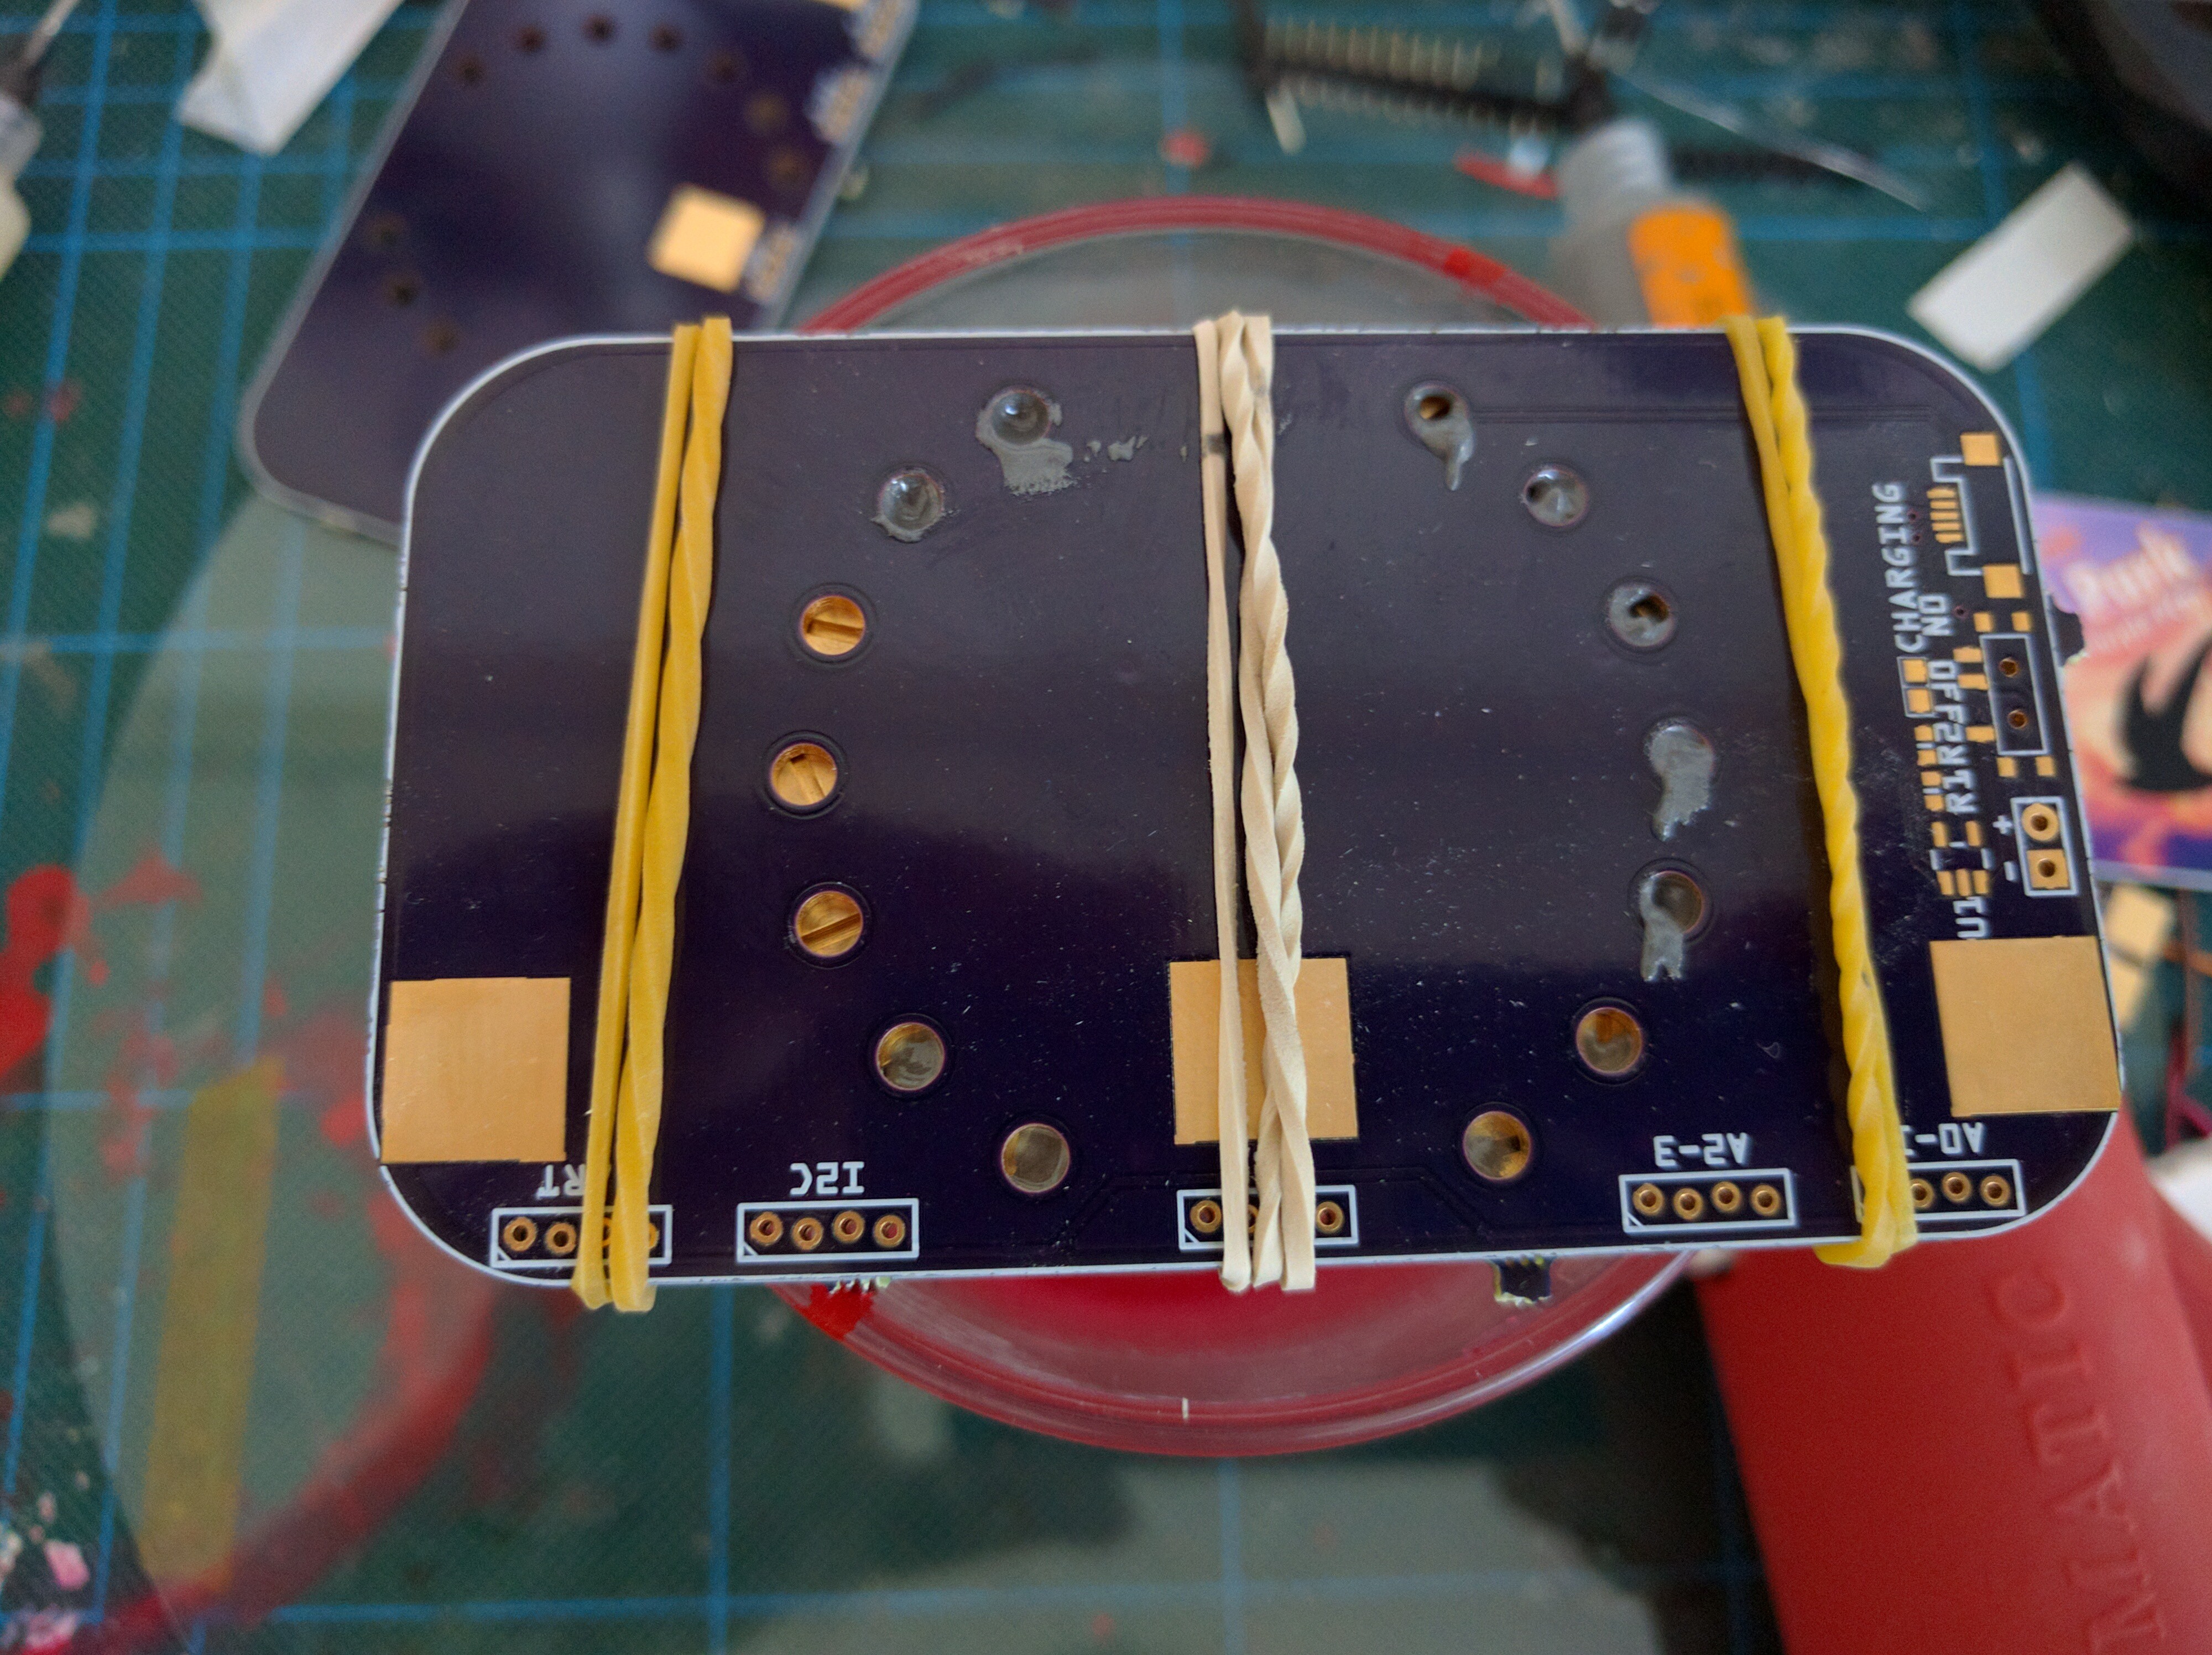
We will start with the hardest step: attaching the bolts. For this step you will need a second PCB or another kind of template to hold the bolts for you. Insert all the bolts into the holes:
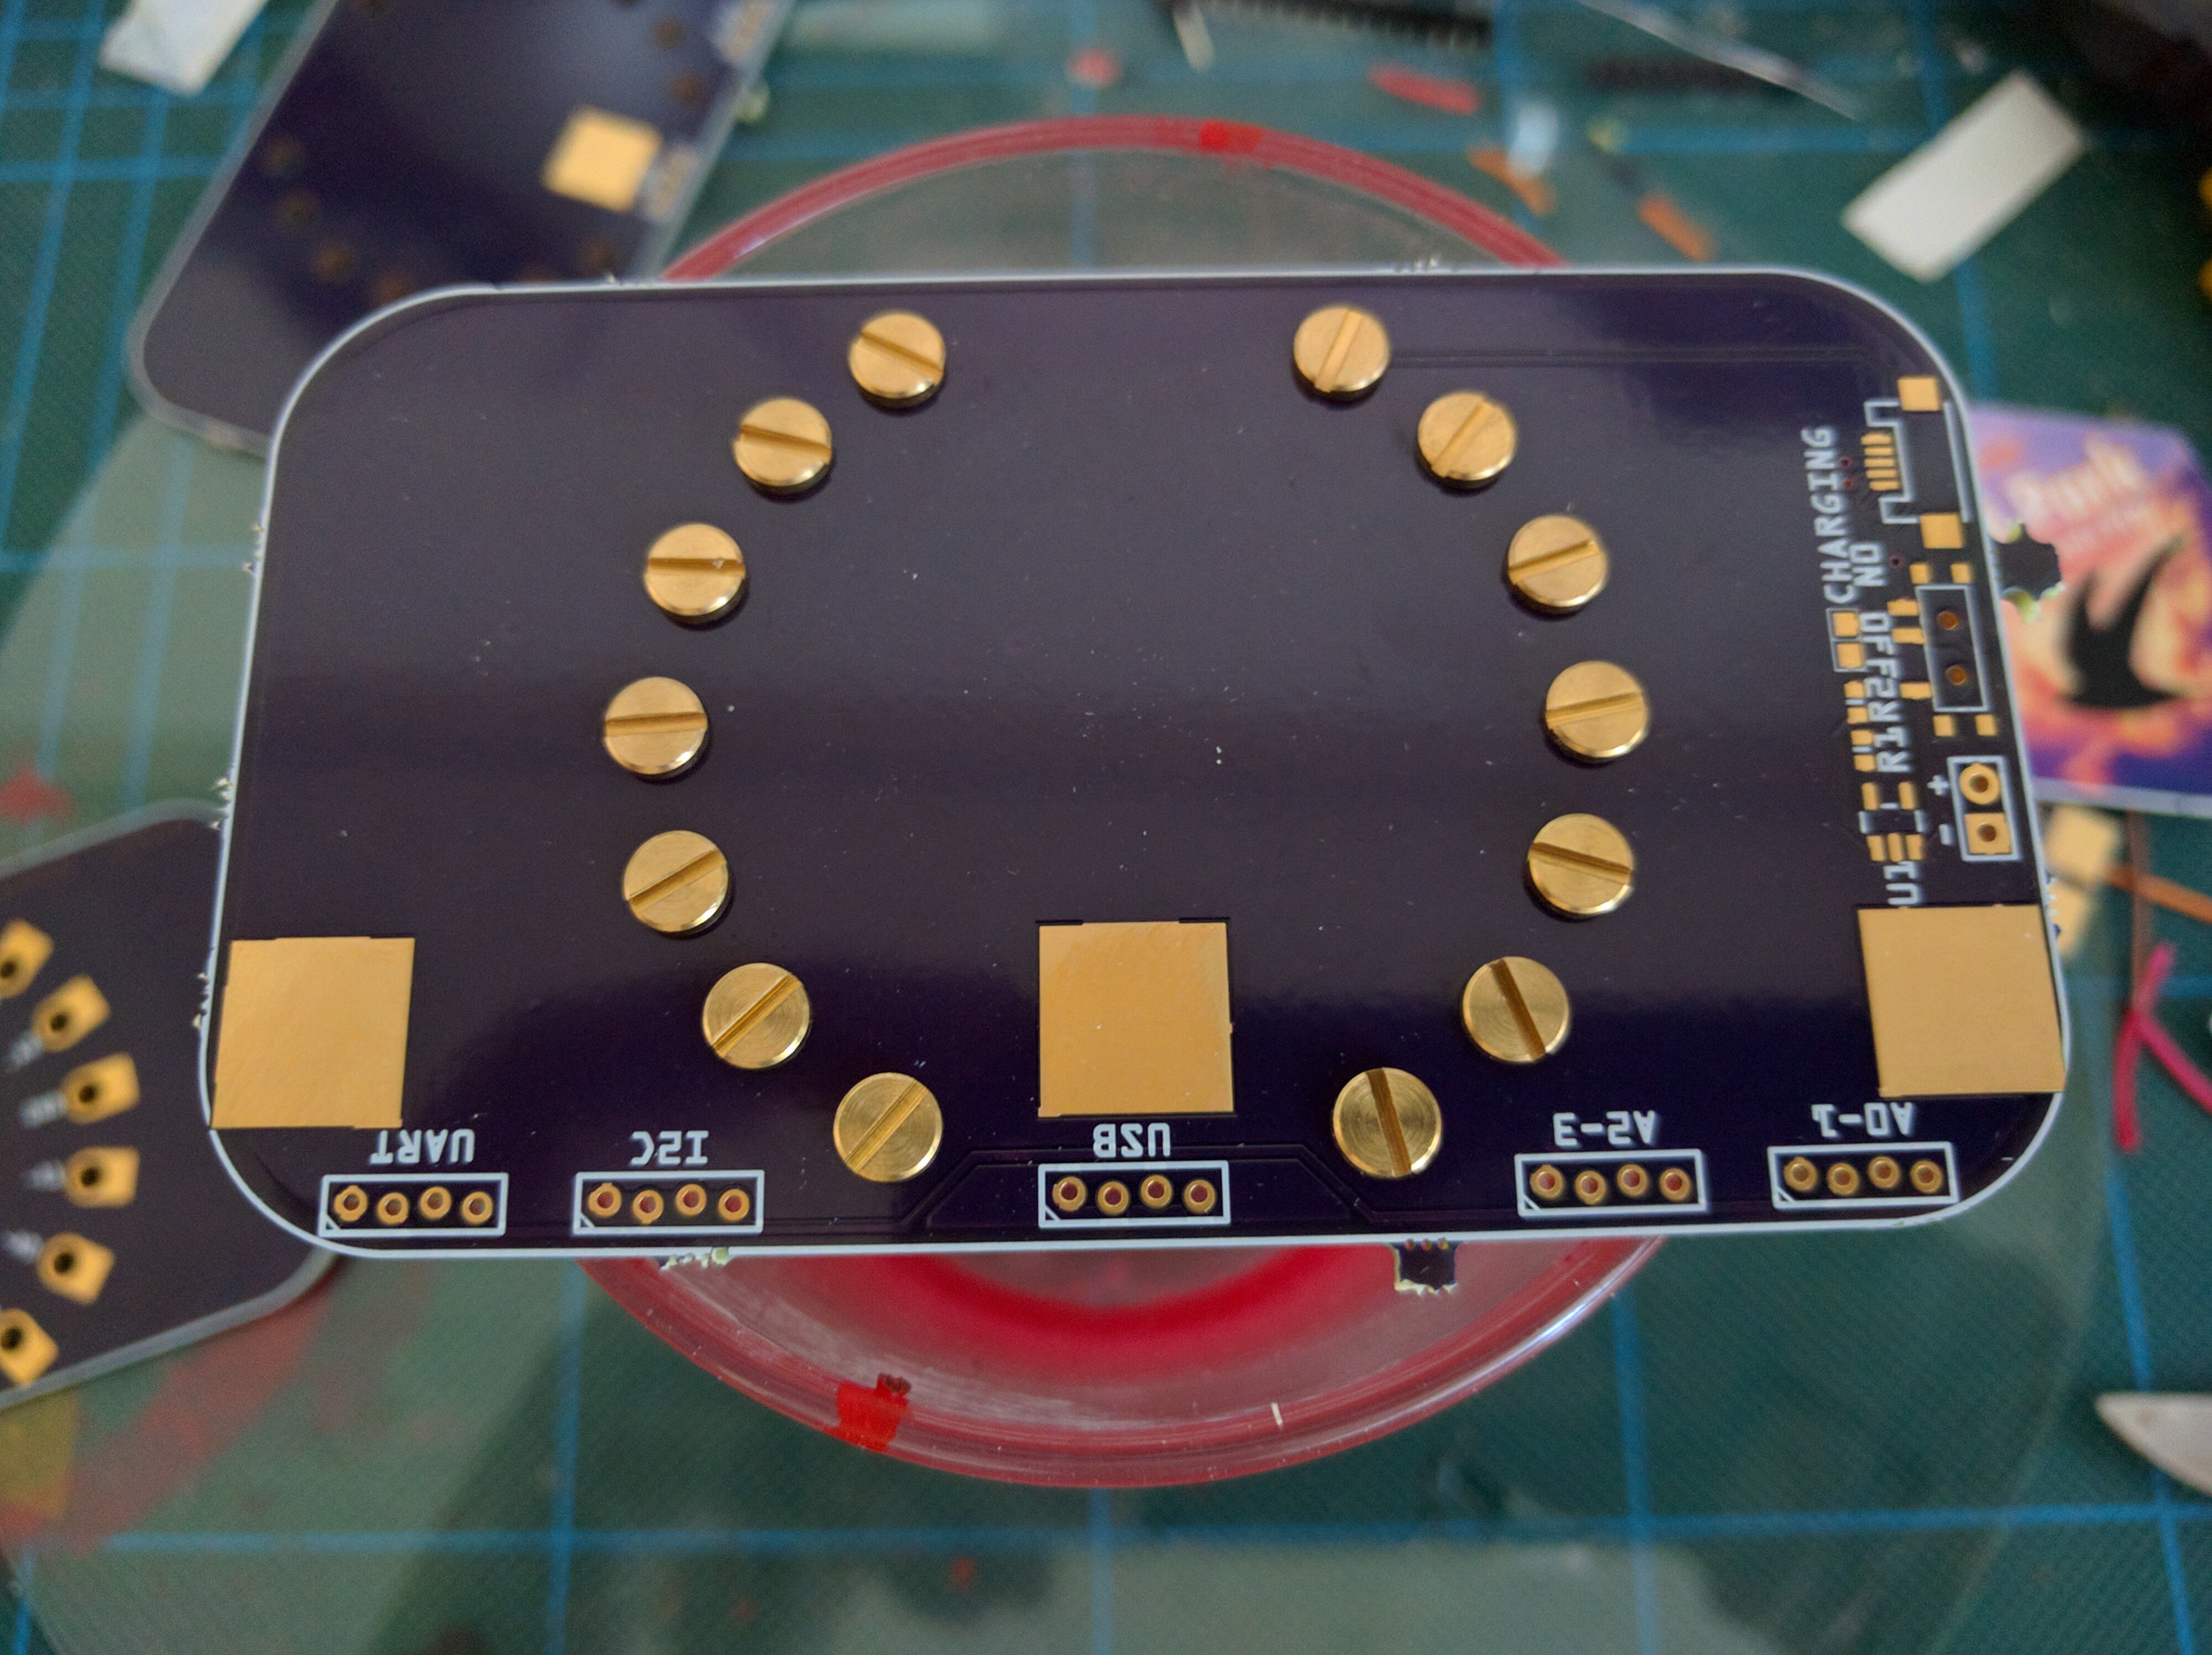
Then cover it with your actual PCB, making sure the front is downwards. Secure it with rubber bands, and fill the holes with solder paste:
Then take your soldering iron, and melt the paste in every hole, stirring to make sure it all melts and catches the bolt properly:
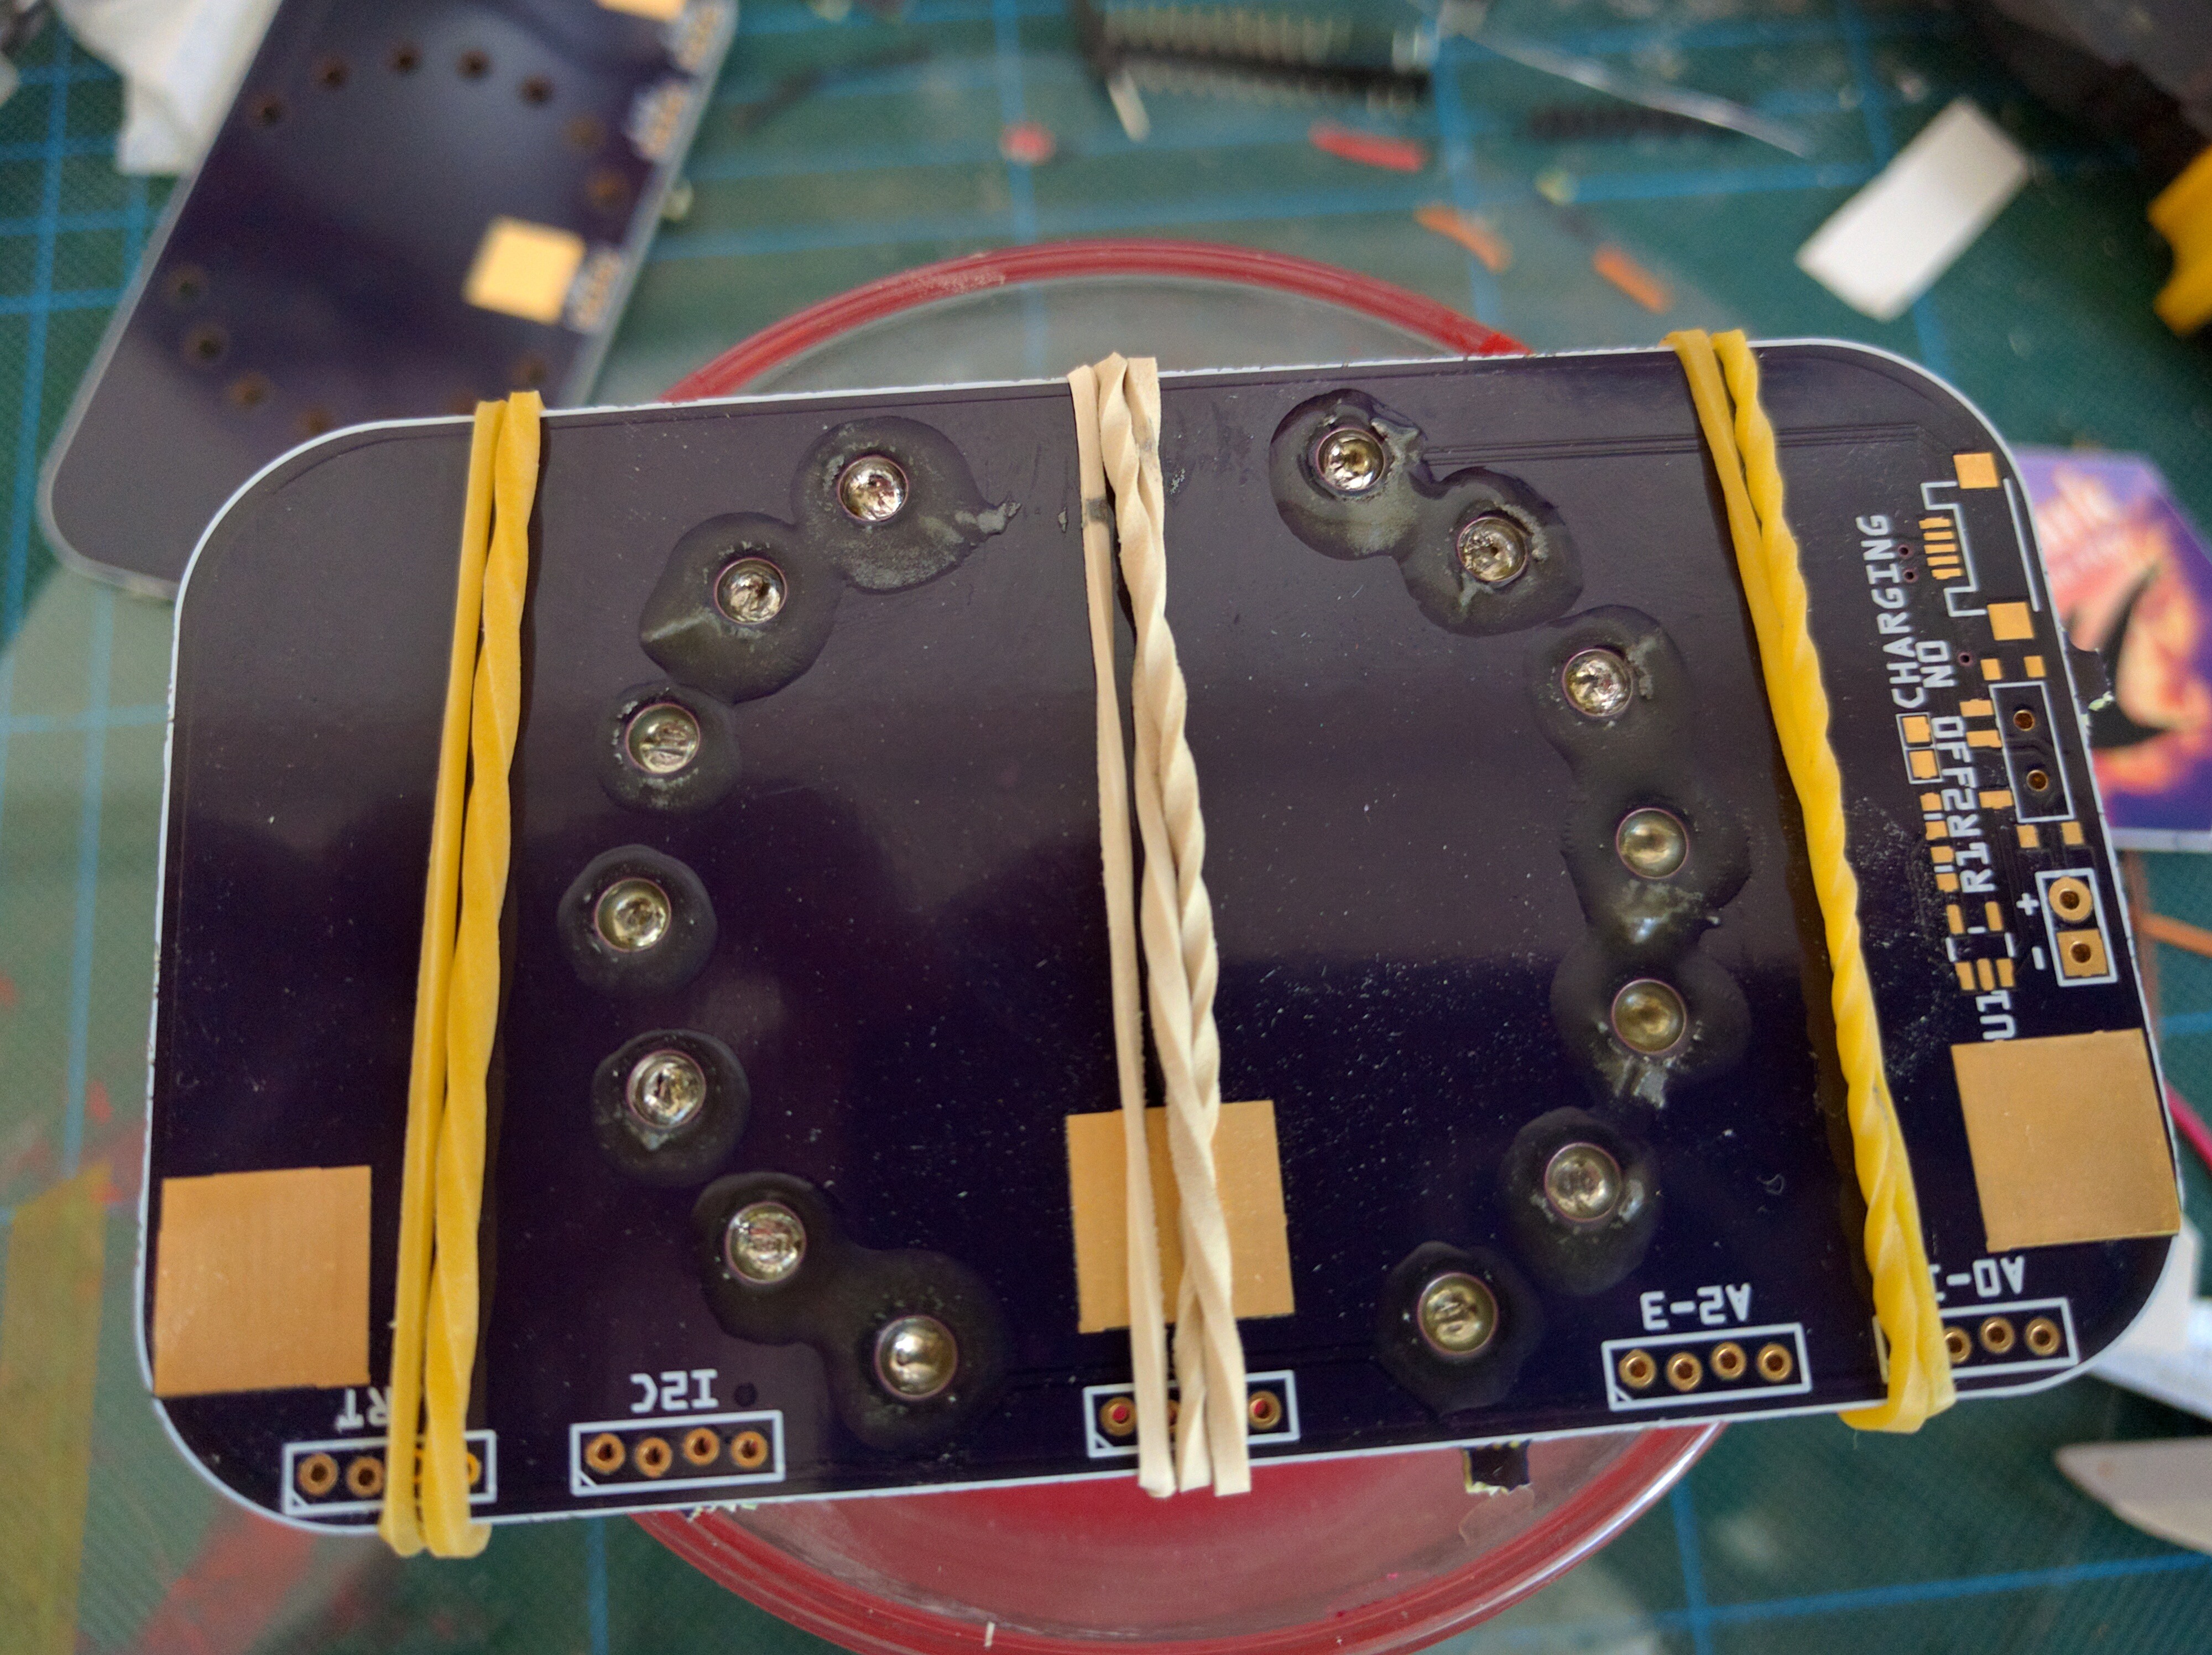
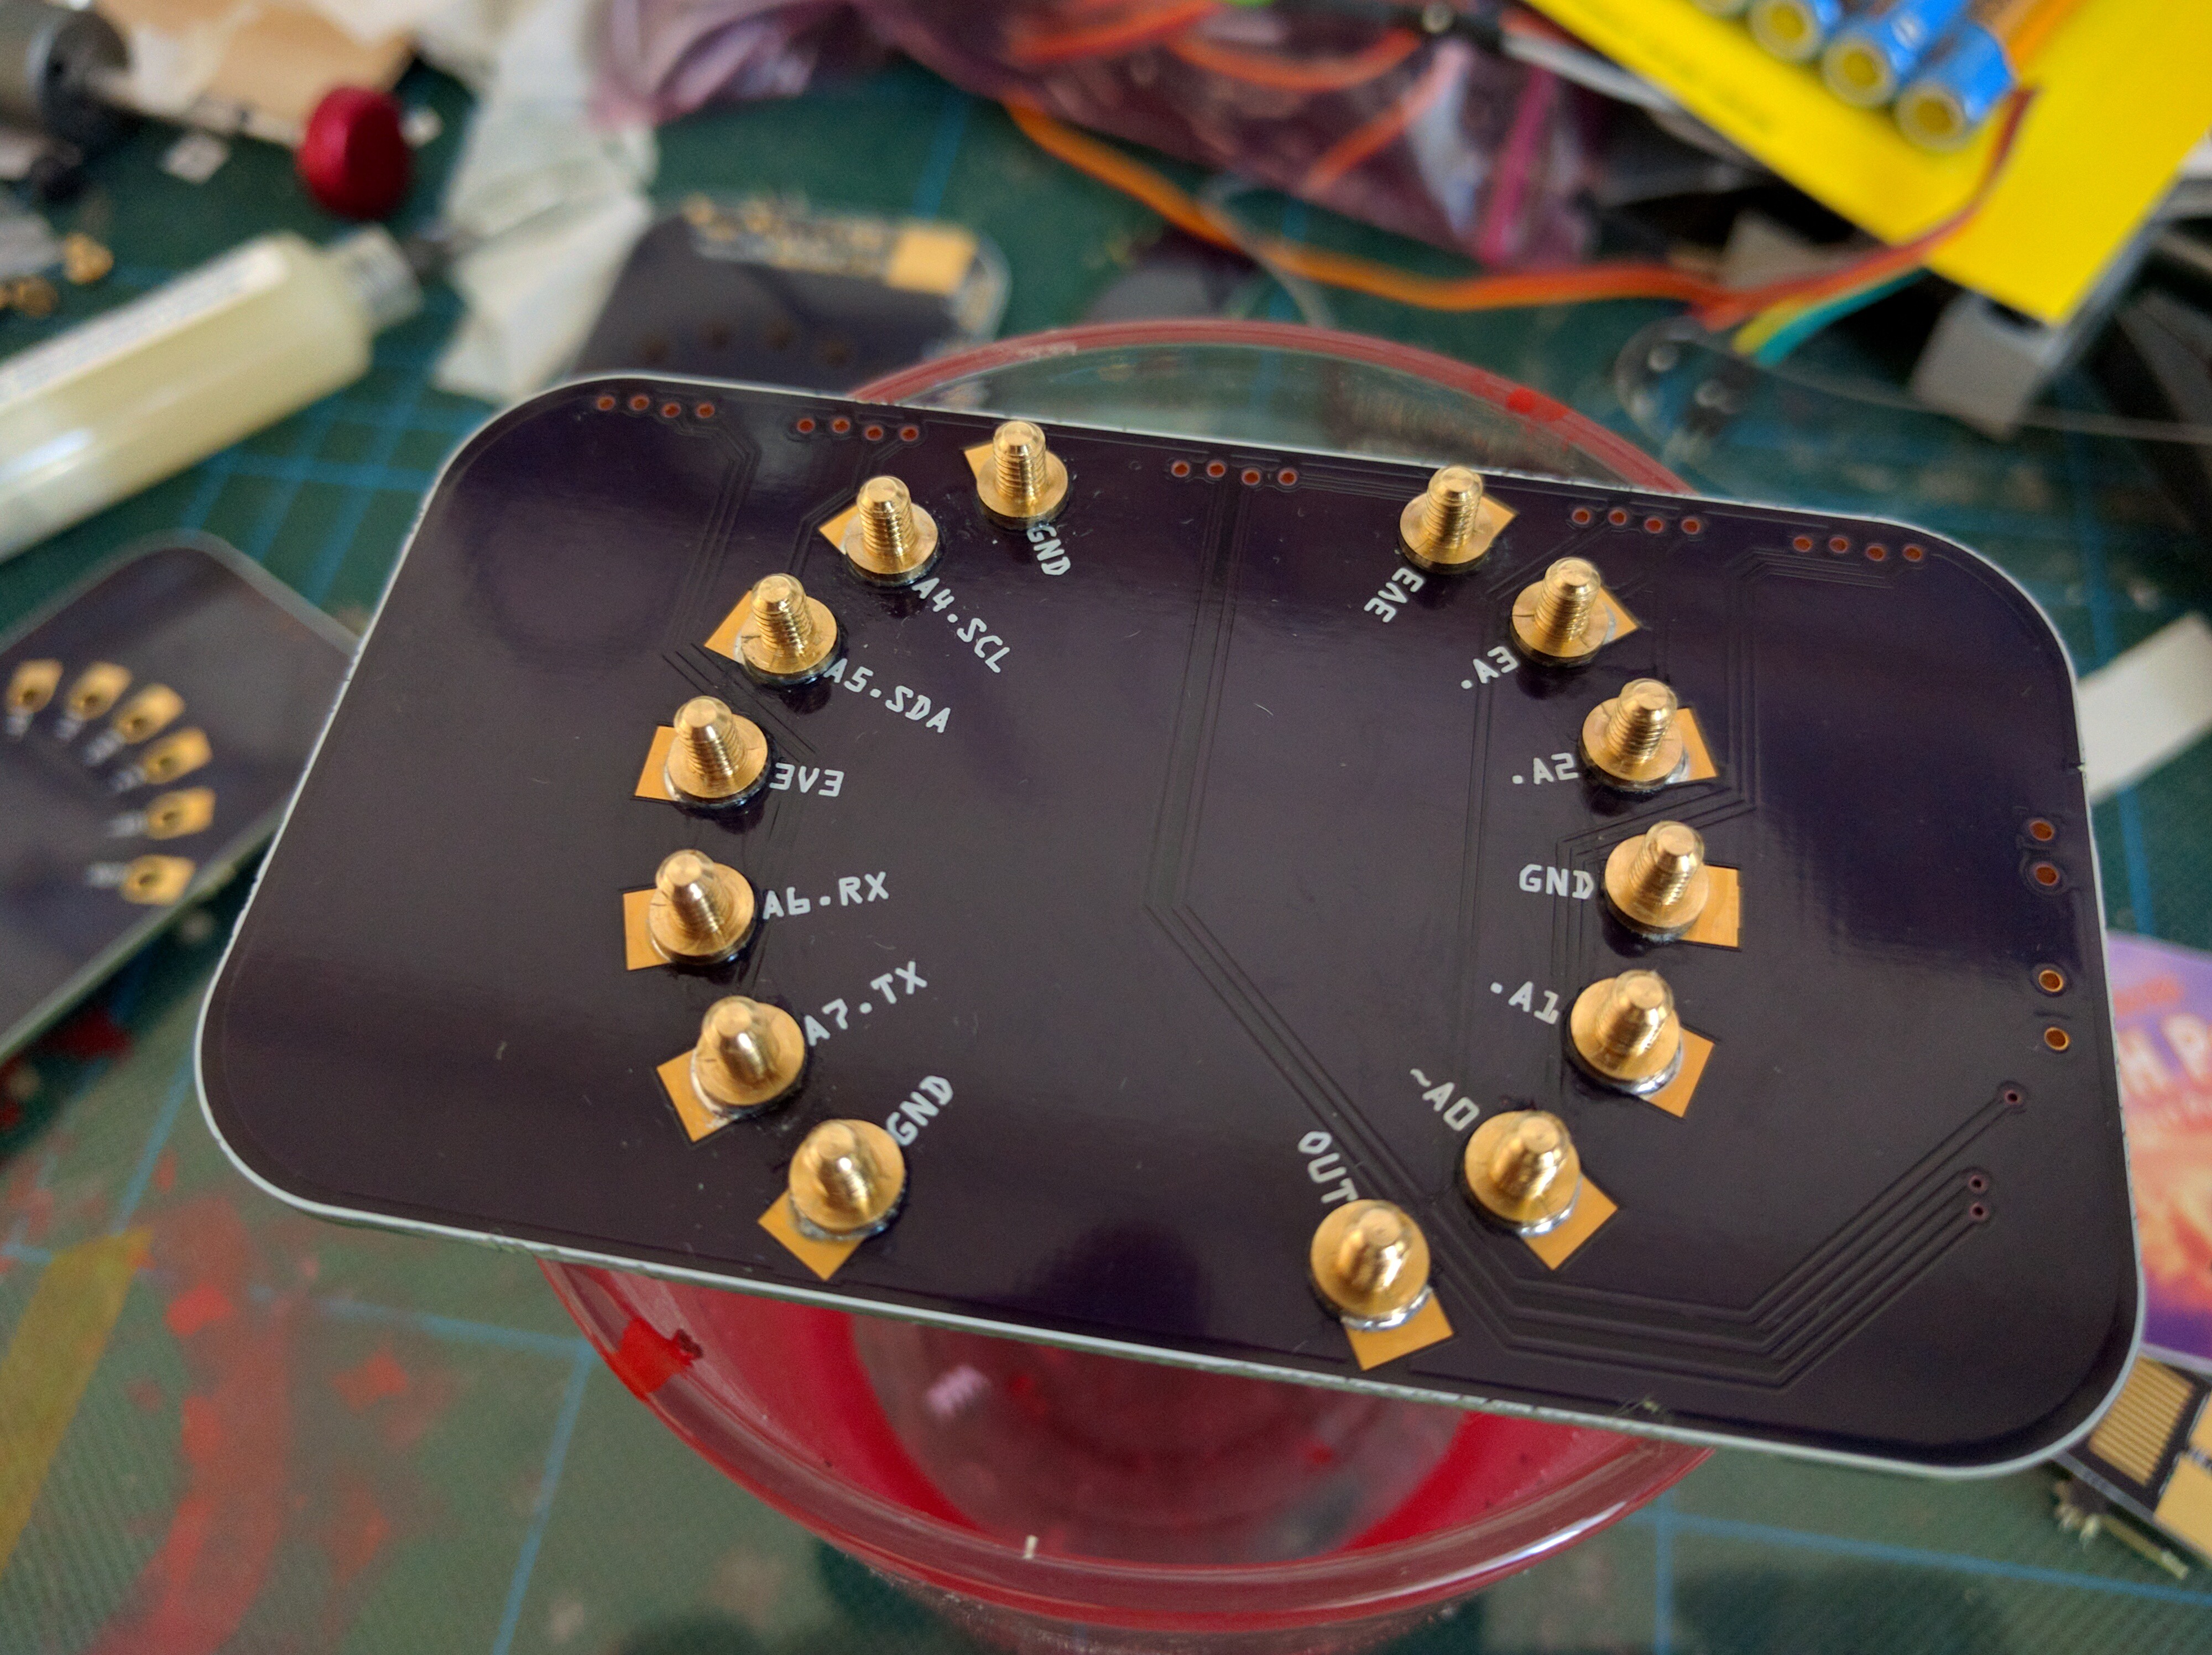
Finally remove the rubber bands and template and wash the excess flux and paste with acetone:
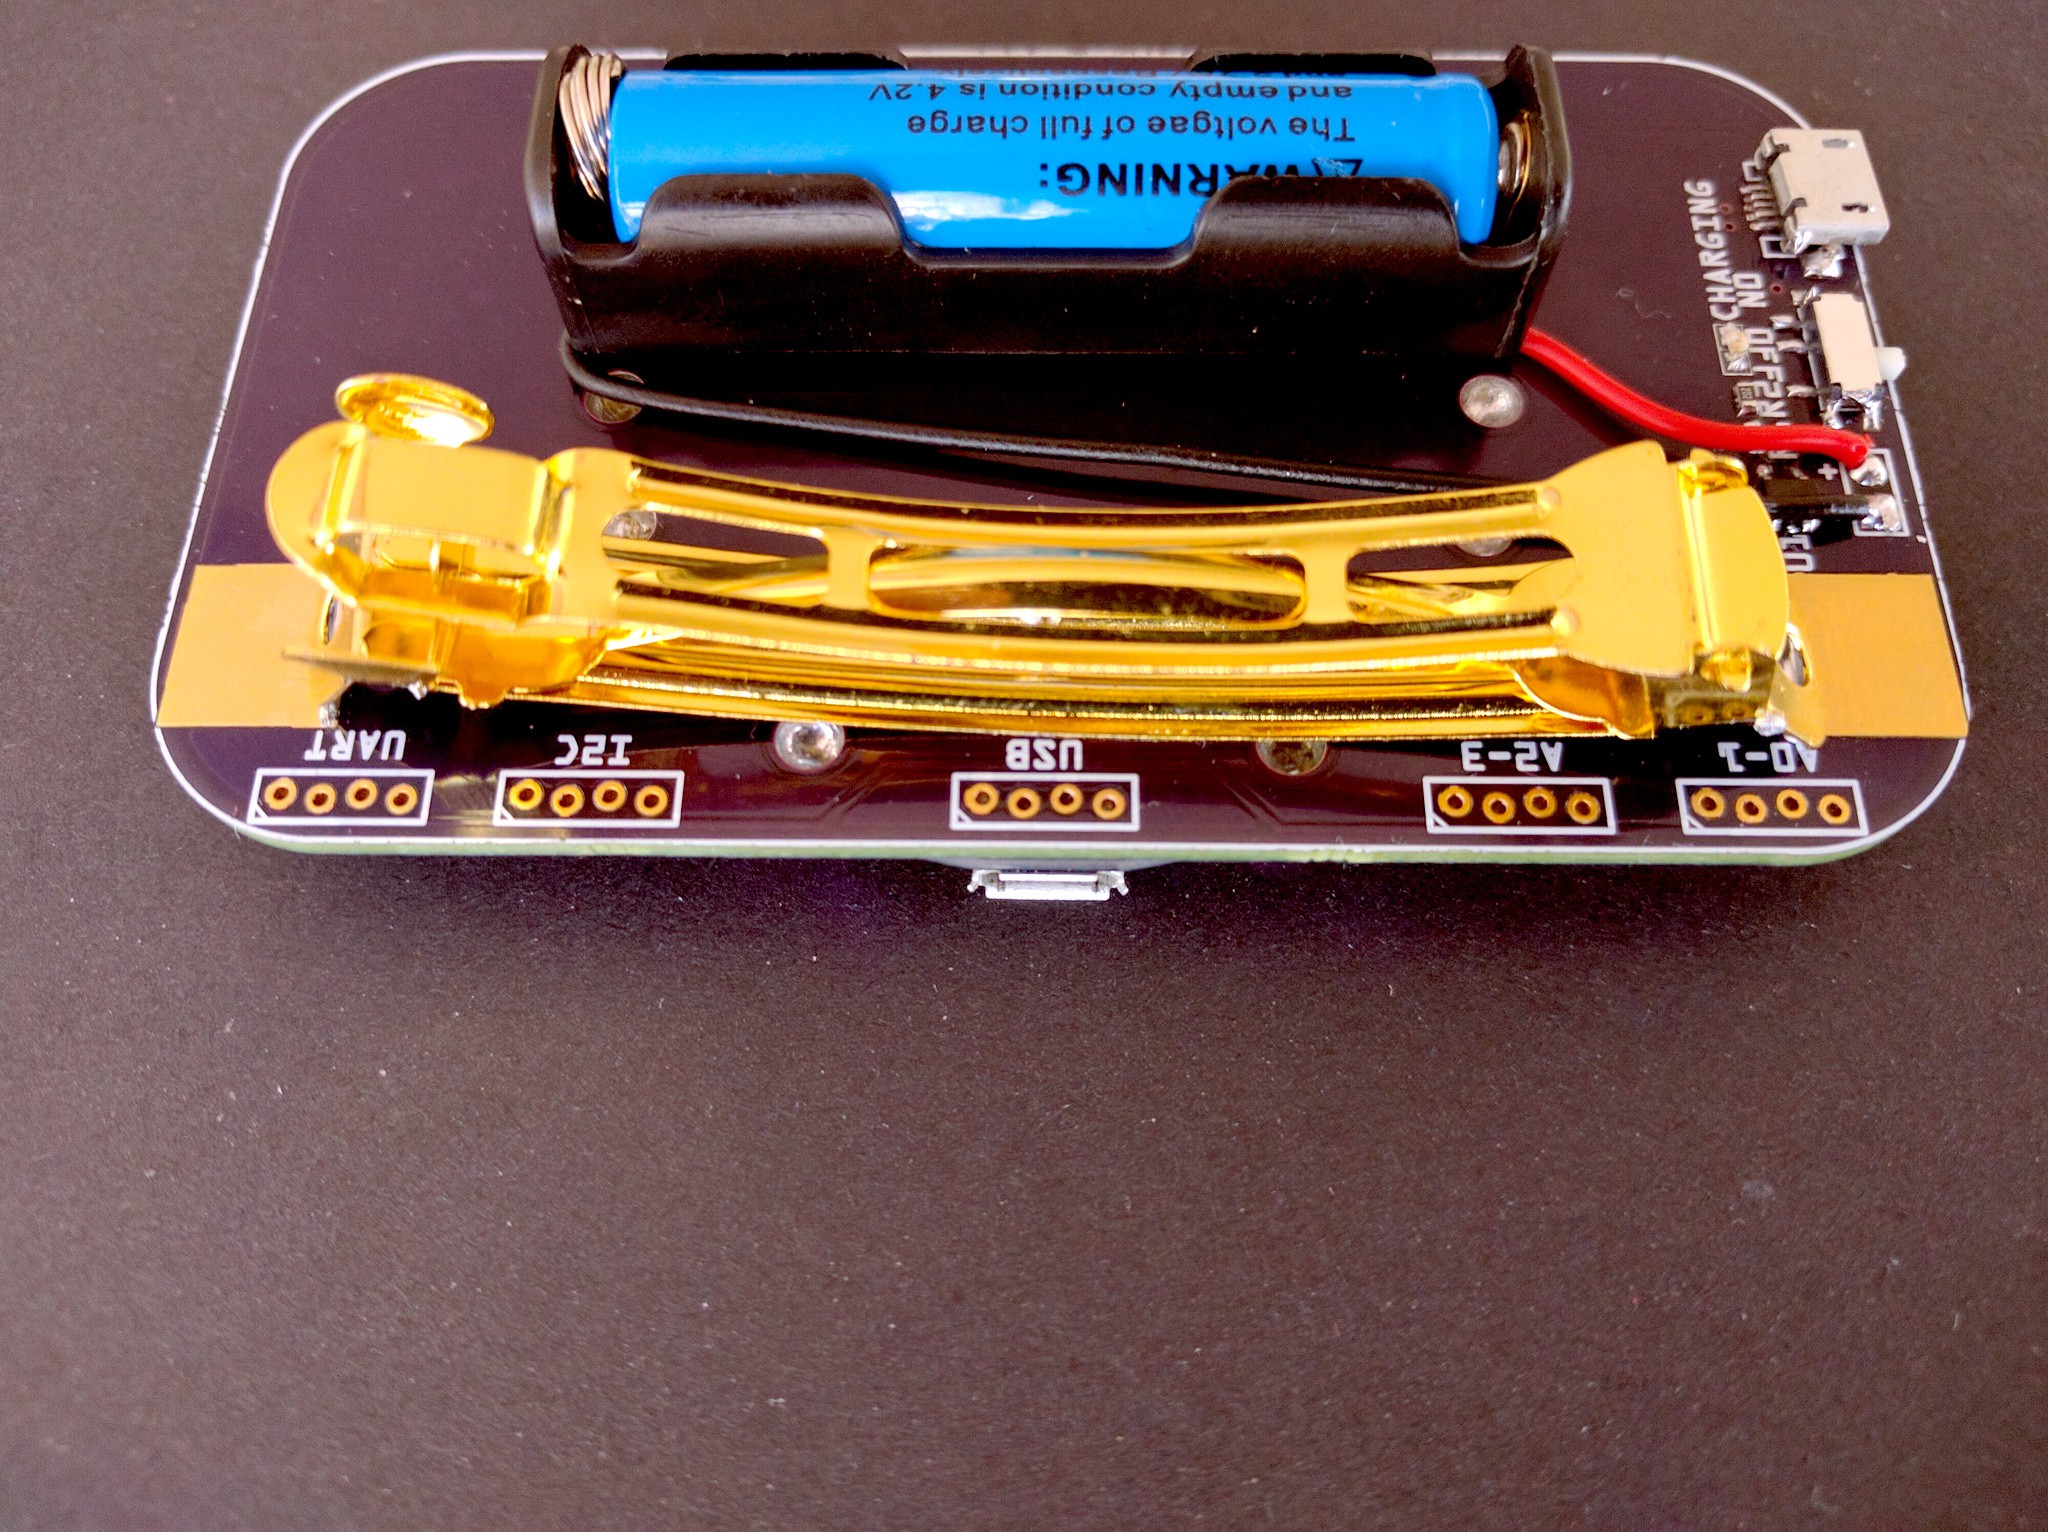
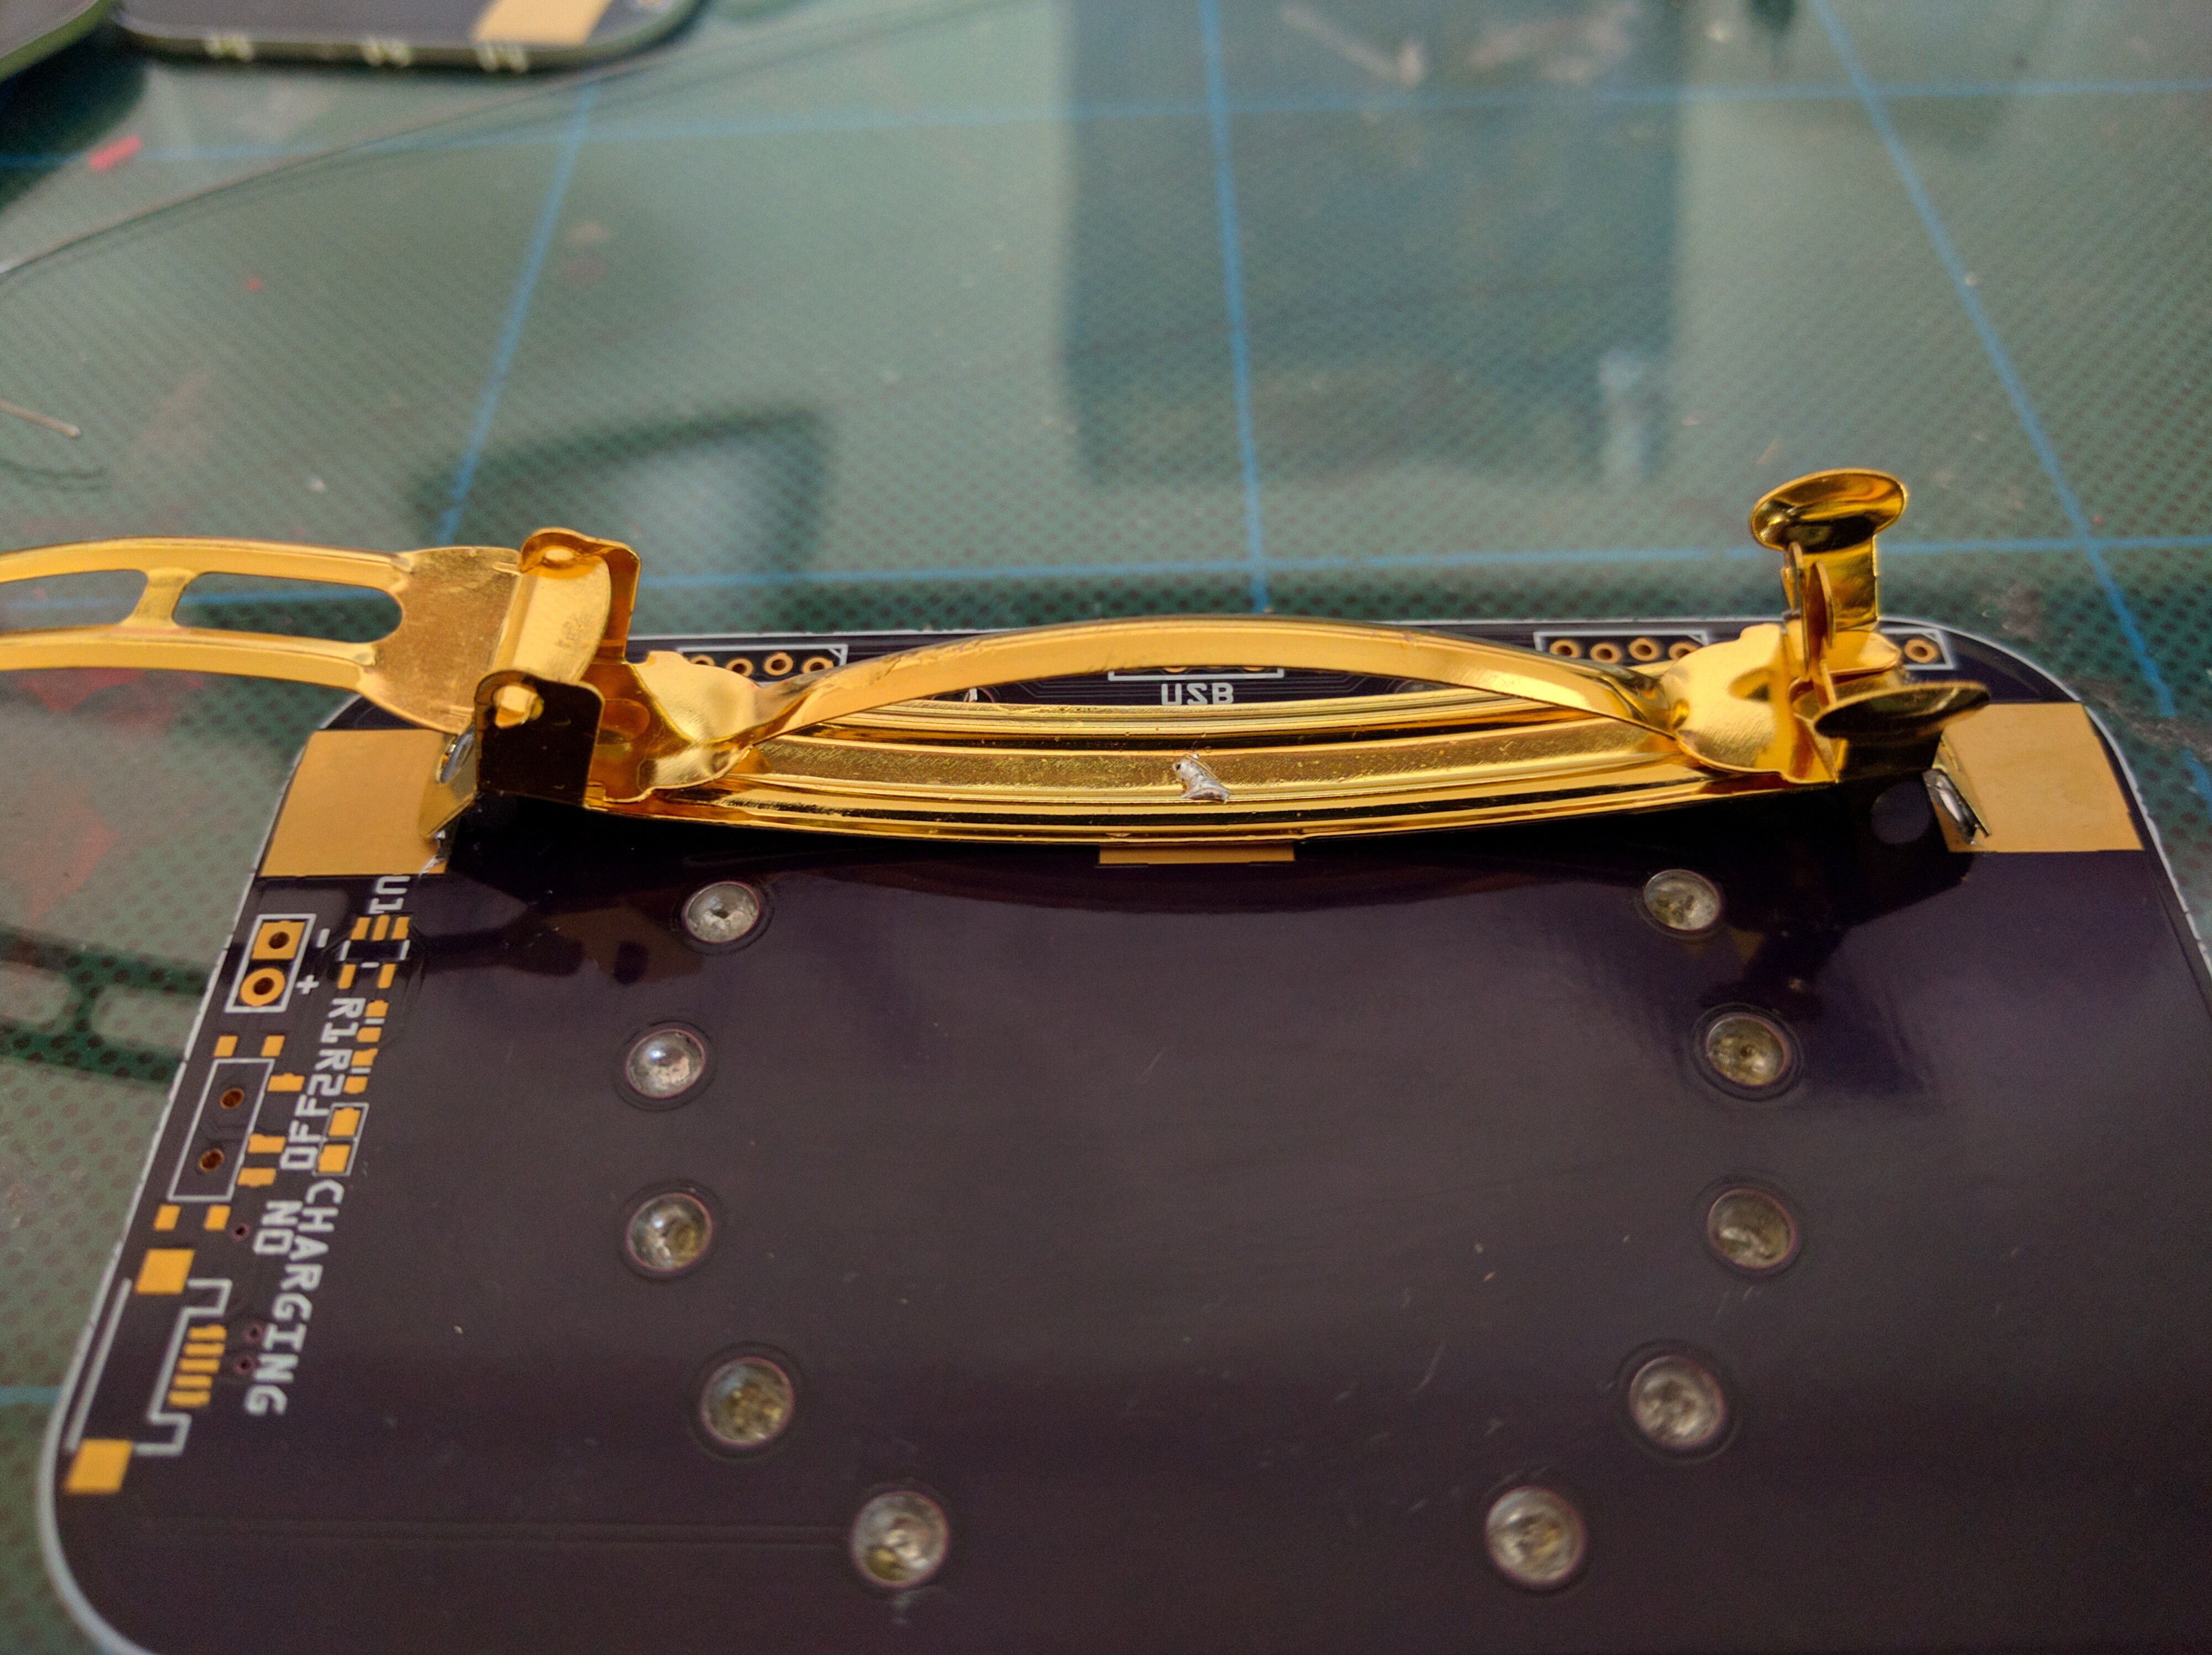
Bend and solder the barrette
Next bend the the barrette’s ends so that they are inline with the middle, and tin them, then solder it in place.
Solder all remaining components
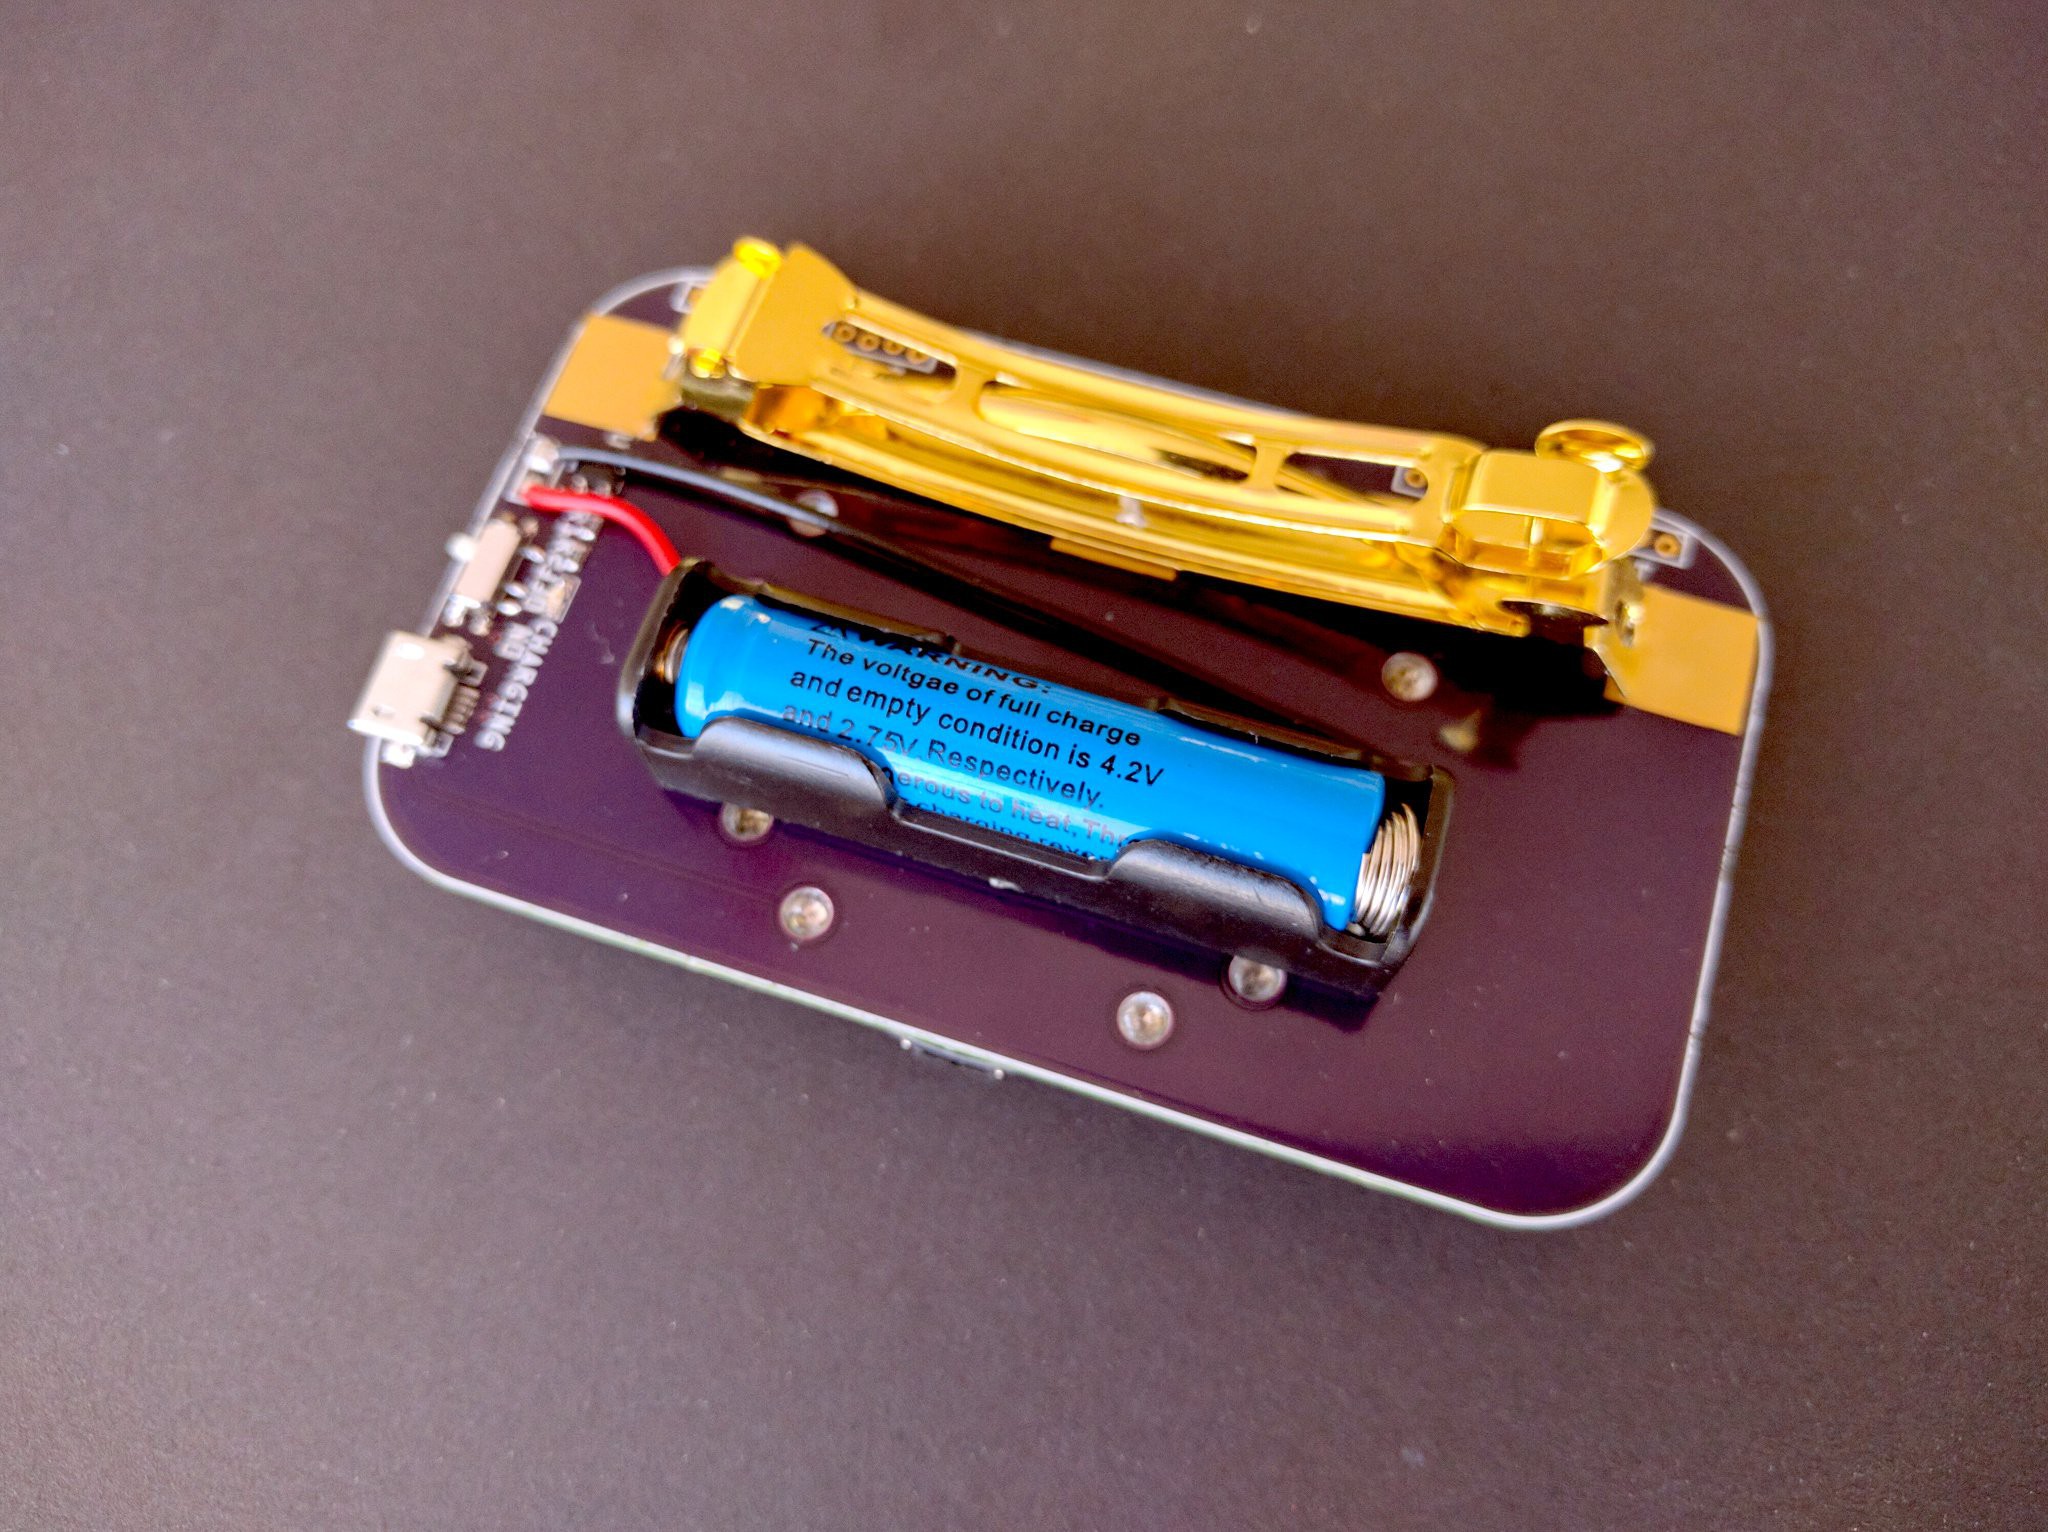
Attach the battery
You can use either a battery holder, like I did in this case, or just a bag-like LiPo battery, depending on what you have available. In either case, attach it to the PCB with two-sided tape and solder the wires.

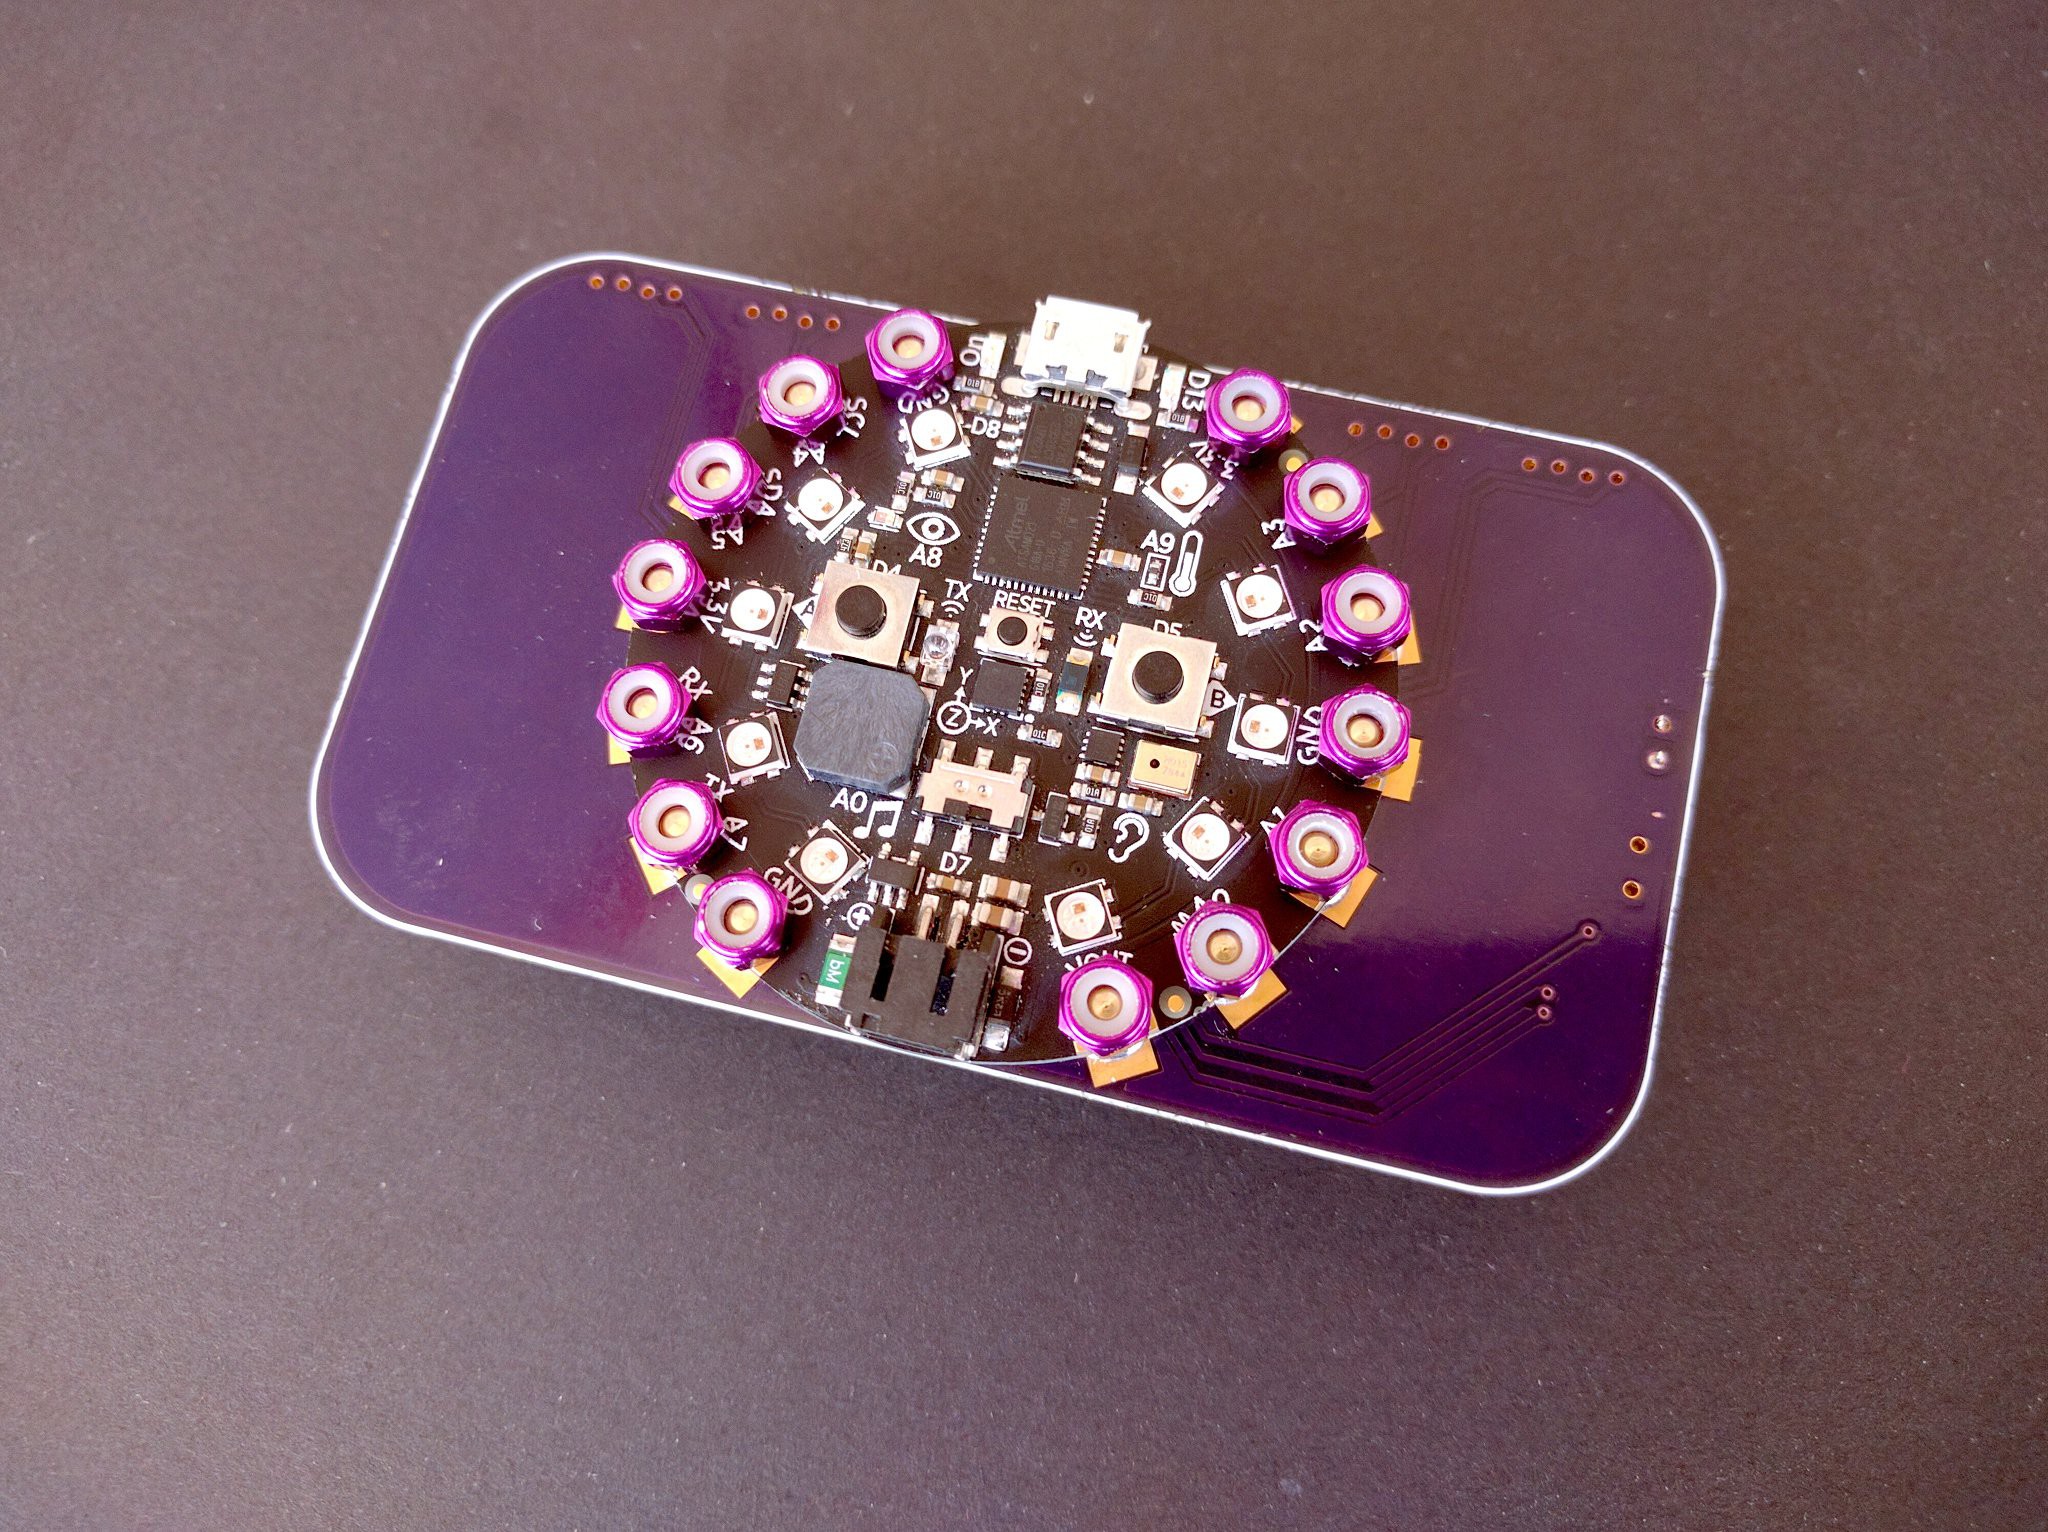
Attach the Circuit Playground Express
Carefully insert the CPX onto the bolts. Make sure to move all sides at the same time, because otherwise it can get stuck — the fit is rather tight:
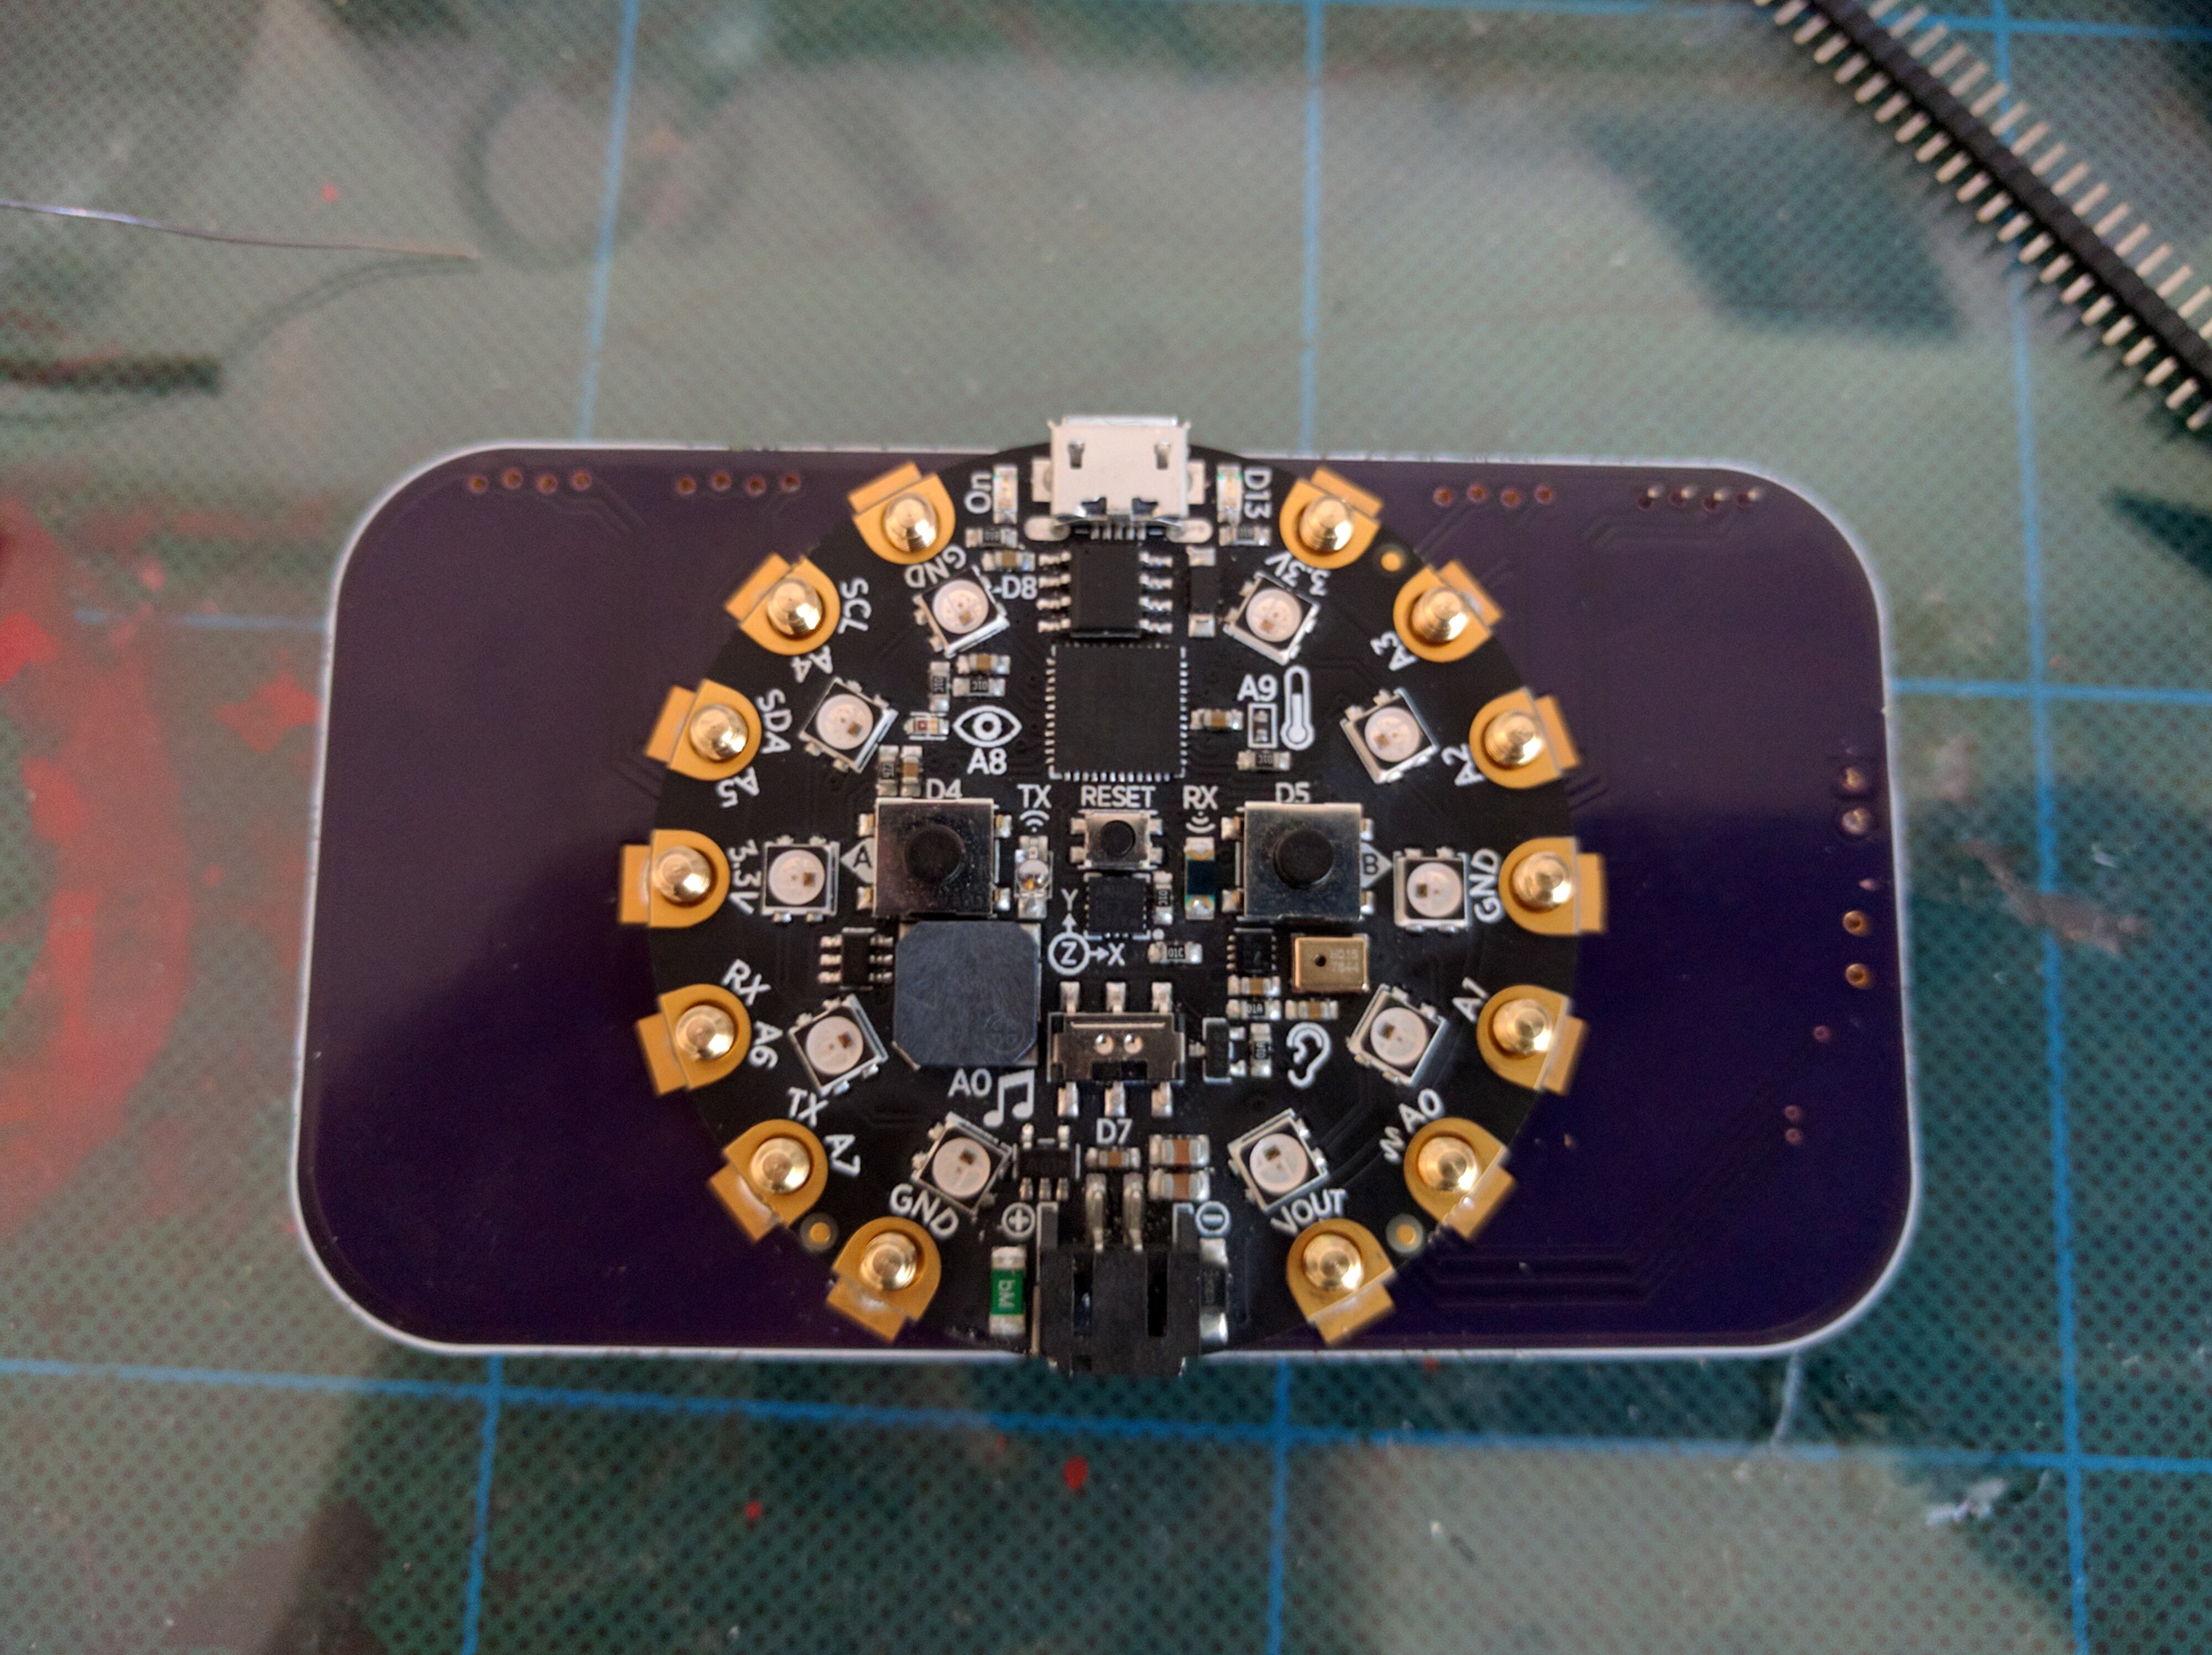
Then secure it in place with nuts: